Office 365 Shared mailbox to Archive mailbox using EdbMails
In today's business world, managing large numbers of emails efficiently is paramount for business productivity and for meeting regulatory requirements. The use of an Office 365 Shared Mailbox enables team members to send and receive mail from a single shared email address, perfect for co-operating on tasks. But with the number of emails in the mailbox growing, archiving older mail efficiently is becoming vital. Archive mailbox helps organize data by storing older emails in a separate location, making important information easy to access without congesting the Shared mailbox. This enhances organization, performance and decreases irrelevant data from the primary mailbox. The change of a Shared mailbox to an Archive mailbox will greatly enhance your email storage. Emails which are not relevant at the current time will still be stored and the members will continue to receive only relevant data.
Although native method of moving emails to an Archive mailbox can be time-consuming and can be too complicated, migrating emails by using EdbMails Office 365 migration software provides an easier and quicker process of migration. User friendly software and enhanced features facilitate quick and easy to transfer of bulk data over email with the use of EdbMails.

Why EdbMails is better than the native method
The native method for moving emails from one Shared mailbox to an Archive mailbox requires the user to go through multiple long steps, risks data loss and metadata corruption. EdbMails Office 365 migration software has eradicated all the problems by offering a direct, seamless migration process that significantly reduces complexity and avoids the need for additional configurations.
While the native method may require various manual stages, EdbMails ensures quick and error-free migration and therefore saving users of time and effort. The software's intuitive interface makes it easy for users of all technical levels to perform the migration with minimal hassle, while multilingual support ensures accessibility for a global user base.
Moreover, with the pause and resume option in EdbMails, you can control the migration process as per your needs and that too without any interruption. The best part of using EdbMails is the integrity maintained of all the mail metadata like sender, recipient, dates, subjects etc, such that no essential information is lost during the migration. EdbMails provides an ideal alternative to the in-built method: simplifying the migration process while preserving data accuracy and efficiency.
Office 365 Shared mailbox to Archive mailbox migration Planning
Prior to migrating Shared mailboxes to Archive mailboxes, it is necessary to consider the migration requirement and prerequisites. Below is a checklist which can assist you determine and prepare your environment accordingly:
- Prepare a complete inventory of items from your Shared mailboxes.
- Identify the size and number of Shared mailboxes you want to migrate
- Determine whether you want to move everything at once or in stages
- Check your internet connection speed and network configuration.
- Consider the throttling and message size limits on Office 365
- Communicate the plan and the changes to your end users.
- Perform a test Office 365 migration before you start the actual one.
- Start the migration, verify the endpoint, and add DNS records.
- Create new Outlook profiles and check if you are receiving mails correctly.
Pre-migration activities for Office 365 Shared mailbox to Archive mailbox migration
Before you begin the migration process, there are several things you need to do to prepare your environment. These steps include:
- Creating a Shared mailbox in Office 365
- The first step in the migration is to create a shared mailbox in the Office 365 Admin Center.
- To do this, log in to the Office 365 Admin Center, click on ‘Groups’ in the left-hand navigation menu, and then click on ‘Shared’ in the top navigation menu.
- From here, click ‘Add a shared mailbox’ and create a new shared mailbox by clicking on the ‘+’ button and following the on-screen prompts.
- Granting Permissions to the Shared mailbox
- After you have created the shared mailbox, you need to grant permissions to the users who will be accessing it.
- To do this, navigate to the ‘Permissions’ tab in the shared mailbox settings and add the users who need access.
- You can grant permissions at various levels, including ‘Full Access,’‘Send As,’ and ‘Send on Behalf.’
- Creating a Shared mailbox in Office 365
Steps to migrate Office 365 Shared mailbox to Archive mailbox
Step 1: Download and install EdbMails Office 365 migration software
- Download and install the EdbMails application on your computer running on Windows OS.
- Start the application and enter the required details and click the ‘Login’ button or click the ‘Start Your Free Trial’ button to continue.

- Select the ‘Office 365 Migration’ product from the list of products.

- Choose ‘Office 365 to Office 365 Migration.’ option

- You may either keep the default job name or click the ‘New Job’ button to customize it according to your choice.

Step 2: Connect to source Office 365 server
- Click the ‘Add New Connection’ button to establish a new connection to the source Office 365. If you prefer to use a previous connection, select it from the list and click the ‘Connect to Existing’ button to continue.

- Choose the ‘Connect to Primary/Shared Mailboxes’ option and click ‘Next’ button to continue.

- Select a secure OAuth 2.0-based modern authentication method, then click the ‘Login’ button to proceed.

Connect to Office 365 server using secure modern authentication
- Authenticate on Microsoft sign-in page.

- Select a method to load the mailboxes, or alternatively, you can load and migrate them using a CSV file.

- Click the ‘Add New Connection’ button to establish a new connection to the source Office 365. If you prefer to use a previous connection, select it from the list and click the ‘Connect to Existing’ button to continue.
Step 3: Select Office 365 Shared mailboxes
- Select the Shared mailboxes from the left pane and click ‘Next’ to proceed.

- Select the Shared mailboxes from the left pane and click ‘Next’ to proceed.
Step 4: Connect to target Office 365 server
- Click the ‘Add New Connection’ button to create a new connection to the target Office 365. If you want to use a previous connection, select it from the list and click the ‘Connect to Existing’ button to proceed.

- Next, choose the necessary connection options and click ‘Next.’ to proceed.
 option")
- Select the required authentication method to connect to target server and click ‘Login’ to proceed.

- Authenticate on Microsoft sign-in page.

- Select the one of the methods to load the mailboxes.

- Click the ‘Add New Connection’ button to create a new connection to the target Office 365. If you want to use a previous connection, select it from the list and click the ‘Connect to Existing’ button to proceed.
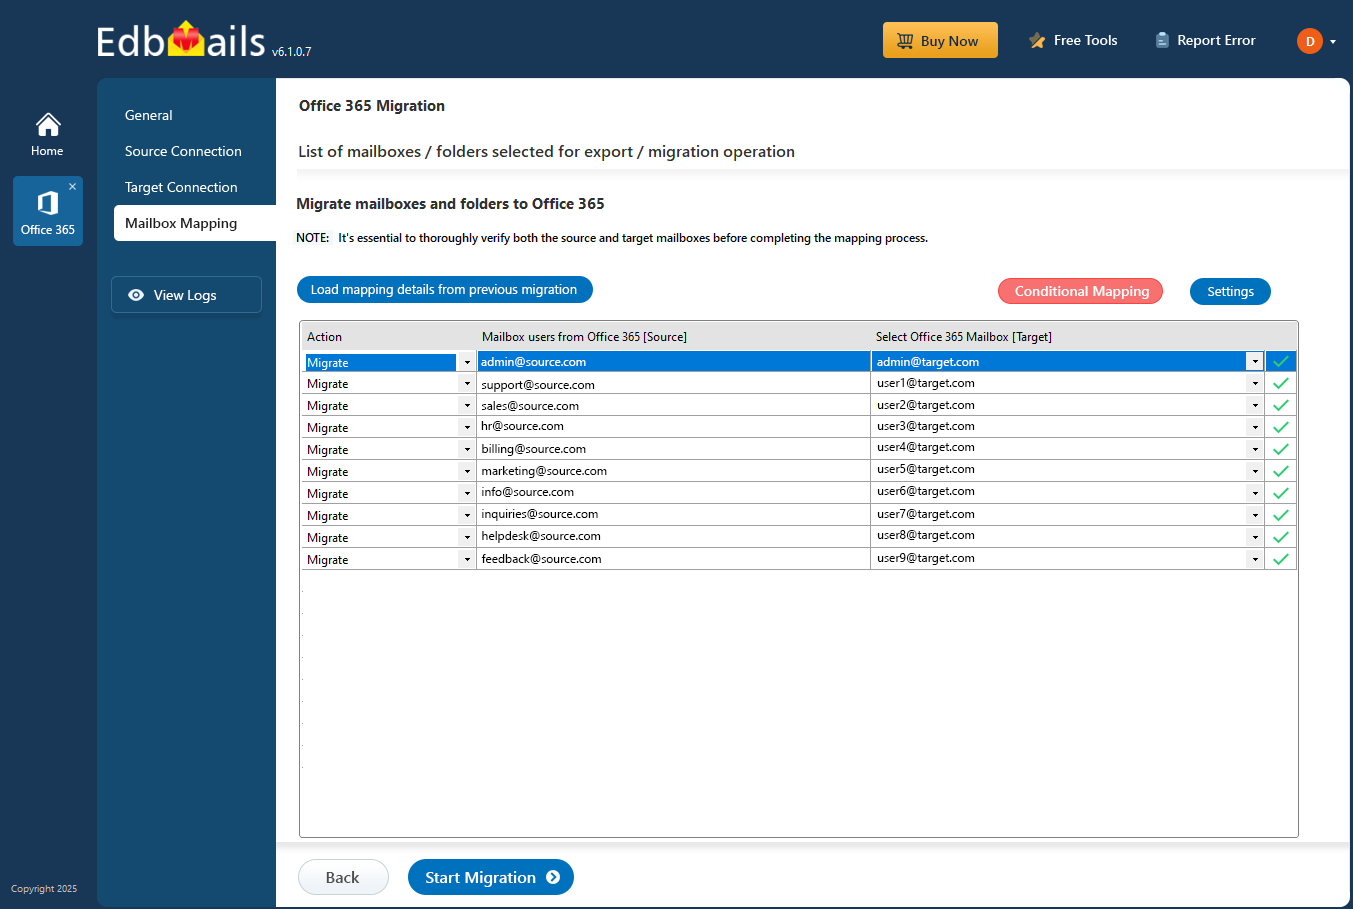
Step 5: Map source and target mailboxes
- Select the mapping option that best meets your needs.

- EdbMails provides an automatic mailbox creation feature for the target Office 365 server, along with a mapping function that accurately connects mailboxes and folders from the source Office 365 server. This is especially useful for efficiently managing numerous mailboxes.

- During the migration, you can monitor the progress in real-time, and once it's complete, a confirmation message will appear. Click the 'View Log' button to access the migration report, and log in to your target Office 365 server to verify the migrated items.

- Select the mapping option that best meets your needs.
Office 365 Shared mailbox to Archive mailbox post-migration activities
Step 1: Update the MX records to point to Office 365
If this step has not been done before, you need to change the DNS records known as MX records so that emails are enabled and received by the target Office 365 server. You also need to set up the Autodiscover record so that Outlook can be set up with the migrated mailbox.
Step 2: Create a new Outlook profile for users in the new domain
Configure and recreate the Outlook profile for each user in your domain if Outlook has problems connecting to Office 365 mailboxes.
Office 365 Shared mailbox to Archive mailbox migration troubleshooting
For solutions to migration errors, check the Exchange online migration troubleshooting guide. For more details on EdbMails Office 365 migration, please visit the Frequently Asked Questions.
Benefits of EdbMails for Office 365 Shared mailbox to Archive mailbox migration
- EdbMails handles any size of mailboxes seamlessly
EdbMails efficiently handles to migrate from Office 365 Shared mailbox to Archive mailbox without considering the mailbox size. It smoothly manages the smallest of data up to largest in minimum time without loss of any data.
- Detailed migration reports
EdbMails offers complete migration reports for monitoring each migration step. It provides detailed logs about migration status, data migration and error information. This allows the administrator to know how many data have been migrated and where were the errors, etc.
- CSV-based mailbox import
EdbMails allows for bulk migration of mailboxes with CSV file import feature. With this option, there is no need of manually entering mailbox data, reducing the time. The mailbox migration takes place in a smooth and efficient way with bulk mailboxes without any error.
- Zero downtime and maximize efficiency
EdbMails provides zero downtime during migration process as it runs in the background and does not effect the ongoing email operations. It provides optimum results, with users still accessing their shared mailboxes while emails are being transferred to Archive mailbox and avoiding interruption or delay.
- Smooth and consistent data migration
EdbMails provides a simple and consistent data migration from Shared mailbox to Archive mailbox. The tool transfers all emails, folders, attachments, metadata etc from one mailbox to the another without any data corruption or data loss, and in turn a flawless user experience is established with maintaining the integrity of data.

