Cutover Office 365 Migration
EdbMails supports cutover migration, the simplest method for transitioning to Exchange Online. This approach involves migrating all data—mailboxes, calendars, and public folders—in a single, straightforward process, ideal for small and medium-sized enterprises (SMEs) looking to swiftly migrate to Exchange Online without any complexity.
Setting up a migration job in EdbMails Office 365 Migration software for a cutover migration is straightforward. Specify the mailboxes to migrate and retain default settings, adjusting only if excluding specific data types.
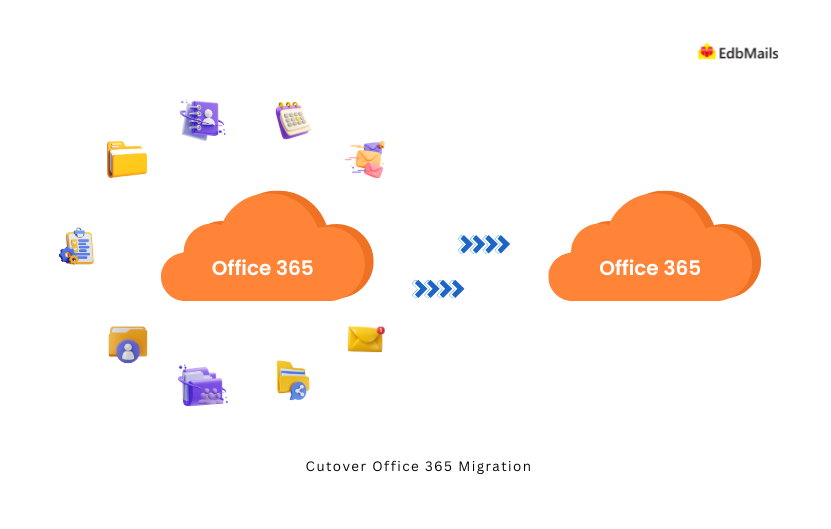
SMEs typically manage smaller datasets, the migration process typically spans a few days. Consequently, cutover migrations are often performed on weekends or outside regular business hours to minimize disruption.
Subsequently, utilizing delta migration in EdbMails Office 365 Migration ensures any new items on the source server are promptly transferred to target mailboxes before the final migration. Post-migration tasks typically involve updating MX records and possibly transferring domain ownership to the new server.
Once completed, employees can seamlessly transition to the new environment and resume normal operations with access to all migrated data.
- Strategic scenarios for Office 365 cutover migration
Cutover migration offers a direct approach for Office 365 migration, suitable for various strategic scenarios:
- Weekend Office 365 Migration Strategy:
Planning a migration to Office 365 over a weekend? EdbMails Office 365 cutover migration streamlines the transfer of all data—emails, contacts, calendars, and tasks—seamlessly without applying time or folder filters, ensuring zero disruption. After migration, update the domain in Office 365 and run incremental (delta) migrations for a smooth transition with zero downtime.
- Business Expansion:
During business expansion efforts, migrating data from one Office 365 tenant to another is crucial for scalability. Typically scheduled overnight for zero impact, this migration considers daily limits and other constraints. EdbMails facilitates setup and execution of the migration job, ensuring employees receive access to their new mailboxes promptly. Ongoing use of delta migration maintains data consistency.
- Strategic Business Transformation:
Cutover migration supports businesses undergoing strategic transformations, such as mergers or rebranding efforts involving Office 365 environments. Focused on migrating recent data, excluding older items and unnecessary folders, EdbMails allows for tailored migration configurations. After migration, updating domain settings ensures operational continuity without any disruption.
- Long-Term Migration Strategy:
Businesses managing extensive data volumes benefit from cutover migration for sustained Office 365 integration. Employees continue operations within the old Office 365 environment until migration completion, ensuring business continuity. EdbMails simplifies the migration process with continuous synchronization and minimal configuration requirements. Post-migration tasks include updating necessary settings and using delta migration for final data synchronization.
- Post-Acquisition Integration:
Post-acquisition, consolidating into a unified Office 365 environment streamlines operations and ensures data consistency. Cutover migration facilitates seamless data transfer between Office 365 tenants, scheduled to minimize operational disruptions. EdbMails supports efficient migration execution without the need for extensive scheduling, ensuring a smooth transition for all stakeholders involved.
- Weekend Office 365 Migration Strategy:
- Steps to perform cutover Office 365 migration using EdbMails
Step 1: Download and Install EdbMails
- Download EdbMailsSetup.exe and complete the installation.
- Launch the application and click ‘Login’ or ‘Start Your Free Trial’.
- Ensure your EdbMails system requirements for Microsoft 365 migration.
Step 2: Choose migration option
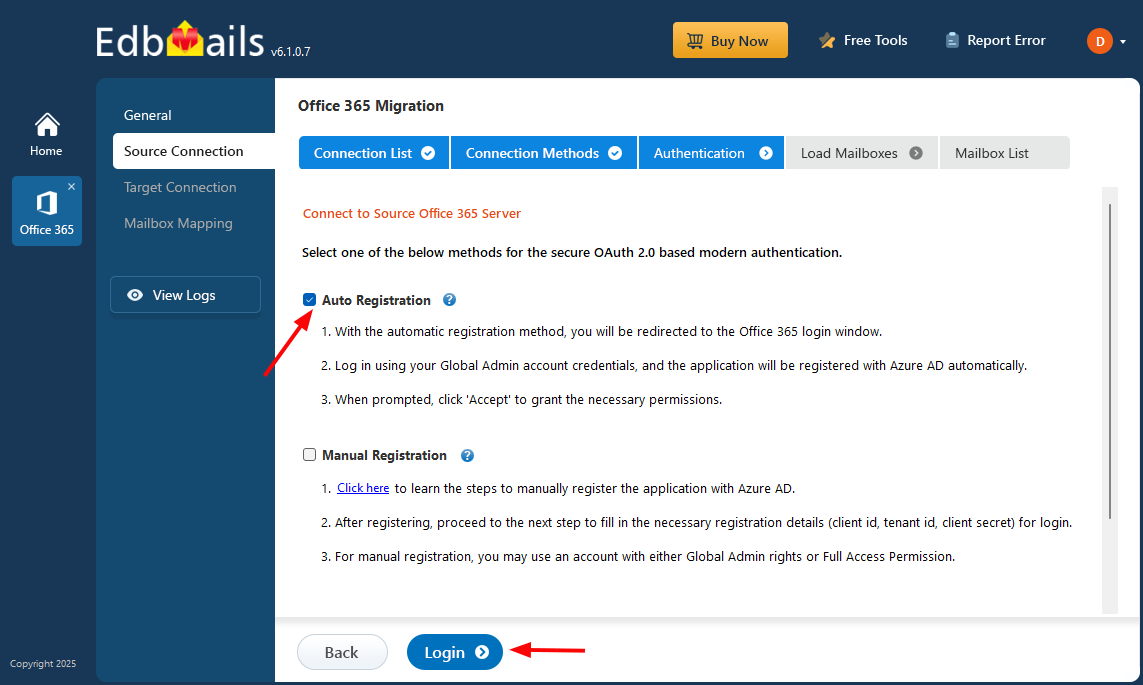
- Click ‘Add New Connection’ to set up the source tenant. If you've already connected earlier, simply select the connection from the list and click ‘Connect to Existing’ to proceed.
- Use secure OAuth 2.0 modern authentication and sign in via Microsoft.
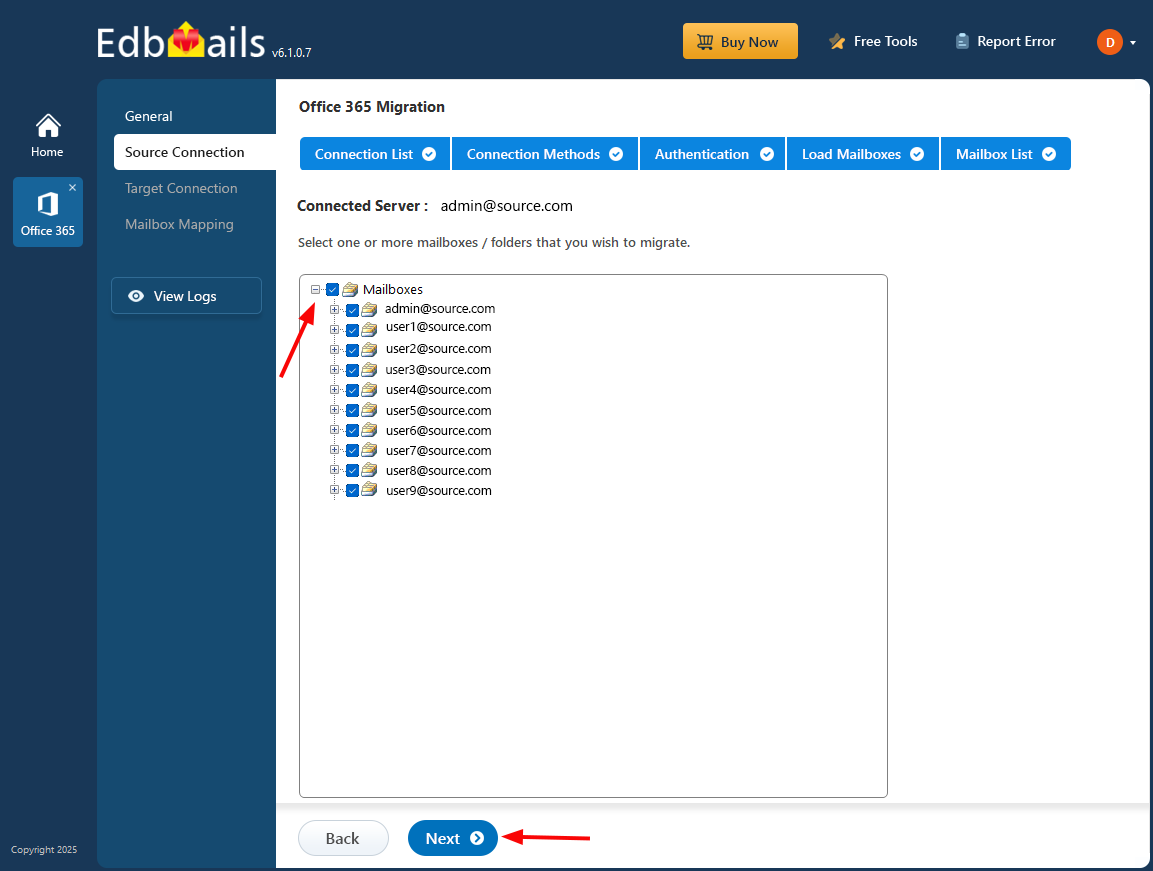
- Load mailboxes manually or via CSV file.
- Select the mailboxes to migrate and proceed.
Step 3: Connect to target Office 365
- Click ‘Add New Connection’ for the destination tenant. If a connection was previously created, select it and click ‘Connect to Existing’ to reuse it.
- Authenticate using the same secure method as above.
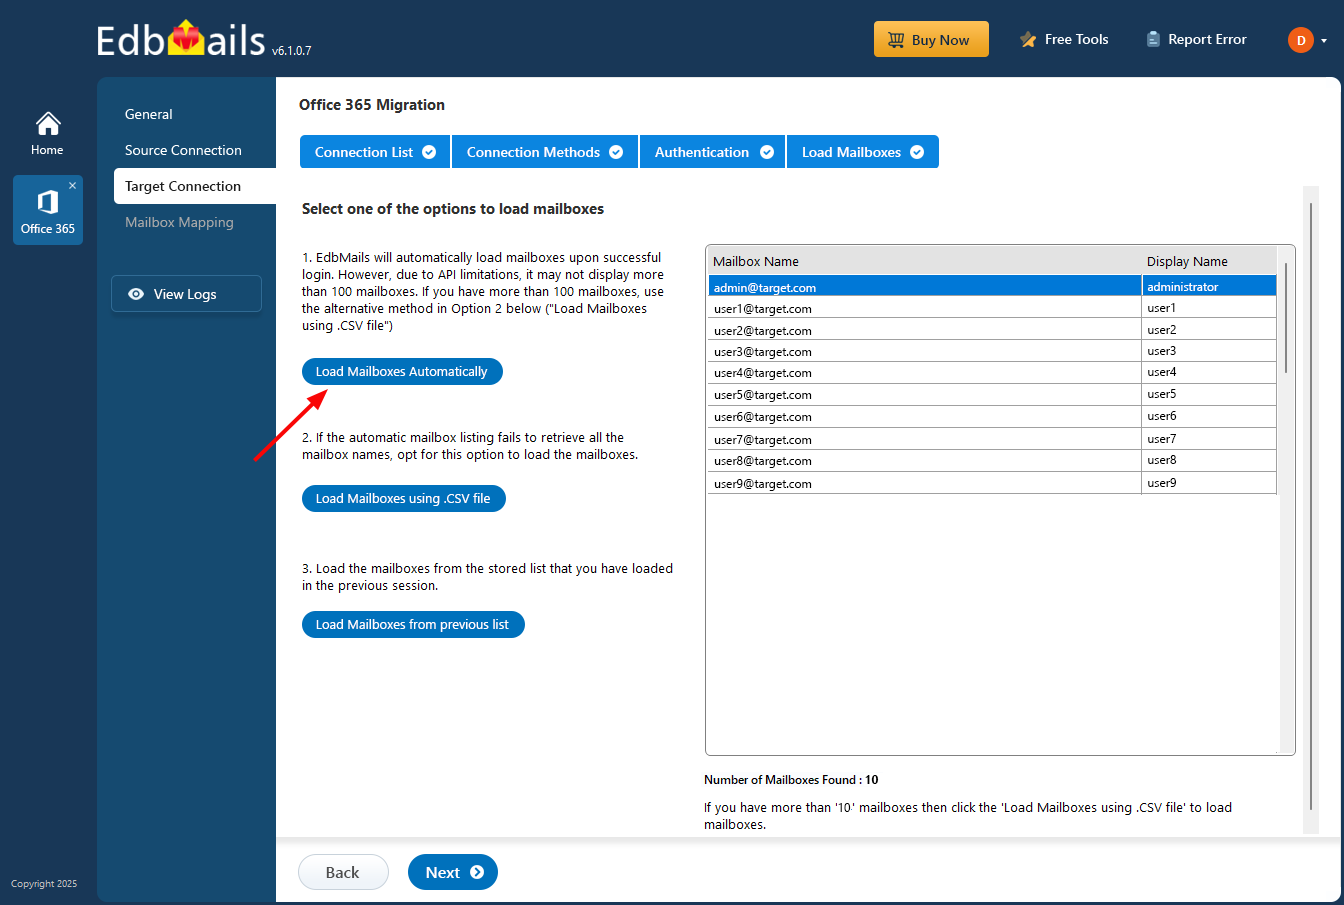
- Load the target mailboxes or use a CSV file.
Step 4: Map source and target servers
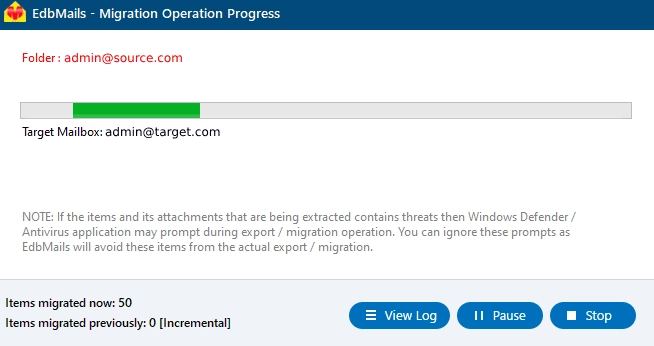
- Click ‘Start Migration’ to begin the process.
- You can pause or resume migration and view detailed logs anytime.
- Post migration steps
Step 1: Update the MX records to point to Office 365
First, add your domain to Office 365. If you haven’t updated DNS records before, modify the MX records to ensure emails are properly routed to Office 365. Additionally, configure the Autodiscover record to allow Outlook to connect to the migrated mailboxes.
Step 2: Clear the Auto-Complete list in Outlook
See manage suggested recipients with Auto-Complete.
Step 3: Create a new Outlook profile after migration
- Ensure each user has the latest Outlook version installed to avoid compatibility issues.
- Set up Outlook profiles for each user in your domain if they experience connectivity problems with Office 365 mailboxes.
- Configure Outlook with the new server settings, including server address, username, and password.
- Test email functionality to confirm that users can send and receive emails successfully.
Step 4: Remove the old Office 365 subscription plan
Once the migration is complete and you have confirmed the integrity of the migrated mailbox data, proceed to remove the Office 365 subscription plan from the source tenant, along with any associated domains.


