- Reseller
- Products Exchange EDB / Email Recovery Tools
- EDB Recovery and MigrationRecover EDB to PST, EDB to Office 365 and Exchange NO Duplicate Migration
- OST Recovery and MigrationRecover OST to PST, OST to Office 365 and Exchange Migration
- PST Recovery and MigrationRecover Outlook PST, PST to Office 365 and Exchange Migration
- MBOX Export and MigrationExport MBOX to PST, MBOX to Office 365 and Exchange Migration
- NSF Export and MigrationExport NSF to PST, NSF to Office 365 and Exchange Migration
- EML to PST ExportEML files export to Outlook PST format
- PST to MSG ExportOutlook PST files export to MSG format
- MSG to PST ExportExport MSG files Outlook PST files
Exchange and Office 365 Migration- Exchange Server MigrationMigrate Exchange 2007, 2010, 2013, 2016, 2019 to Office 365 tenants. Also, migrate between Exchange servers and PST
- Office 365 MigrationMigrate Source Office 365 tenants to Destination Office 365 tenants. Also, migrate to Exchange Server and PST
- IMAP Email Backup & MigrationMigrate all IMAP email servers (Gmail, Zimbra, Zoho, Yahoo etc.), Office 365, Exchange and Backup to Outlook PST
- SharePoint Online MigrationMigrate documents, files and folders from SharePoint sites
- OneDrive for Business MigrationMigrate documents, files and folders from OneDrive
- Microsoft Teams MigrationMigrate Teams, documents, files and folders etc.
Exchange and Office 365 Backup- Office 365 BackupIncremental, Granular, Encrypted and Compressed Office 365 Mailboxes Backup
- Exchange Server BackupIncremental, Granular, Encrypted and Compressed Exchange Mailboxes Backup
- SharePoint, OneDrive & Teams BackupBackup Online site collections, Team sites, Office 365 groups, all documents etc.
- Duplicate Remover - Office 365, Exchange, IMAP & Outlook Remove duplicate emails, calendars, contacts, journal etc. from Office 365, Exchange, IMAP, Outlook, Gmail, Zimbra, Zoho Mail etc.
- More Products
- Features
- Video Tutorials
- Free Tools
- FAQ
- Knowledge Base
Public Folder Migration - Step by Step Guide
Migrate Public Folder from Live Exchange to Office 365 Or to destination Live Exchange server and PST
a. Download the EdbMails setup and install it on your computer where you have your Offline EDB file that you wish to recover. Download
b. Double click the EdbMails setup (EdbMailsSetup.exe) to start the installation process.
c. On the Welcome page, click "Next >" to proceed. And to complete the installation, follow the instructions that appear on the installation screens accordingly.

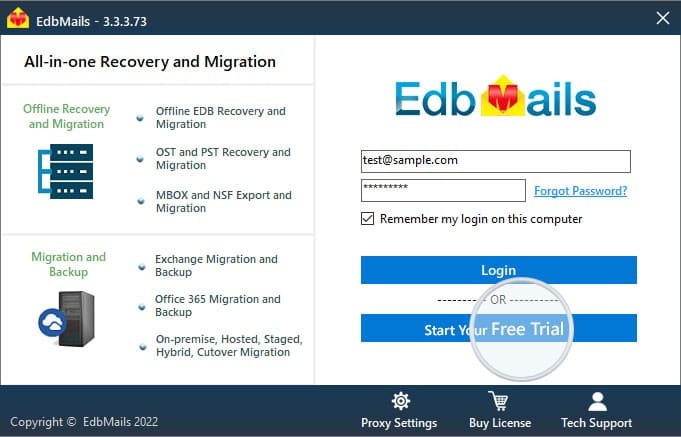
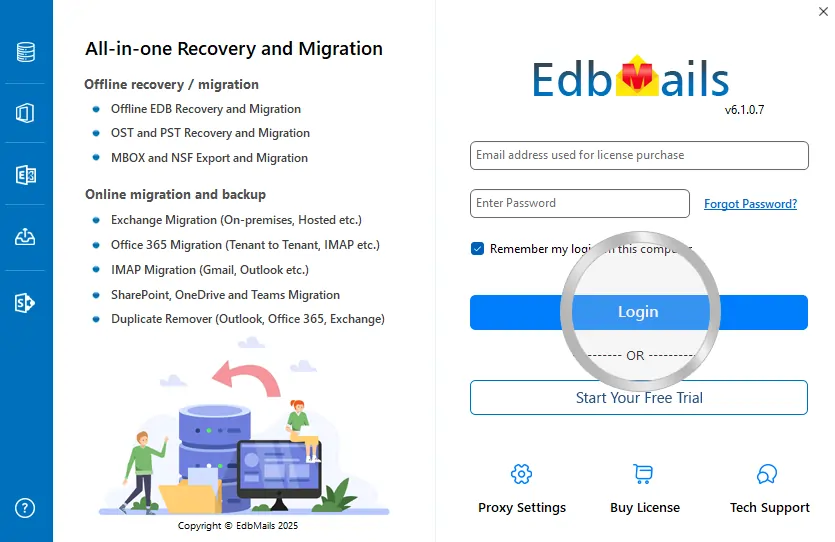
Click the "Start Your Free Trial" button
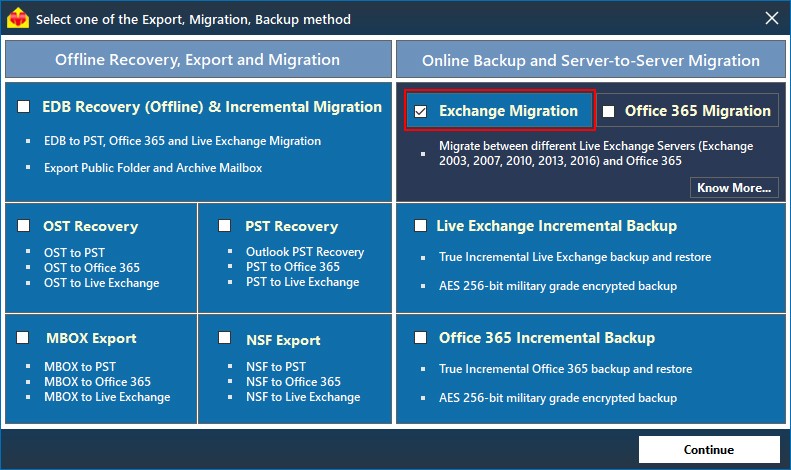
Select the Export Method as "Exchange Migration" and click "Continue".
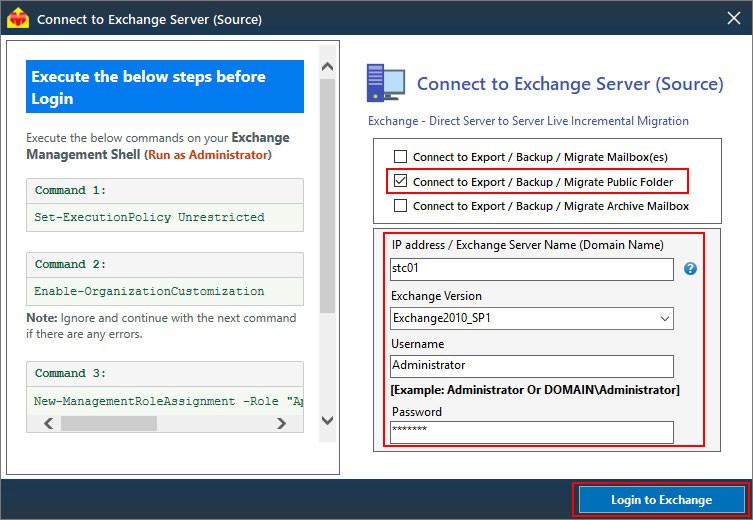
a. Select the "Connect to Export / Backup / Migrate Public Folder" checkbox as shown in the below image. Enter the Live Exchange account credentials to connect to Source Exchange Server and click "Login to Exchange". Before connecting to Live Exchange server make sure to set the impersonation rights to a Exchange server user.
Click here to know how to set the impersonation rights.
b. After successful login, verify all the required Live Exchange mailboxes are listed and click "Continue".
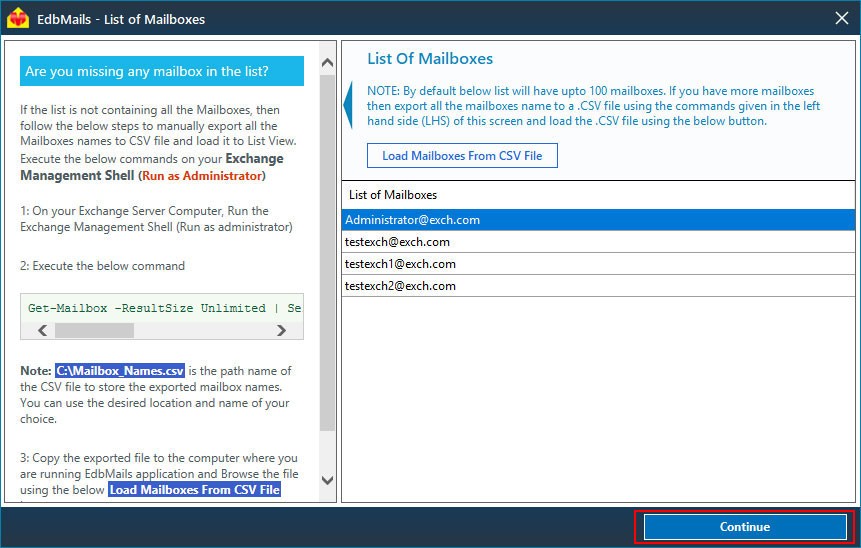
If you are able to view all the Exchange server user accounts, click the “Continue” button
or
In List of Mailboxes, if you are missing the Mailbox names, then execute the powershell commands to generate the CSV file.
Command:
Get-Mailbox -ResultSize Unlimited | Select-Object PrimarySmtpAddress, DisplayName | export-csv "C:\Mailbox_Names.csv"
Result
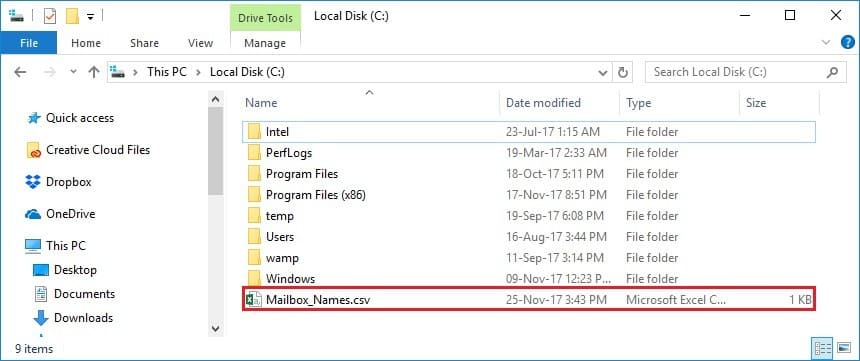
Verify the generated CSV file, check for the missing mailboxes.
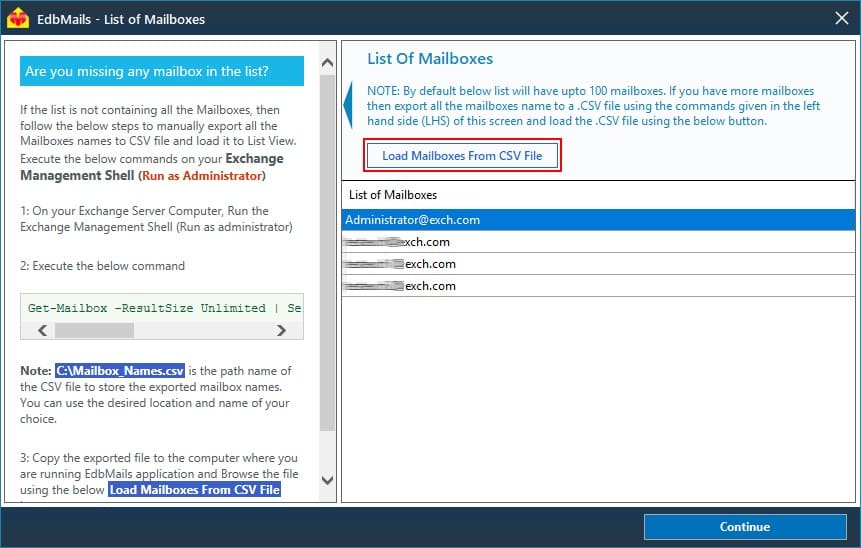
Click the “Load Mailboxes From CSV File” button
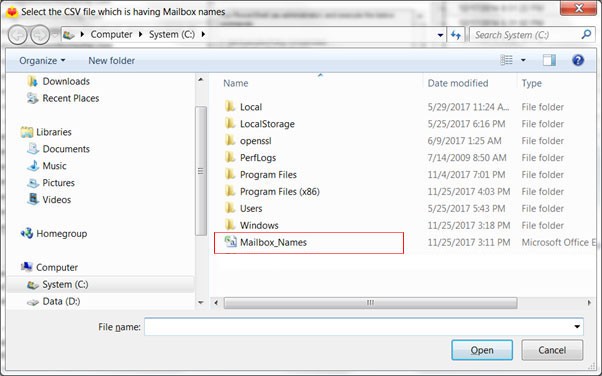
Select the generated CSV file
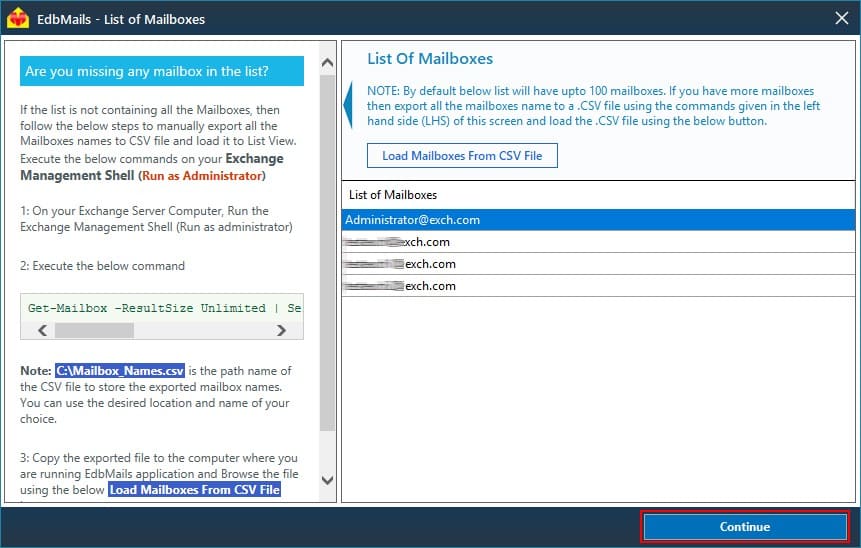
Click the "Continue" button
c. Select the export location by browsing to desired location and click "OK".
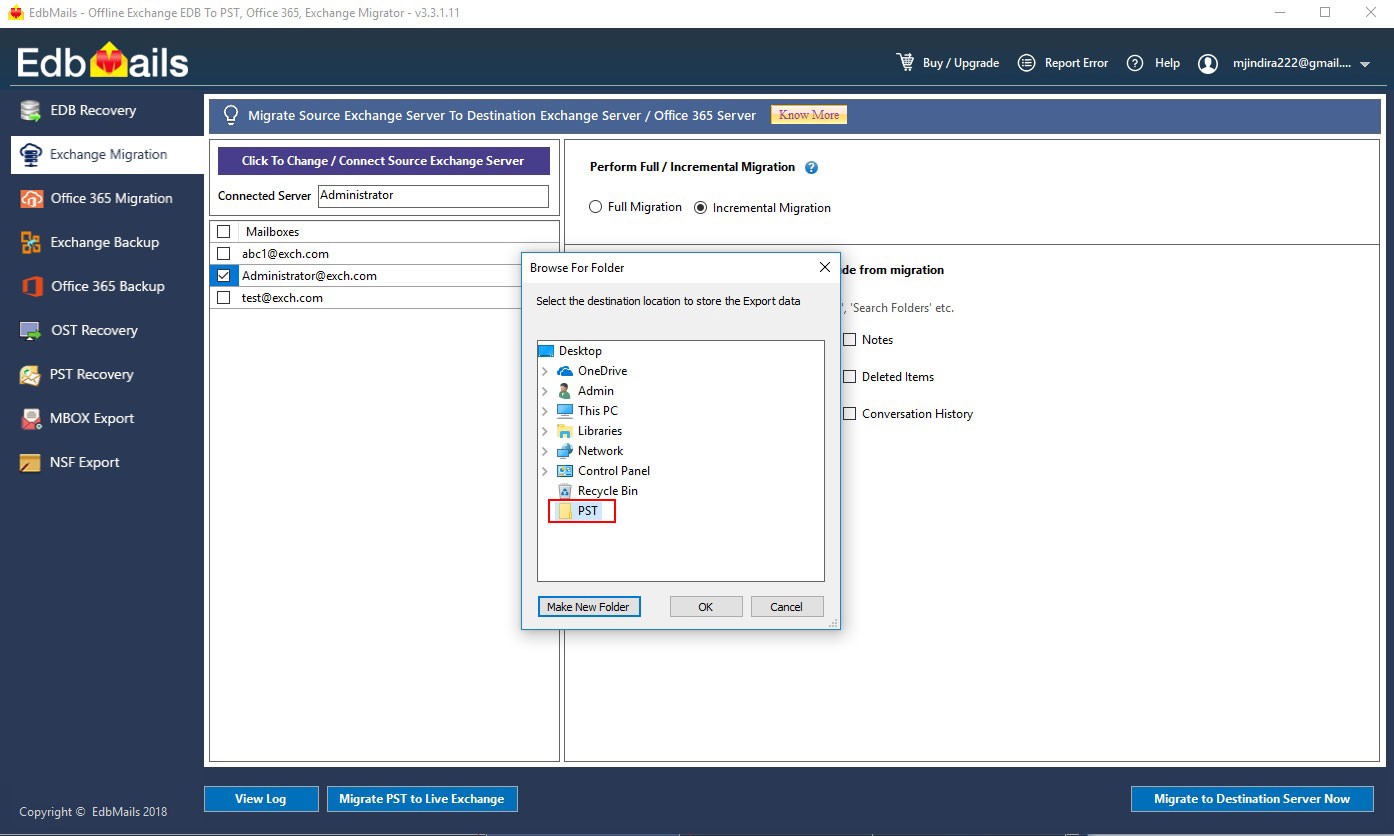
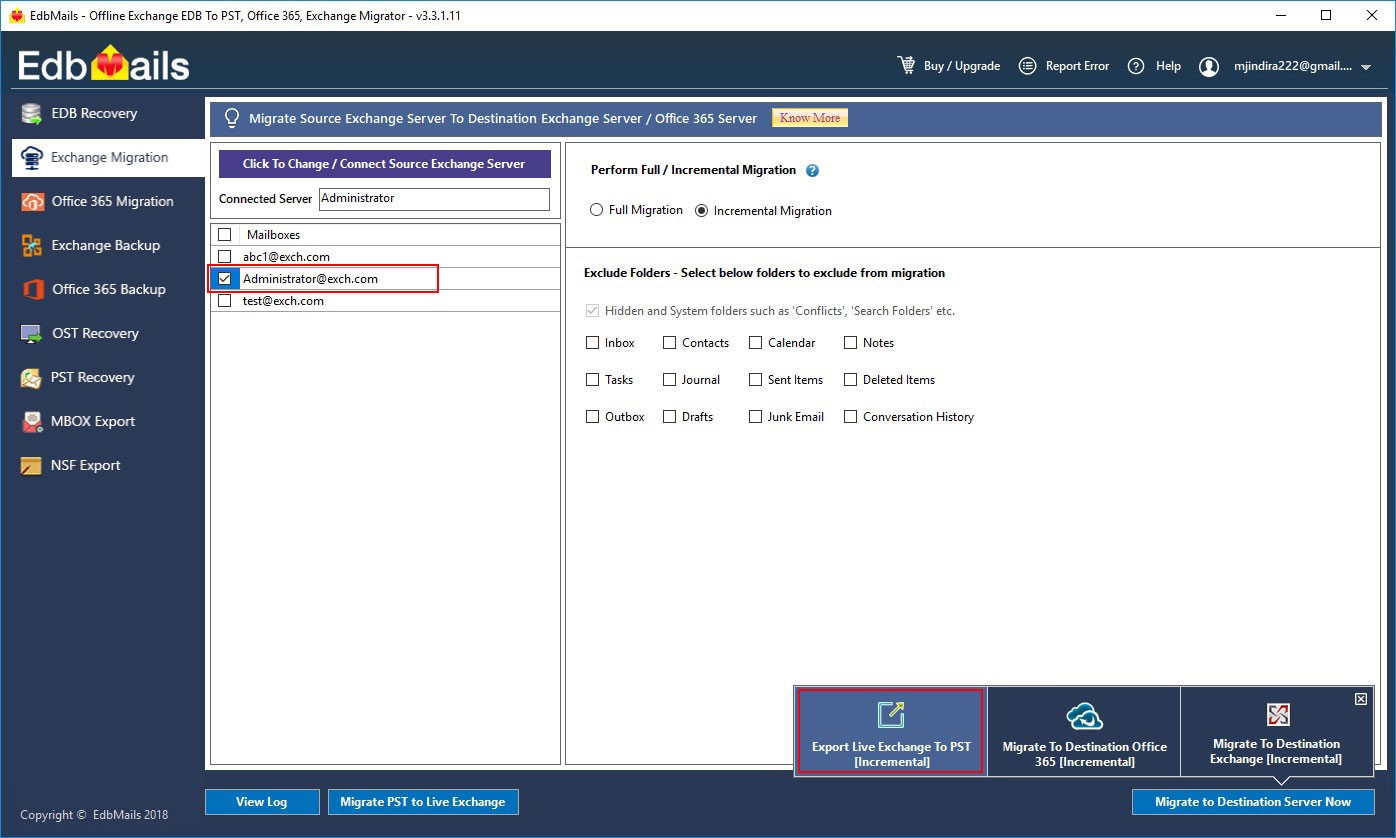
d. Select the Public folder associated mailbox. Afterwards, select “Export Live Exchange to PST [Incremental]” button
For Instance : If you have associated administrator@exch.com mailbox to your Public Folder then select administrator@exch.com to Migrate / Export your Public Folder.
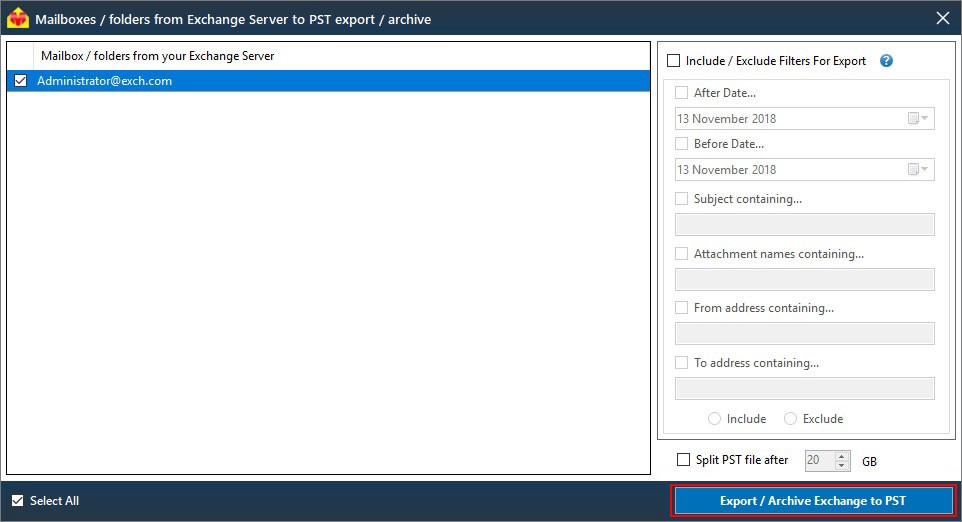
e. Include or exclude mails by date, subject, attachment, to/from address, if necessary, using the filtering options and click “Export / Archive Exchange to PST”
f. During the export operation, detailed progress will be displayed as shown in the screenshot below
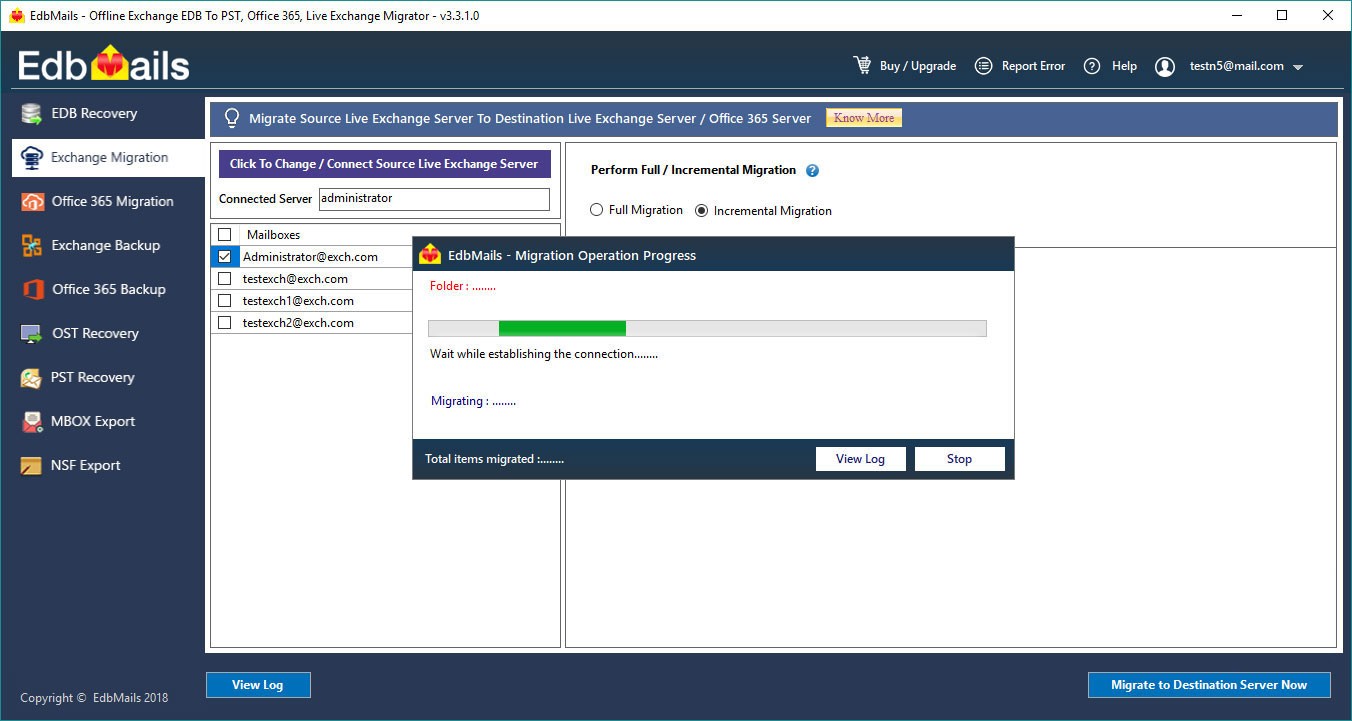
h. Once the Export operation is completed, the message "Export operation has been completed" will be prompted.
EdbMails Demo / Trial Version
Step 1. Download and install EdbMails
Step 2. Click the 'Start Your Free Trial' button

Hi, May I help you?
Hide Chat Now