Step by step guide to backup Exchange server
Ensuring the safety of your Exchange Server data is critical for maintaining business continuity and protecting against unexpected data loss. From accidental deletions and server failures to ransomware attacks, organizations face multiple risks that can disrupt access to important emails and communication. This is why having a secure and reliable Exchange Server backup strategy is more important than ever.
EdbMails Exchange Server Backup Tool is a trusted solution designed to help you safeguard your mailboxes with ease. It supports full and selective backups of emails, calendars, contacts, tasks, and more from on-premises. The software is built for simplicity and reliability, making it easy to configure and use.
What sets EdbMails apart is its incremental backup feature, which captures only new or modified items after the initial backup—saving time and storage. Your data remains protected with military-grade AES 256-bit encryption, and you have the flexibility to use either a default encryption key or define your own private encryption key for added security and compliance.
This step-by-step guide will walk you through the process of backing up Exchange Server mailboxes using EdbMails, helping you protect your email data with confidence and clarity.
Prerequisites to backup Exchange server mailboxes
Before starting the backup process of your Exchange Server mailboxes using EdbMails, ensure the following prerequisites are met:
- Verify that your computer or target drive has adequate available space to accommodate the encrypted backup data. The size of the backup can differ based on the size of the mailboxes, attachments, and the number of users.
- If connecting to the Exchange server with a Global Admin account, ensure that impersonation rights are granted for proper access and functionality.
Steps to set impersonation rights in Exchange 2007
Steps to set impersonation rights in Exchange 2019, 2016, 2013, 2010
- Confirm that the Exchange Server and Windows OS are running the latest cumulative updates and security patches
- Ensure that the computer with EdbMails installed has the necessary network access and firewall permissions to establish a connection with the Exchange Server.
Exchange server backup steps using EdbMails
Step 1: Download and install EdbMails Application
- Download and install the EdbMails application on any Windows computer that can connect to your Exchange server.
- Log in with your registered email address and password, or click 'Start Your Free Trial' to explore the features without creating an account.
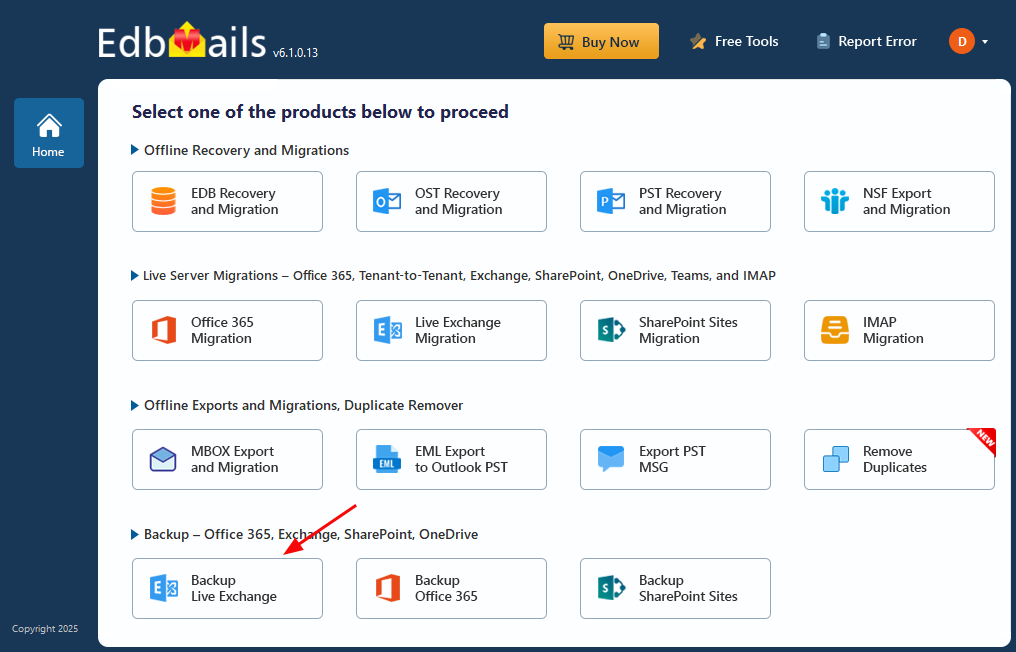
- From the list of the product select ‘Backup Live Exchange’.
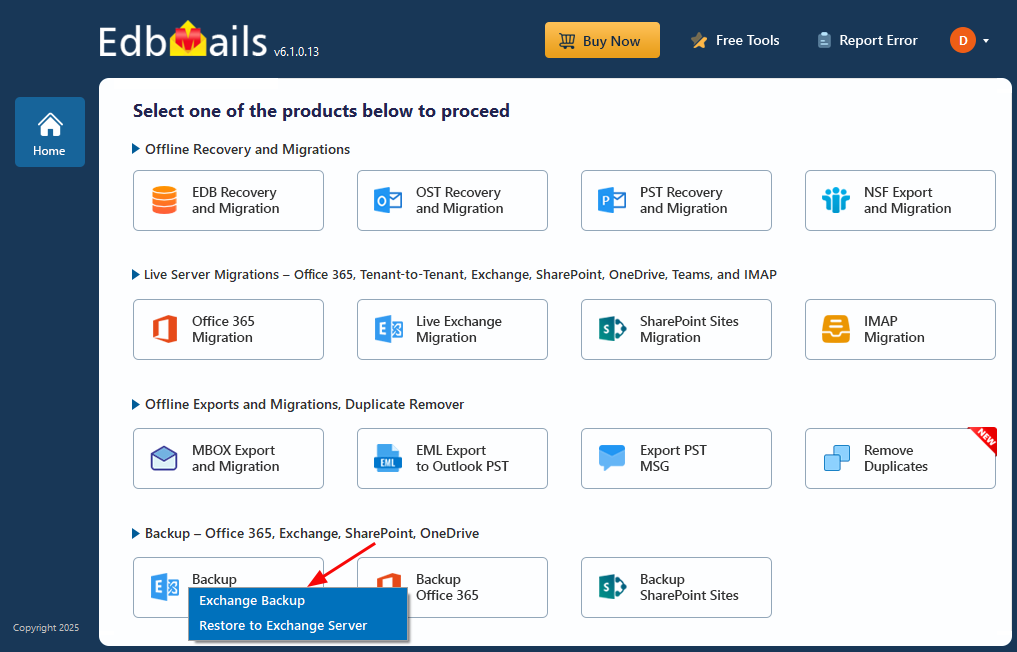
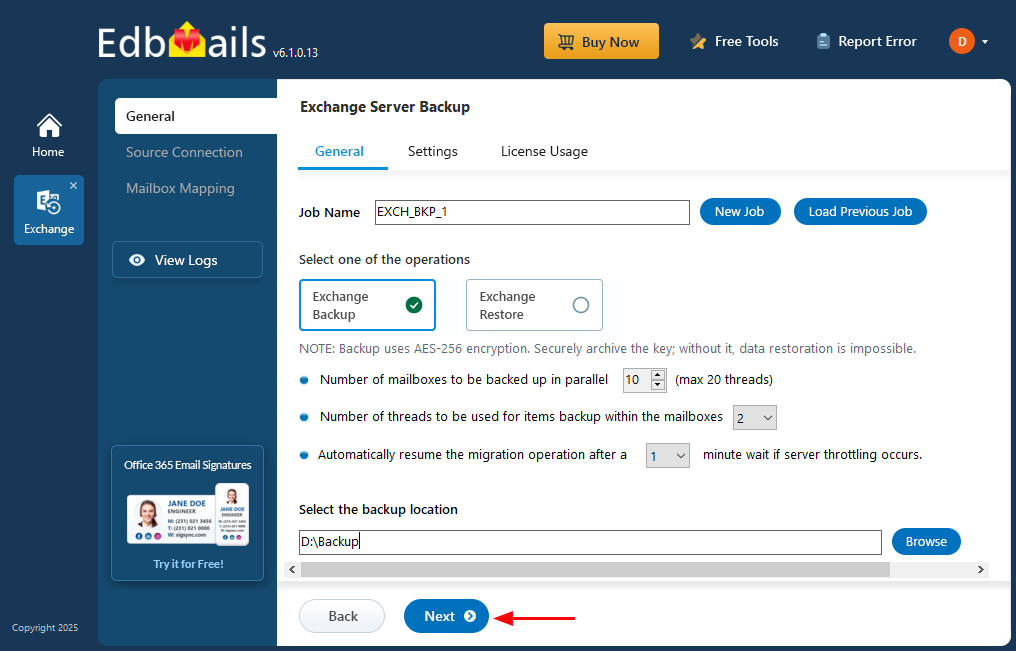
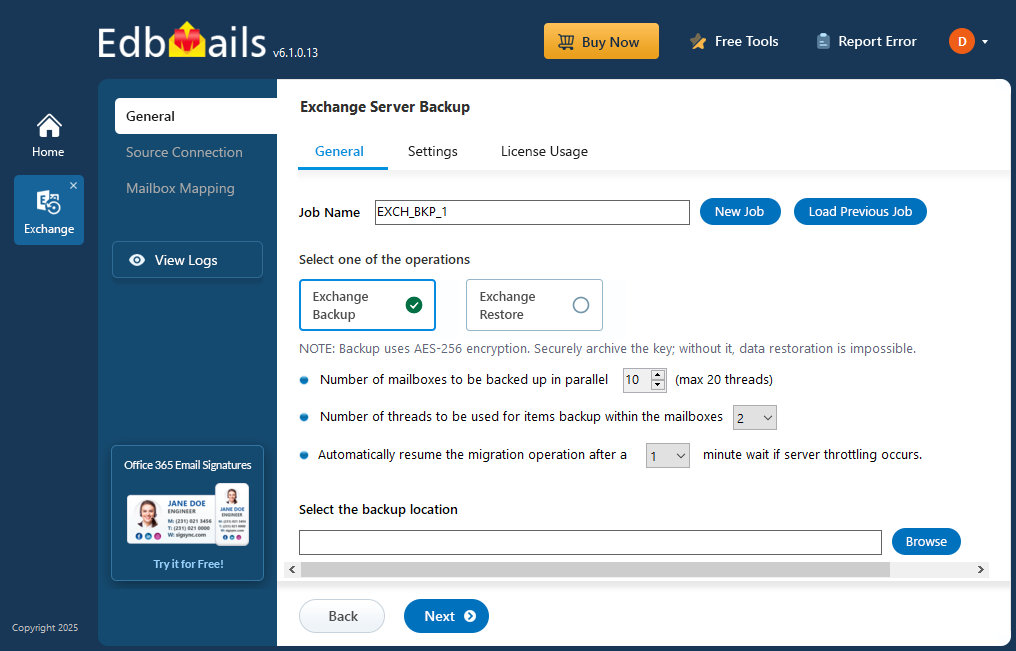
- Select ‘Exchange Backup’ as backup option
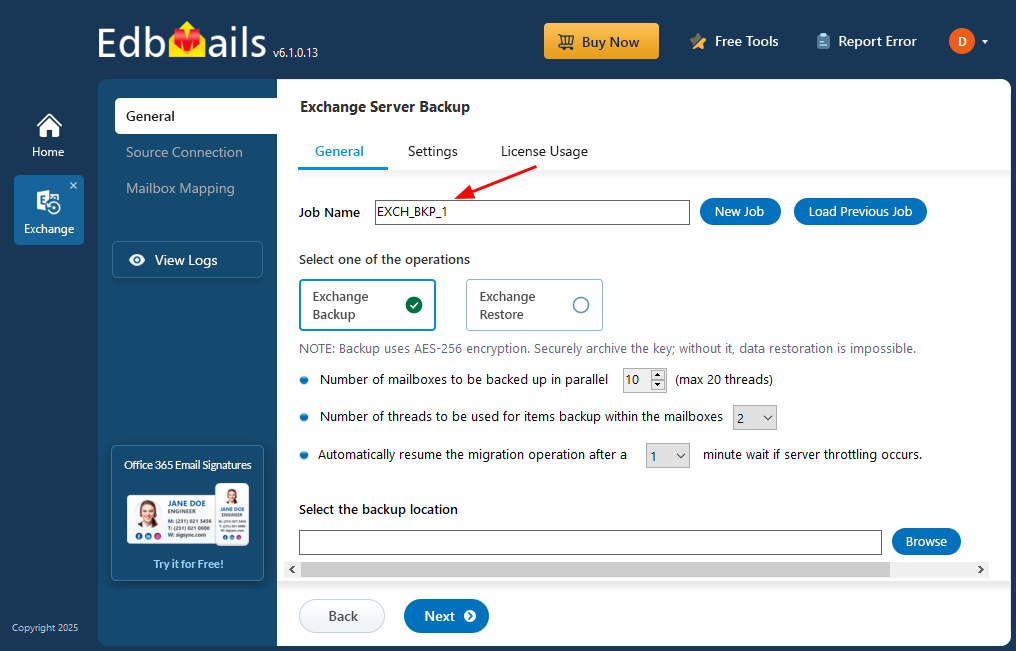
- You can either keep the default job name or click ‘New Job’ to give it a name that will be easier to identify later.
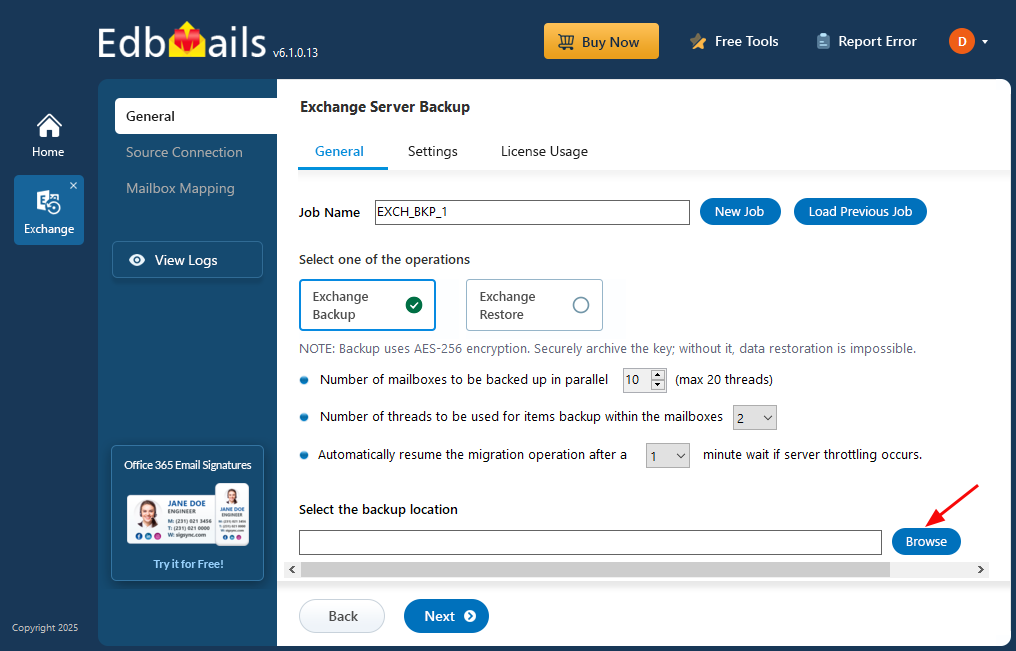
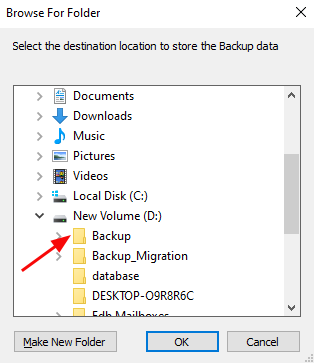
- Click the ‘Browse’ button
- Select the location to store the backup data
- Click ‘Next’ to continue.
Step 2: Connect to source Exchange server
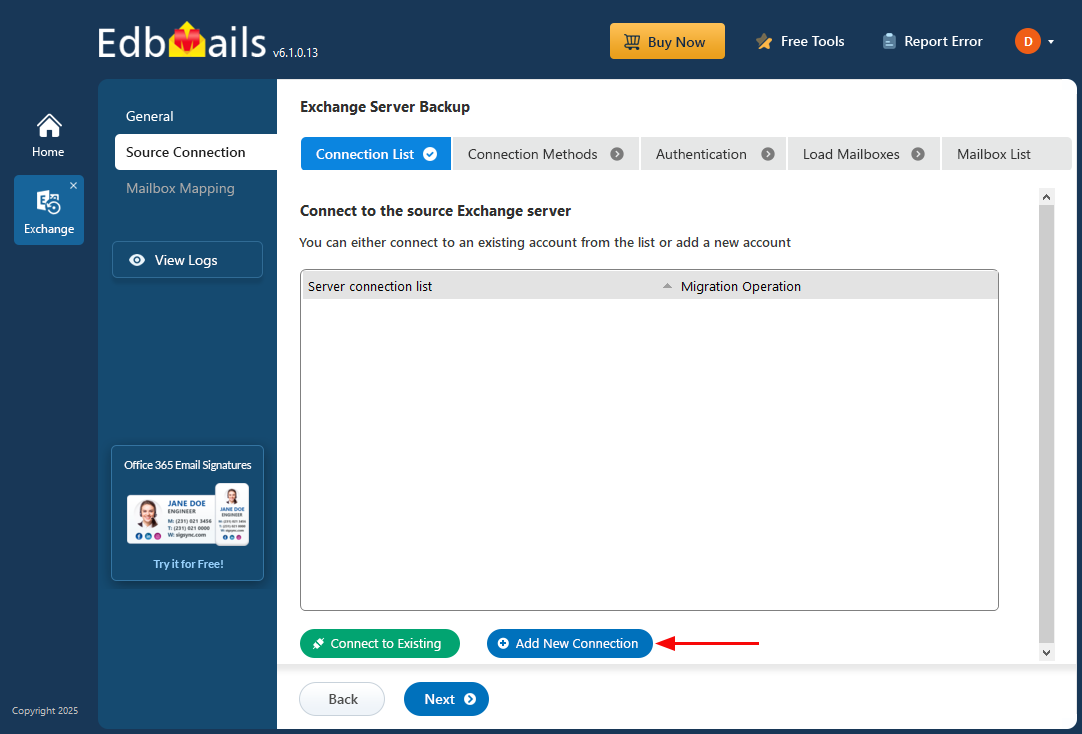
- To connect to the source Exchange server, click ‘Add New Connection’ to set up a new connection. If a connection already exists, simply select it from the list and click ‘Connect to Existing’ to continue.
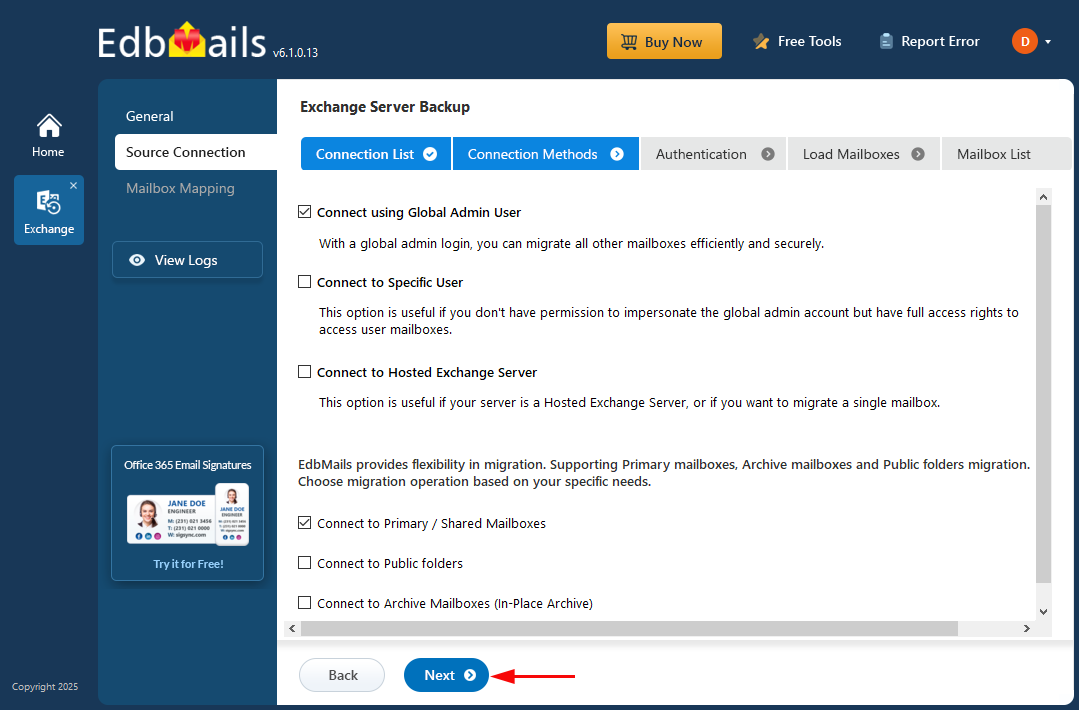
- Select the required connection options, then click ‘Next’ to continue.
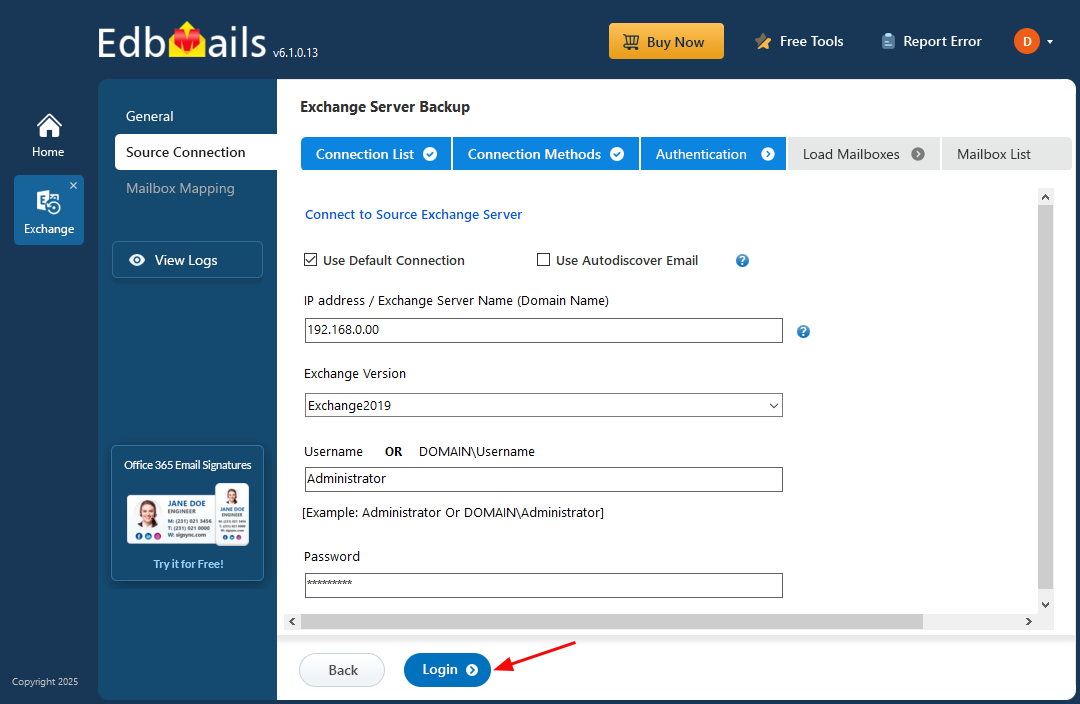
- Enter the source Exchange server details and click the ‘Login’ button.
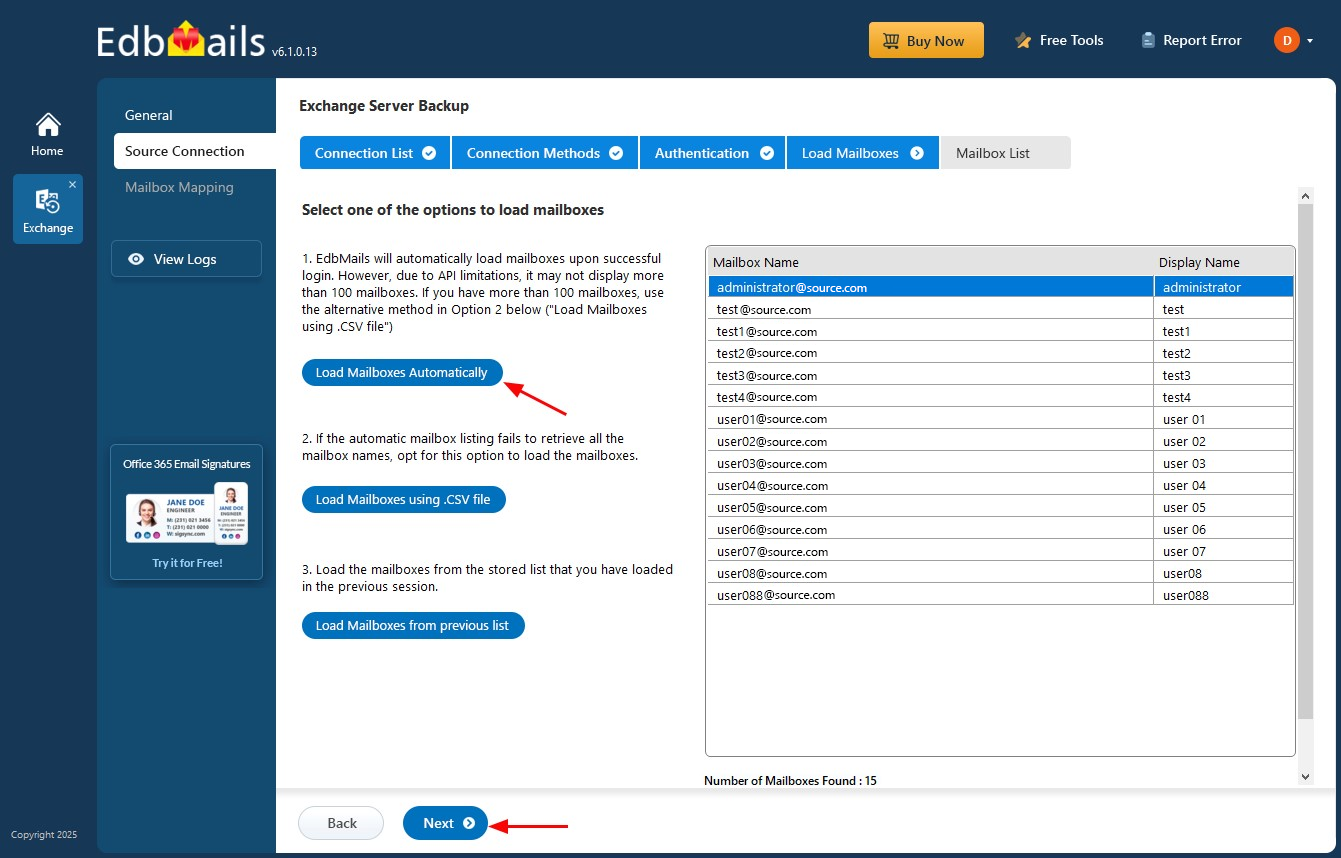
- After logging into the source Exchange server, select the method for loading the mailboxes. EdbMails automatically loads mailboxes, but due to Microsoft API limitations, it can display up to 100 mailboxes. If you need to load more than 100, choose the Load Mailboxes using .CSV file option to load all mailboxes without restrictions.
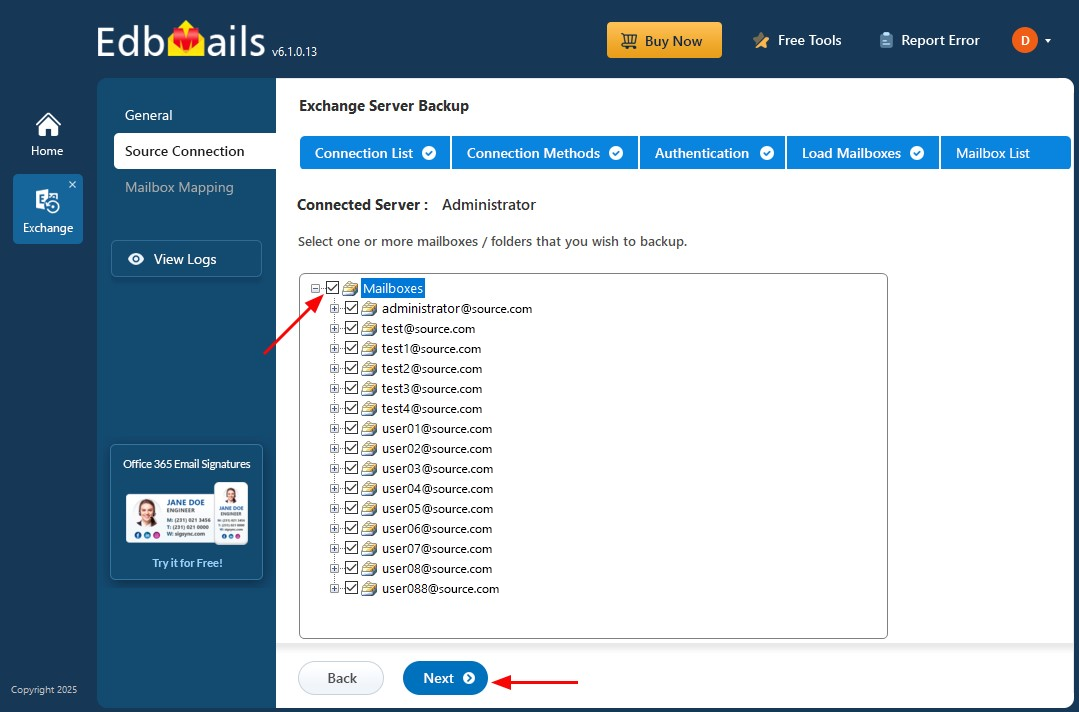
- Choose the mailboxes you want to backup from the source Exchange server, then click ‘Next’ to continue.
Step 3: Mailbox Mapping
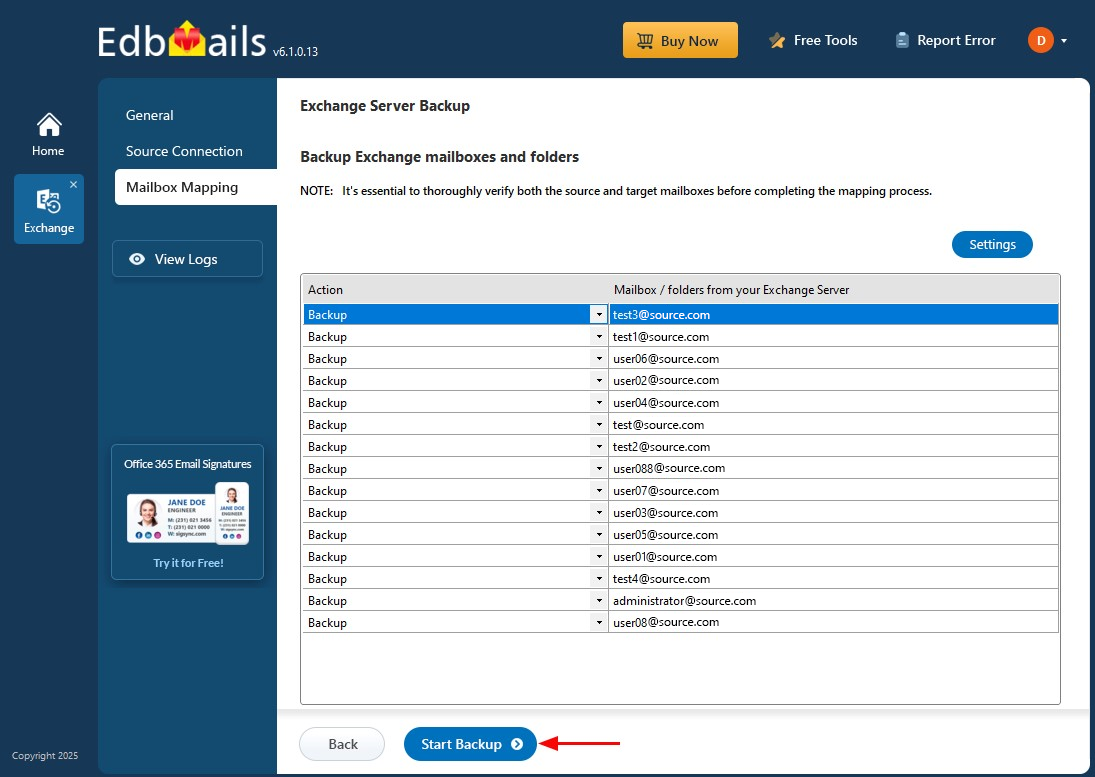
- Check the selected mailboxes for backup, then click ‘Start Backup’ to begin backing up mailbox data from the live Exchange server.
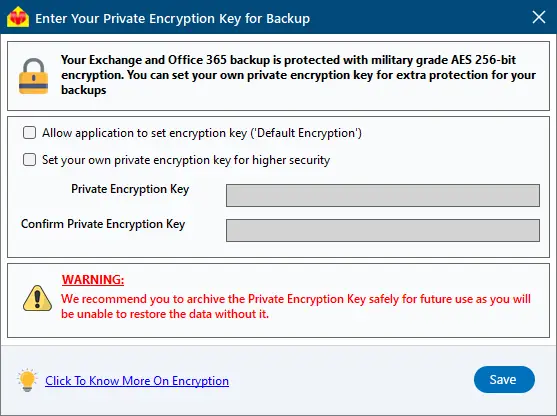
- Choose whether to use the default encryption or create your own private key for enhanced data protection. If you set a private encryption key, be sure to store it safely—you’ll need it next time you perform a backup or restore.
- Click ‘Save’ to apply your encryption settings.
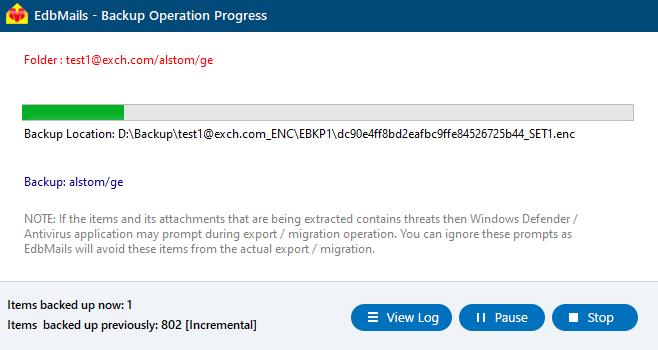
- That’s it! EdbMails will automatically start the backup and notify you upon completion. You can click 'View Logs' to check the detailed report, and pause or resume the backup whenever needed.


