SharePoint Online Backup Guide
SharePoint Online plays a critical role in modern collaboration—storing documents, managing content, and powering team communication across organizations. However, relying only on Microsoft’s built-in retention policies can leave important data exposed to risks like accidental deletions, permission misconfigurations, or malicious activity. Once the recycle bin retention expires or data is overwritten, recovery can be difficult or impossible without a dedicated backup.
To address this gap, the EdbMails SharePoint Backup tool offers a reliable way to protect your SharePoint Online data. It enables secure backups of sites, document libraries, lists, and files—ensuring that your content remains accessible and restorable regardless of what happens in the live environment.
EdbMails also gives you useful features like item-level recovery, automatic scheduled backups, and selective export options. This means you have more control over your data, without having to rely only on Microsoft’s built-in tools. This guide will walk you through the process of backing up SharePoint Online with EdbMails, helping you take full control of your cloud content and restore it easily whenever needed.
Prerequisites to backup SharePoint data
- Get the SharePoint source server URL, Admin center url, Office 365 Admin account and Password.
- Provide admin access to each SharePoint site. You can allow EdbMails to handle this automatically through the SharePoint login window, or if you’d rather do it yourself, use the link below for manual steps:
Steps to add Global admin as a member of each SharePoint site.
Step by Step Guide for SharePoint Online Backup
Step 1: Download and install EdbMails Application
- To get started, simply download and install the EdbMails application on any Computer windows OS.
- Log in with your registered email address and password, or click 'Start Your Free Trial' to explore the features without creating an account.
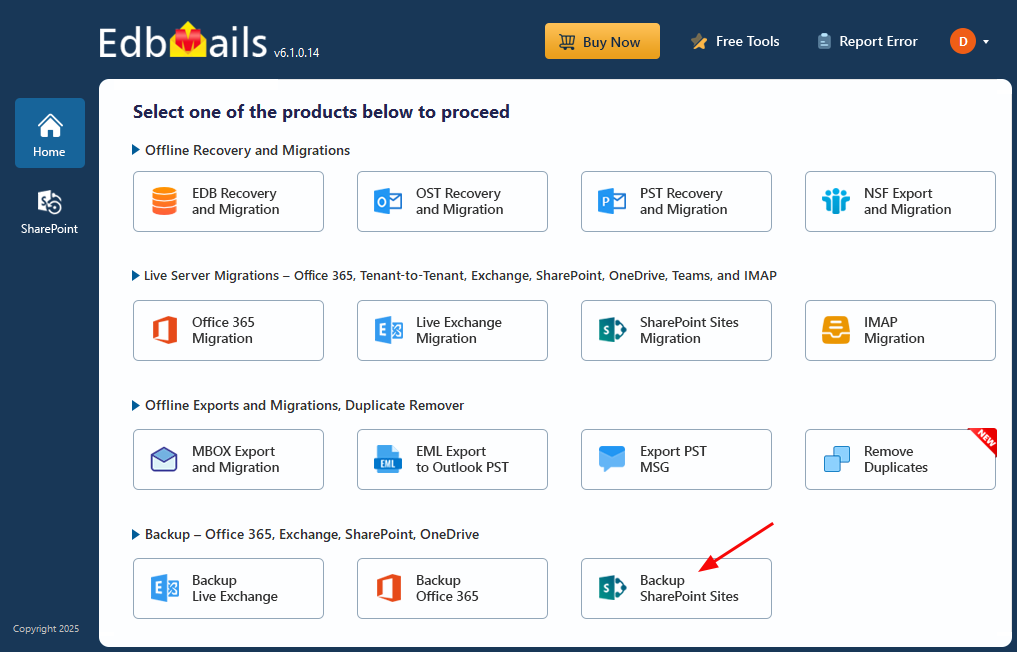
- Select ‘Backup SharePoint Sites’.
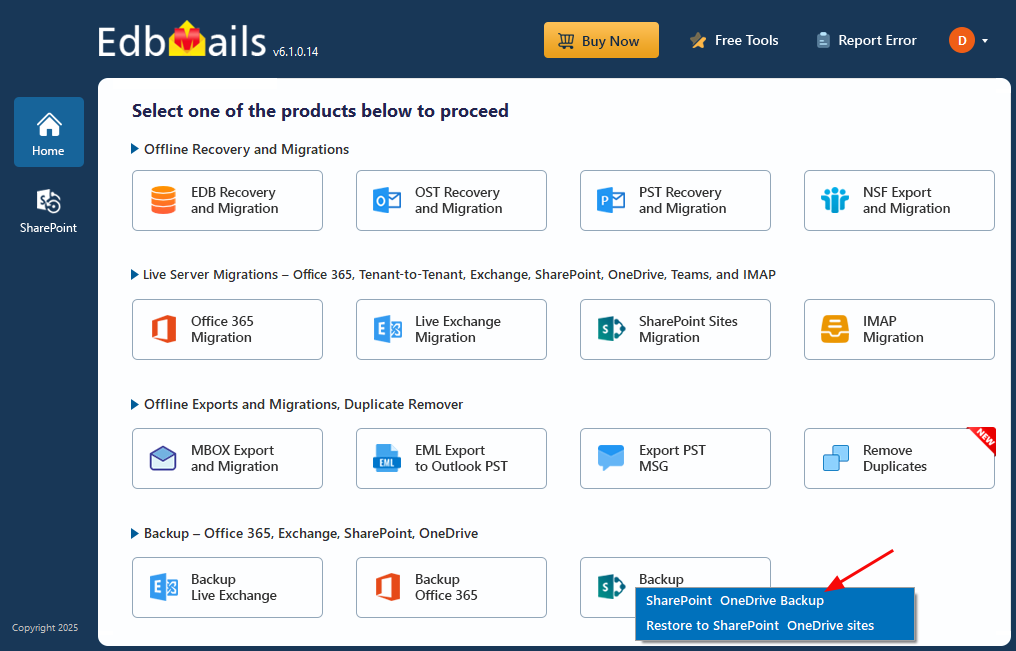
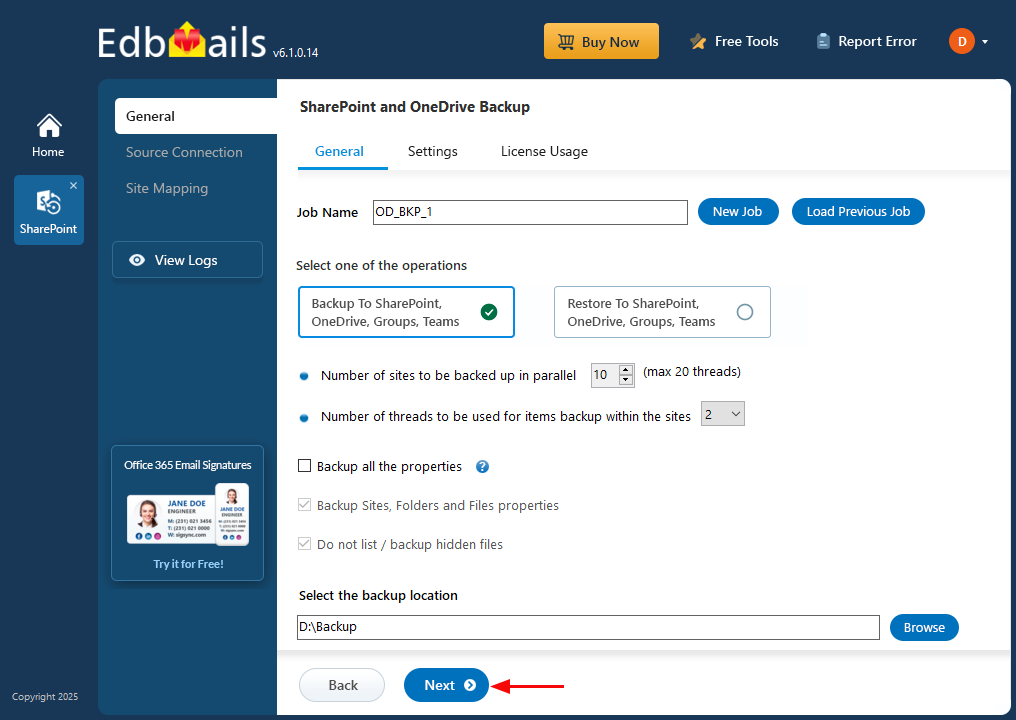
- Select the option ‘SharePoint OneDrive Backup’.
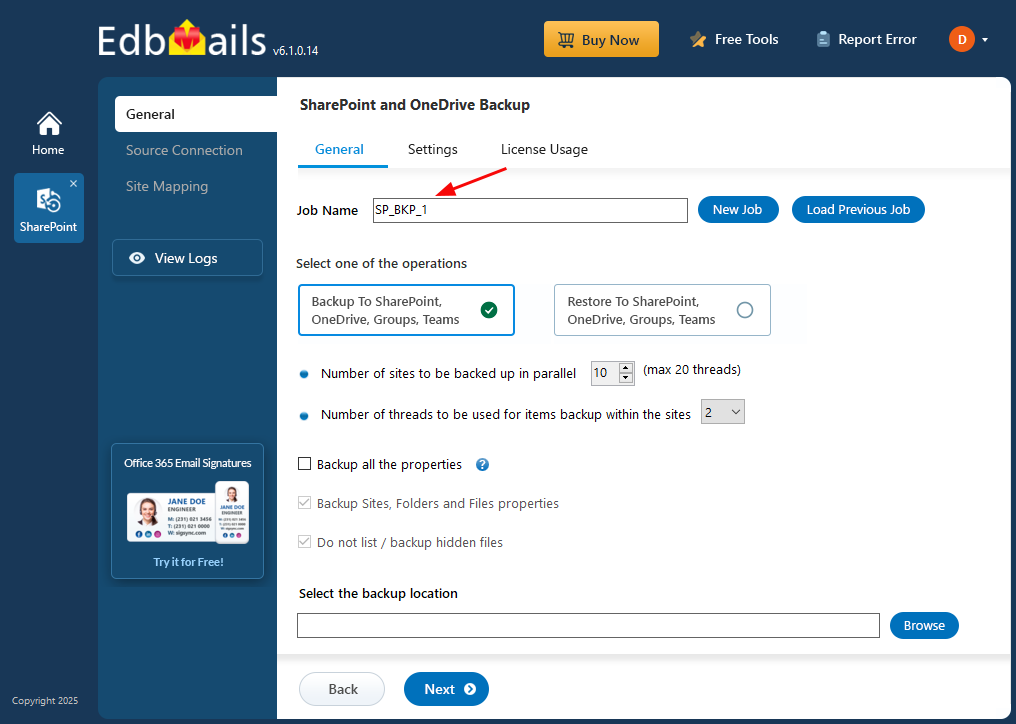
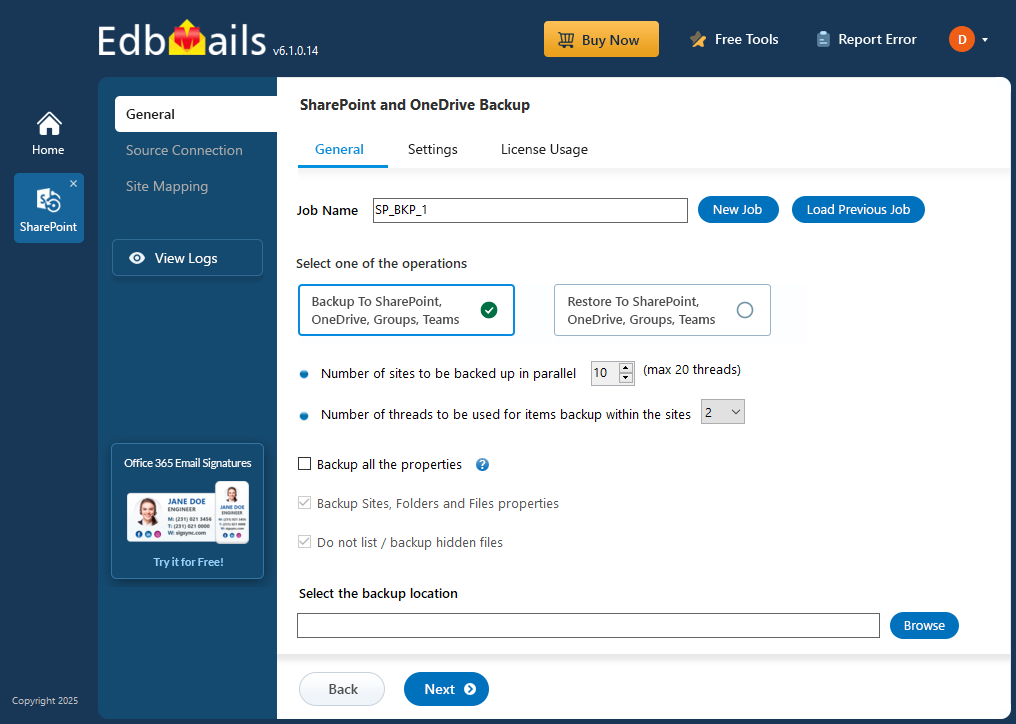
- You can proceed with the default job name or click ‘New Job’ to change a custom name for easier identification.
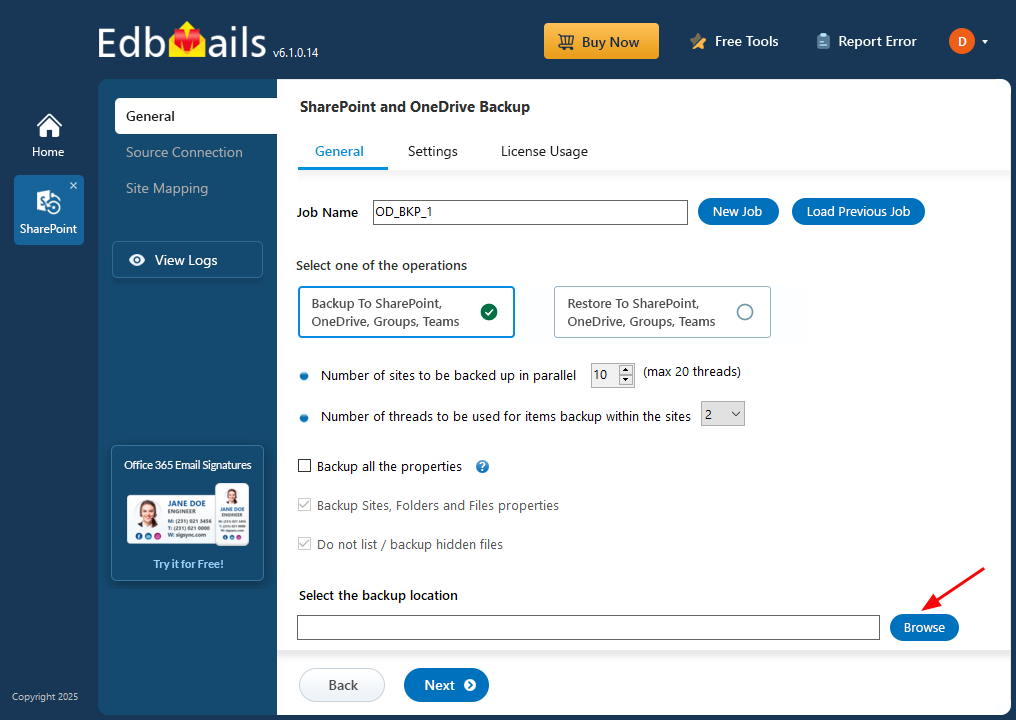
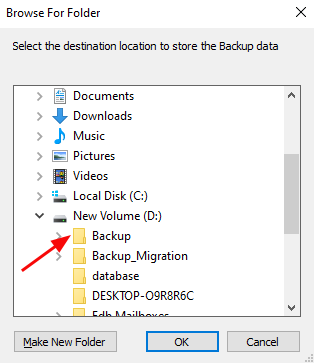
- Click ‘Browse’.
- Select the location to store the backup data.
- Click the ‘Next’ button to continue.
Step 2: Connect to SharePoint Server
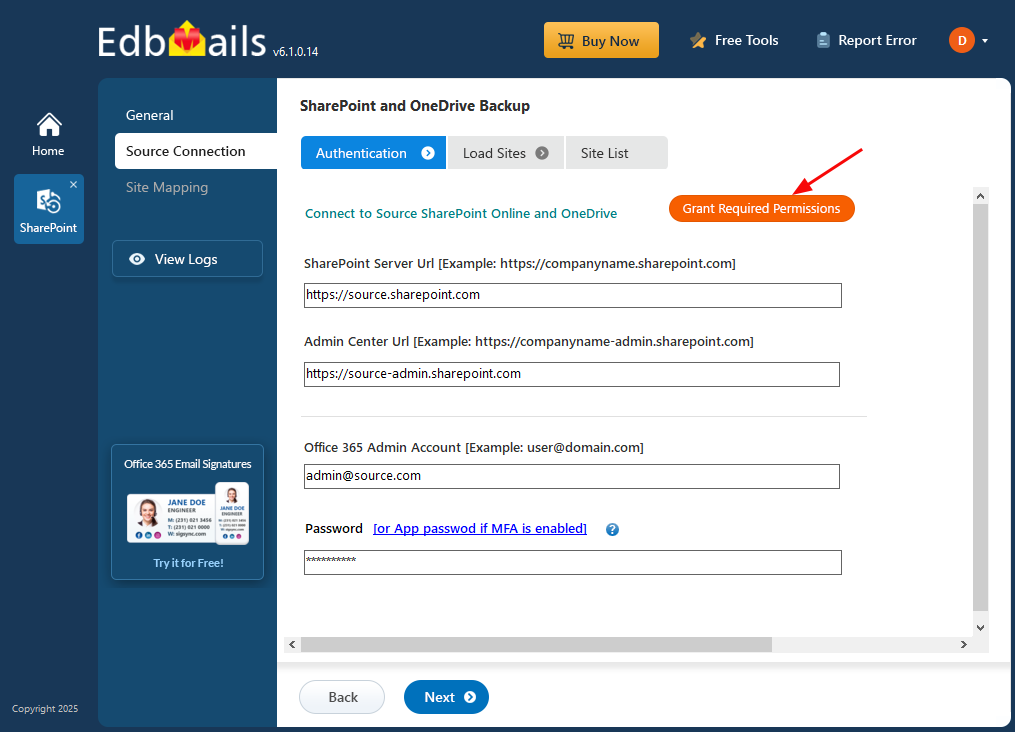
- Enter the source SharePoint server url, admin center url, Office 365 Global admin account email address and password.
- Then, click the ‘Grant Required Permissions’ button.
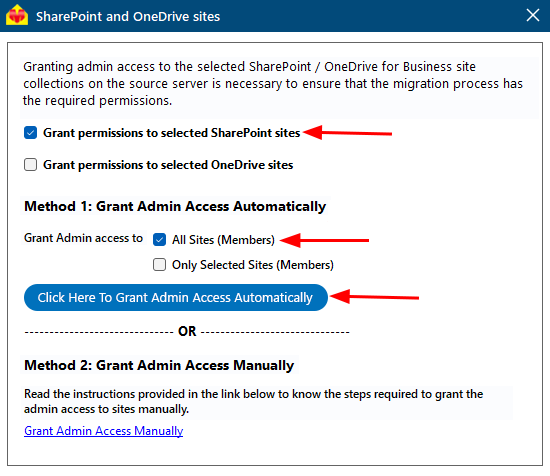
- Click the option ‘Grant permissions to selected SharePoint sites’.
- Choose either ‘All Sites (Members)’ or ‘Only selected Sites (Members)’ based on your preference.
- Click on ‘Click Here To Grant Admin Access Automatically’.
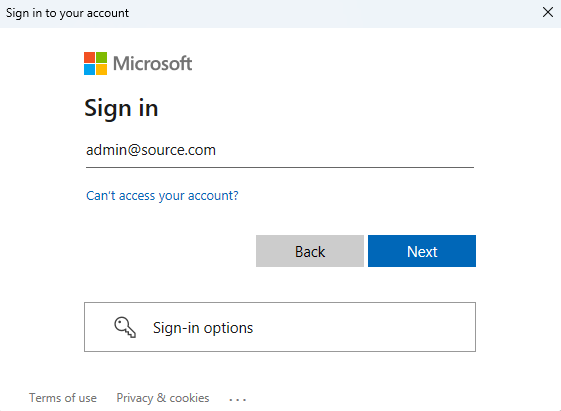
- A PowerShell window will appear in the taskbar, prompting you to authenticate on the Microsoft Sign-In page with a Global admin account.
Note: Keep checking the taskbar, as you may be prompted to authenticate multiple times.
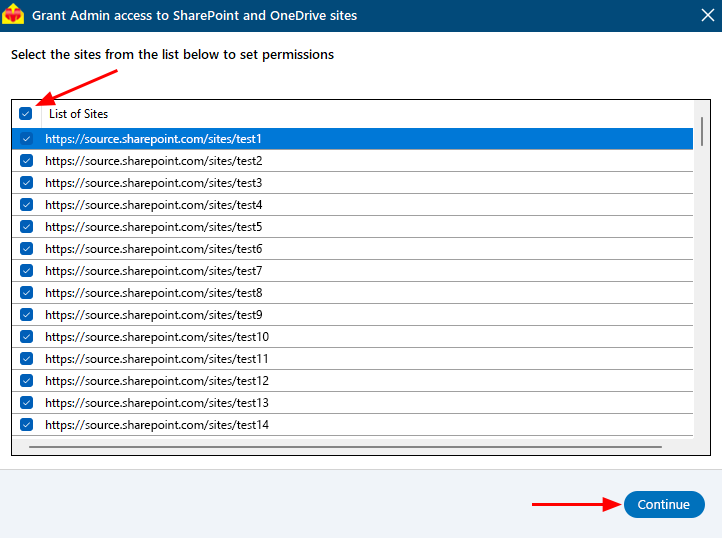
- Select the required sites to set the permissions from the list, then click ‘Continue’.
- A PowerShell window will pop up in the taskbar, asking you to sign in with a Global Admin account on the Microsoft Sign-In page.
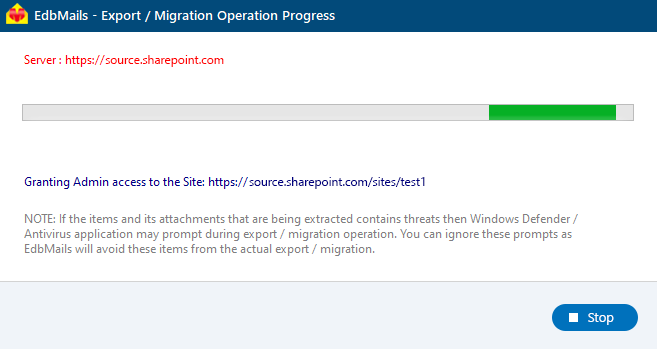
- After signing in, you’ll see the progress of admin access being granted to the selected SharePoint sites.
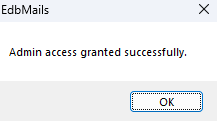
- Once permissions are granted to the selected sites, a confirmation message will appear.
- If you want to manually grant the admin access, refer to the link below:
Steps to add Global admin as a member of each SharePoint site on the source server.
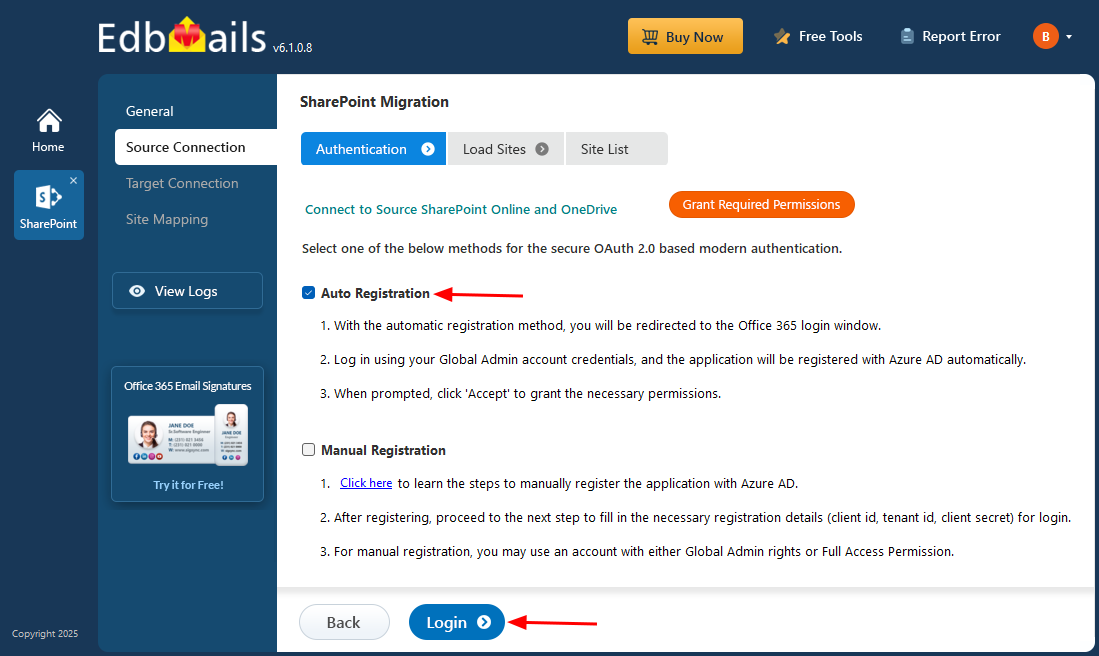
- Select one of the authentication methods and click the ‘Login’ button to continue.
If you want to manually register the EdbMails application in Azure Active Directory (AD), click here for the steps.
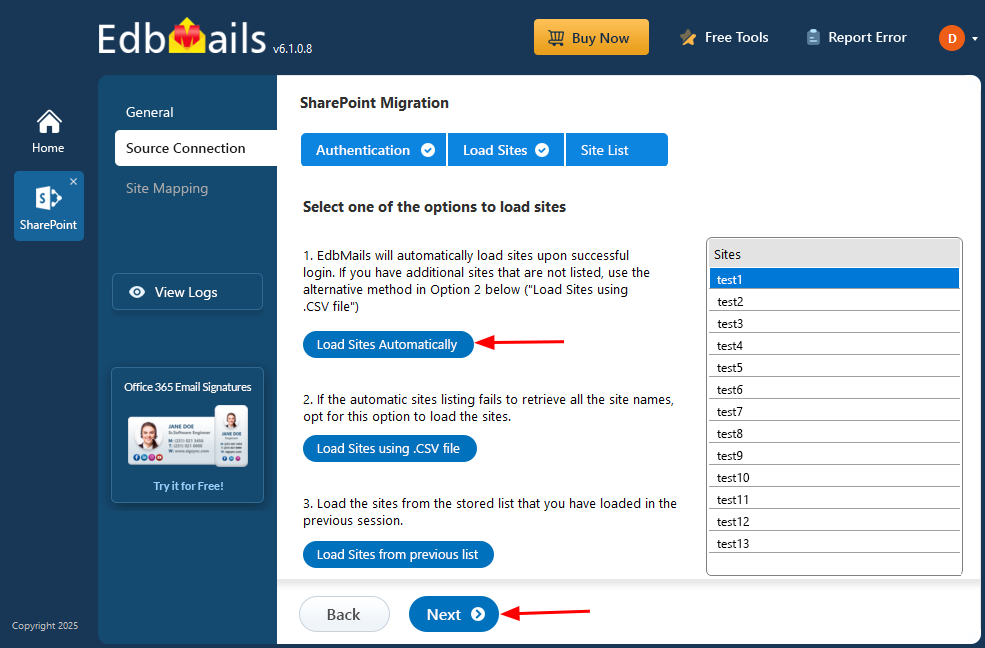
- Select one of the methods to load the SharePoint Sites. If you have additional sites that are not listed you load the sites using .CSV file.
Step 3: Select the SharePoint Sites
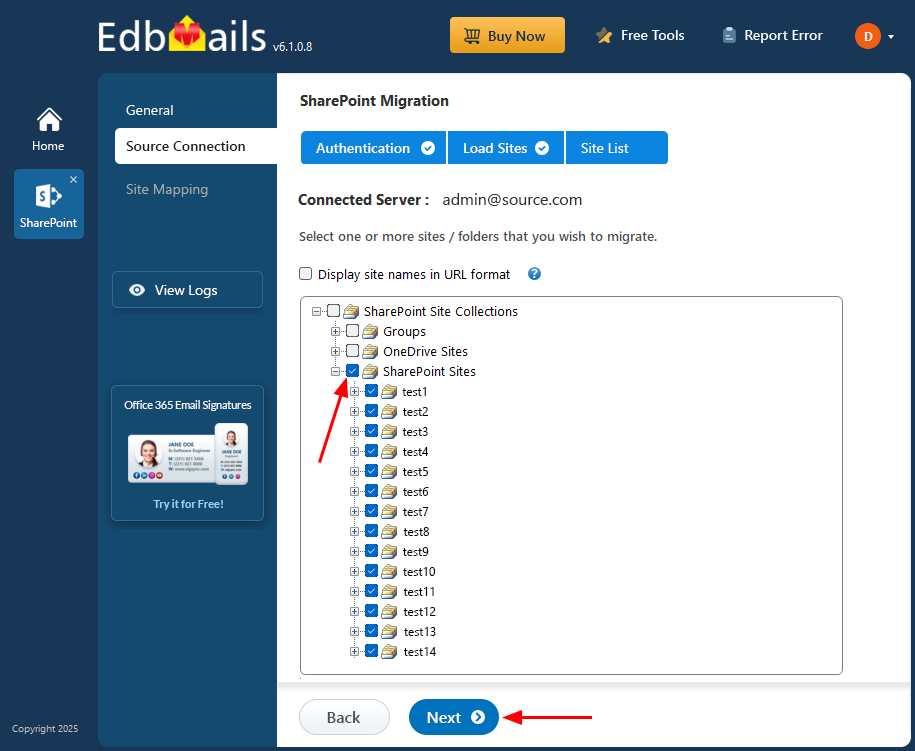
- Select the SharePoint sites and click ‘Next’ to continue.
Step 4: Site Mapping
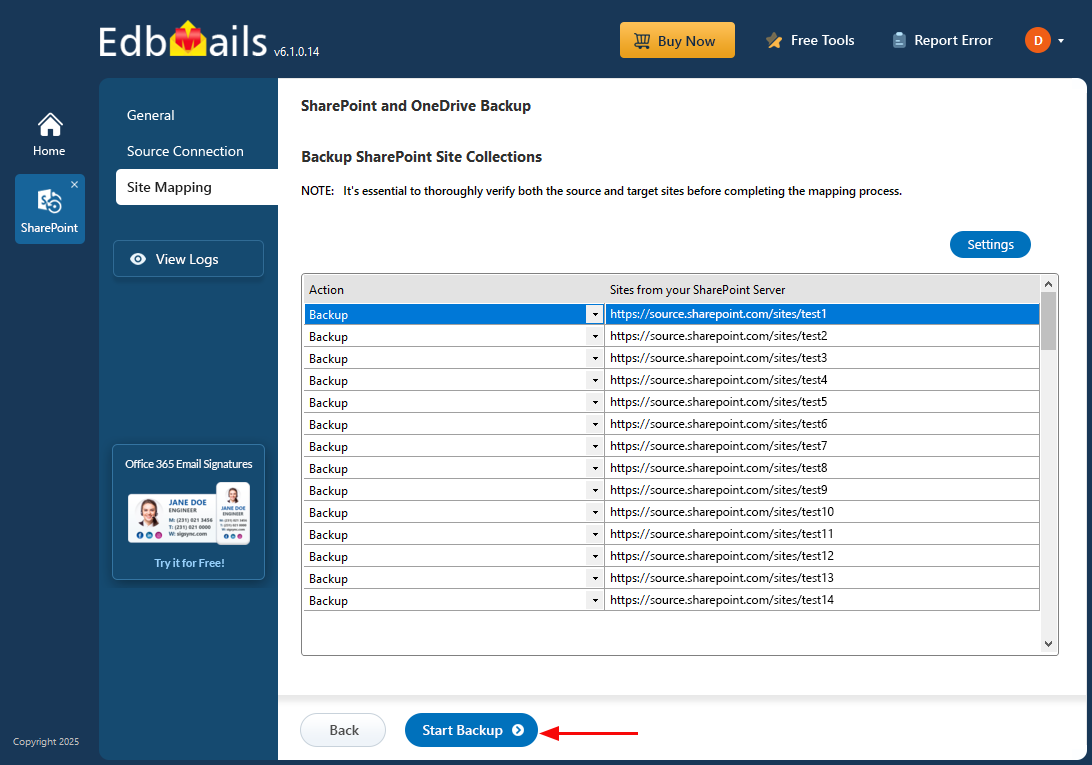
- Verify the sites selected for backup. Ensure the 'Action' is set to 'Backup', then click the 'Start Backup' button to begin the process.
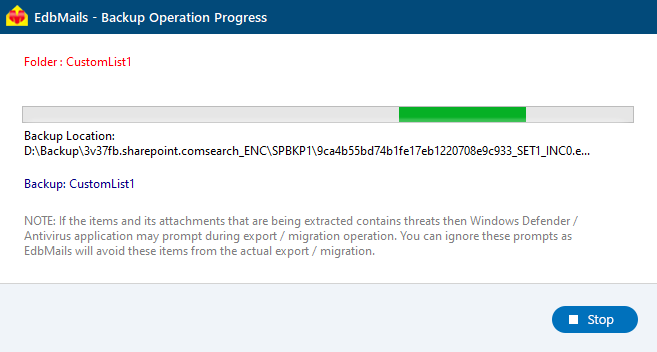
- The backup process has now started. You can track its progress using the progress bar. Once the operation is complete, EdbMails will display a backup completion message. Click the ‘View Logs’ button to see the detailed backup report.


