SharePoint Restore Guide
SharePoint is a central platform for managing documents and driving team collaboration in modern workplaces. However, unexpected events—such as accidental deletions, data corruption, or server failures—can lead to the loss of critical content. Without a reliable way to recover that data, even minor issues can disrupt workflows and result in costly downtime.
EdbMails SharePoint Restore tool provides an effective and user-friendly solution for recovering deleted or lost SharePoint sites, document libraries, lists, and files. It is designed to restore data with accuracy while preserving its original structure, permissions, and metadata.
Prerequisites to restore SharePoint data
- Get the SharePoint target server URL, Admin center url, Office 365 Admin account, Password.
- Set up the necessary SharePoint sites on the target server. EdbMails can create them automatically to streamline the process, or you can choose to create them manually by following the detailed instructions in the link below.
- Ensure that each SharePoint site on the target server has admin access. EdbMails can automatically assign this access through the SharePoint login window. Alternatively, if you prefer to set it up manually, you can follow the instructions provided in the link below.
Steps to add Global admin as a member of each SharePoint site on the target server.
- Ensure to enable the option to create sites / subsites on your target SharePoint server.
Step by Step Guide for SharePoint Restore
Step 1: Download and install EdbMails Application
- Download and install the EdbMails application on your computer.
- Log in with your registered email address and password, or click 'Start Your Free Trial' to explore the features without creating an account.
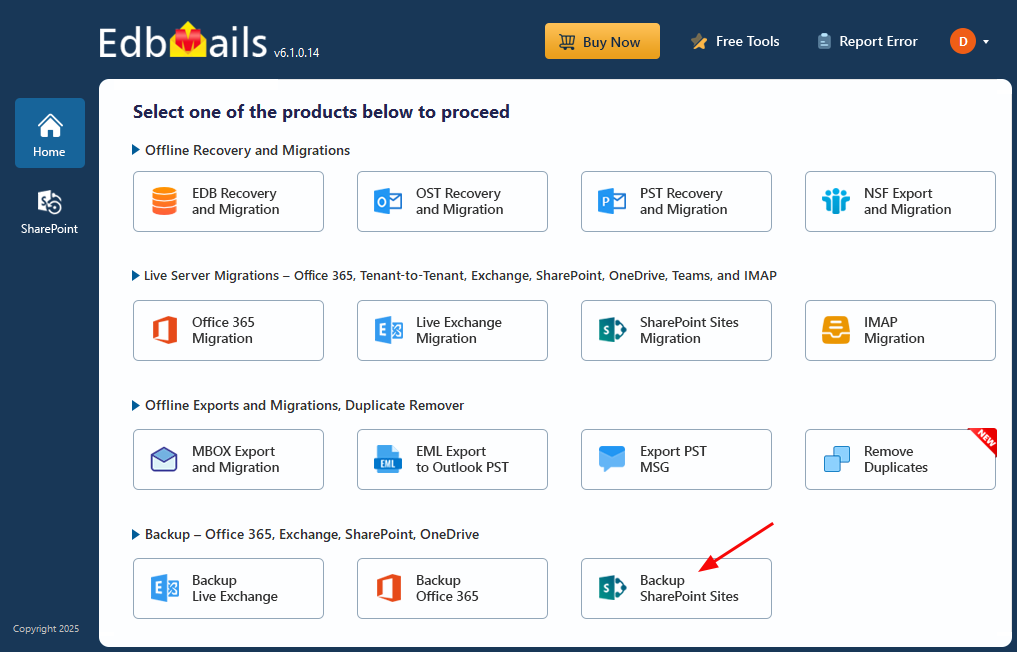
- Select ‘Backup SharePoint Sites’.
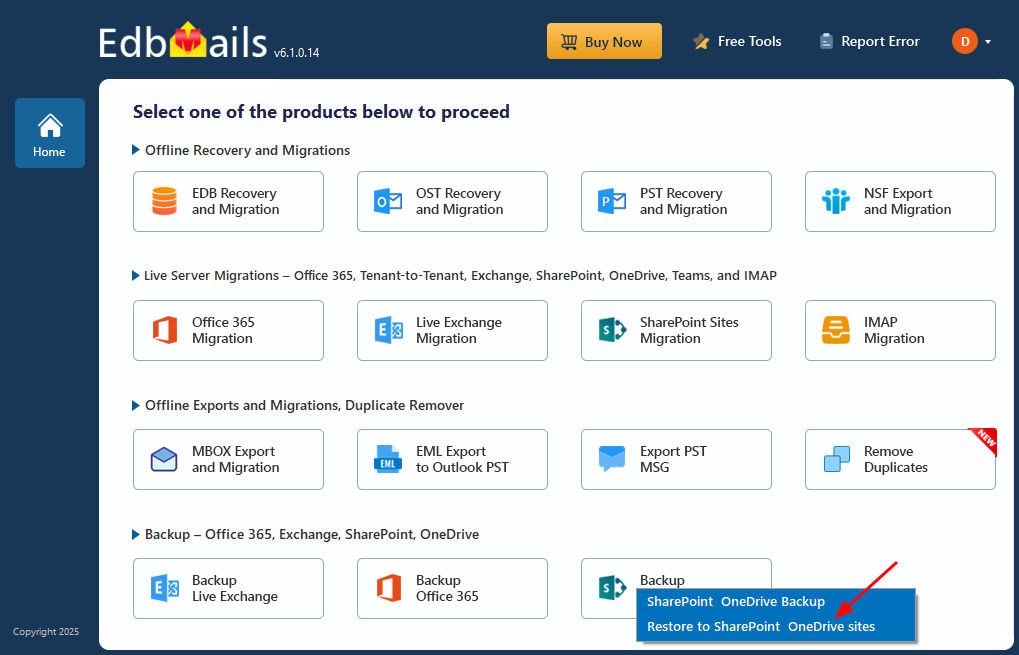
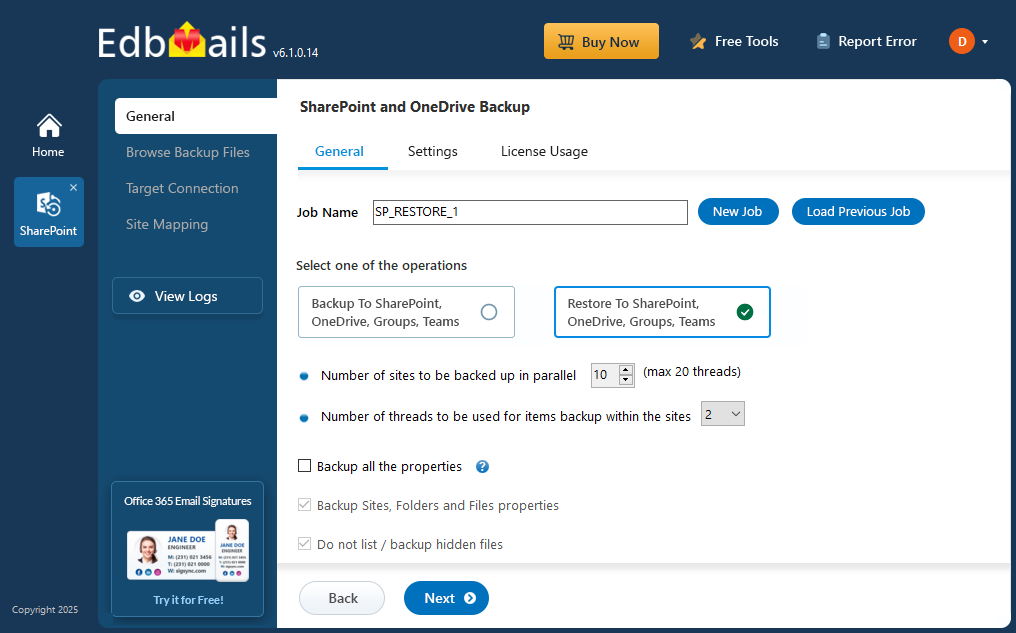
- Select the option ‘Restore to SharePoint OneDrive Sites’.
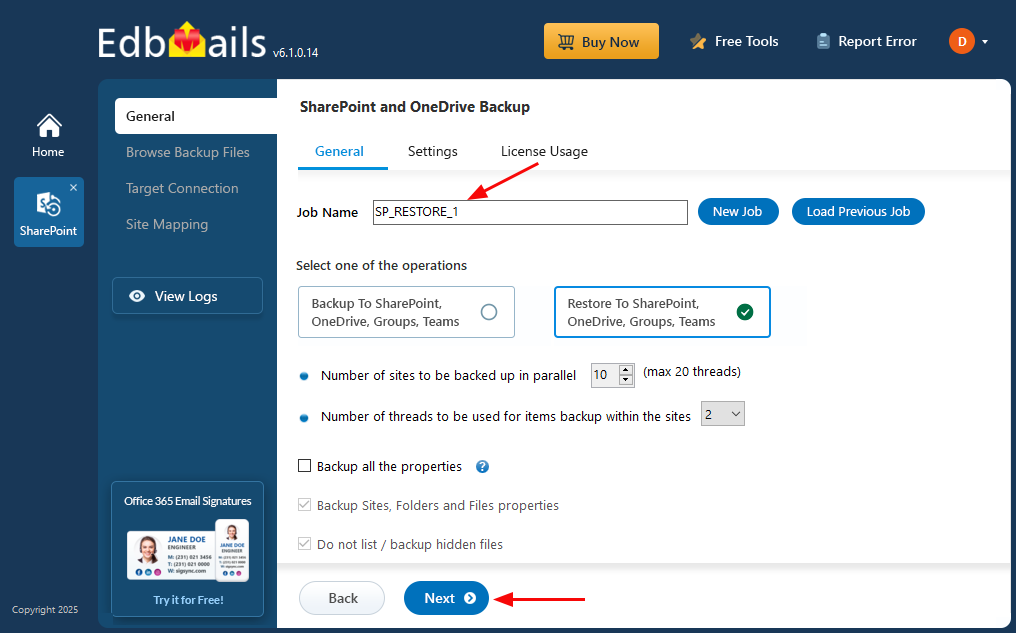
- You can proceed with the default job name or click ‘New Job’ to assign a custom name for easier identification, then click ‘Next’ to continue.
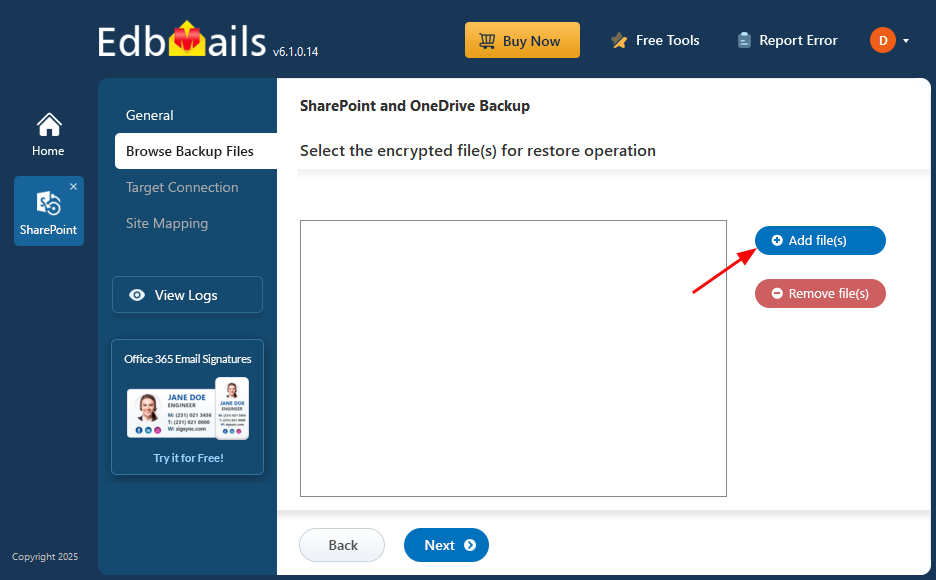
- Click on ‘Add file(s)’
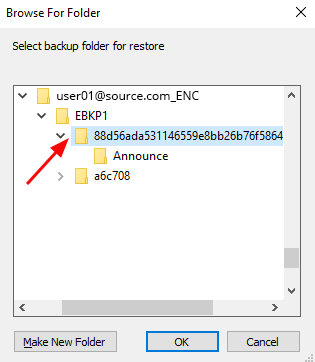
- Select the encrypted files for restoration and click on ‘Next’
Step 2: Connect to Target SharePoint Server
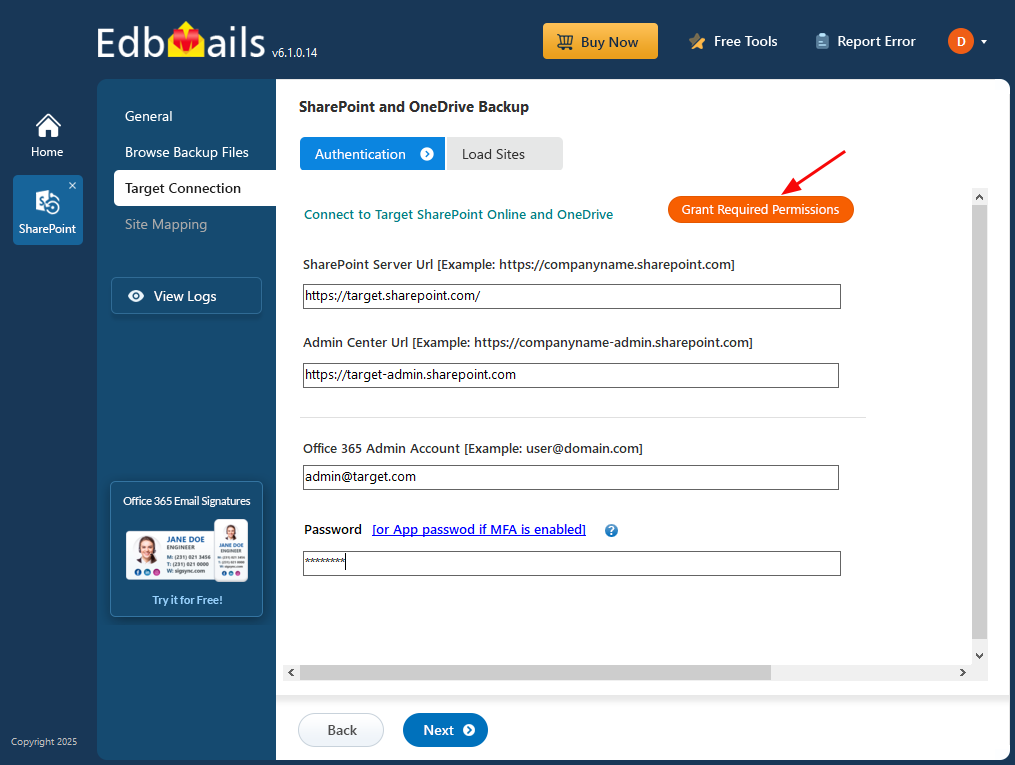
- Enter the target SharePoint server url, admin center url, Office 365 Global admin account email address and password.
- Then, click the ‘Grant Required Permissions’ button.
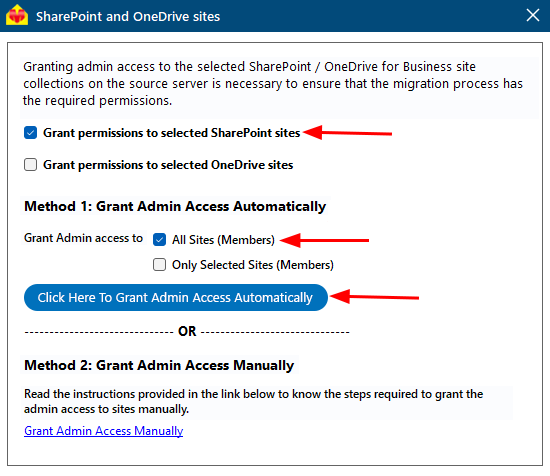
- Click the option ‘Grant permissions to selected SharePoint sites’.
- Choose either ‘All Sites (Members)’ or ‘Only selected Sites (Members)’ based on your preference.
- Click on ‘Click Here To Grant Admin Access Automatically’.
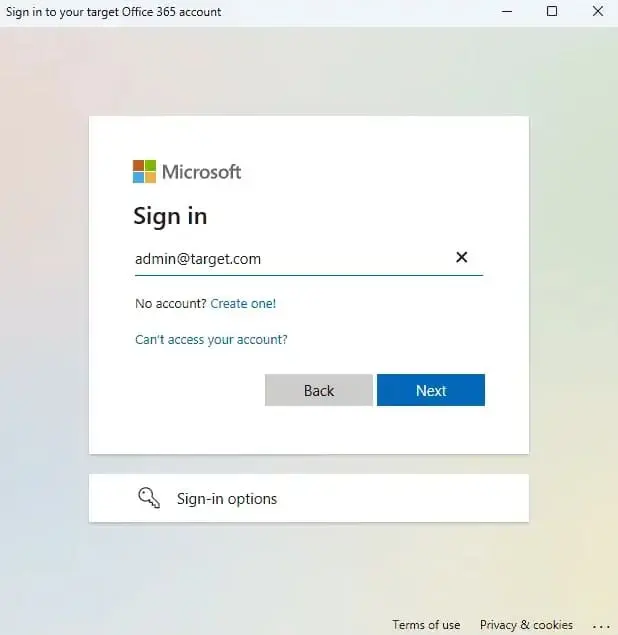
- A PowerShell window will appear in the taskbar, prompting you to authenticate on the Microsoft Sign-In page with a Global admin account.
Note: Keep checking the taskbar, as you may be prompted to authenticate multiple times.
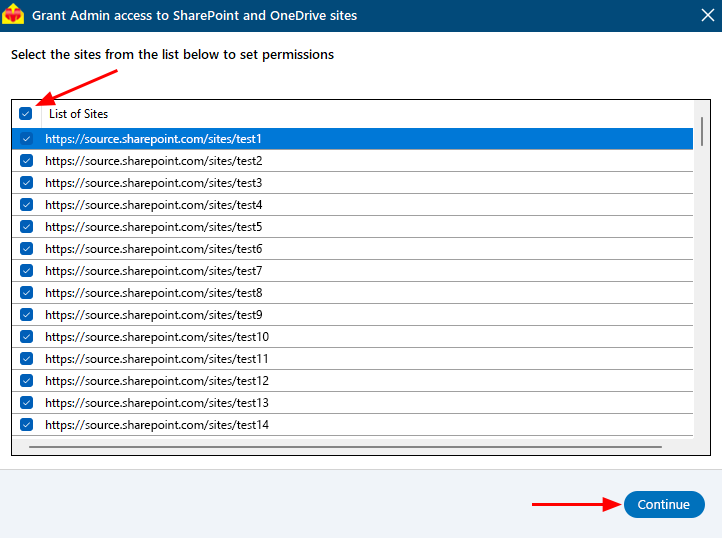
- Select the required sites to set the permissions from the list, then click ‘Continue’.
- A PowerShell window will pop up in the taskbar, asking you to sign in with a Global Admin account on the Microsoft Sign-In page.
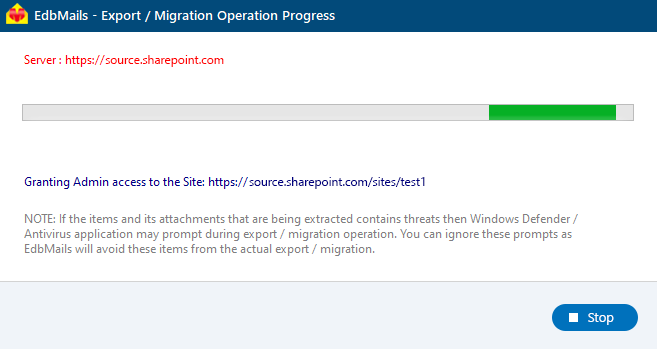
- After signing in, you’ll see the progress of admin access being granted to the selected SharePoint sites.
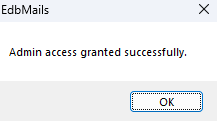
- Once permissions are granted to the selected sites, a confirmation message will appear.
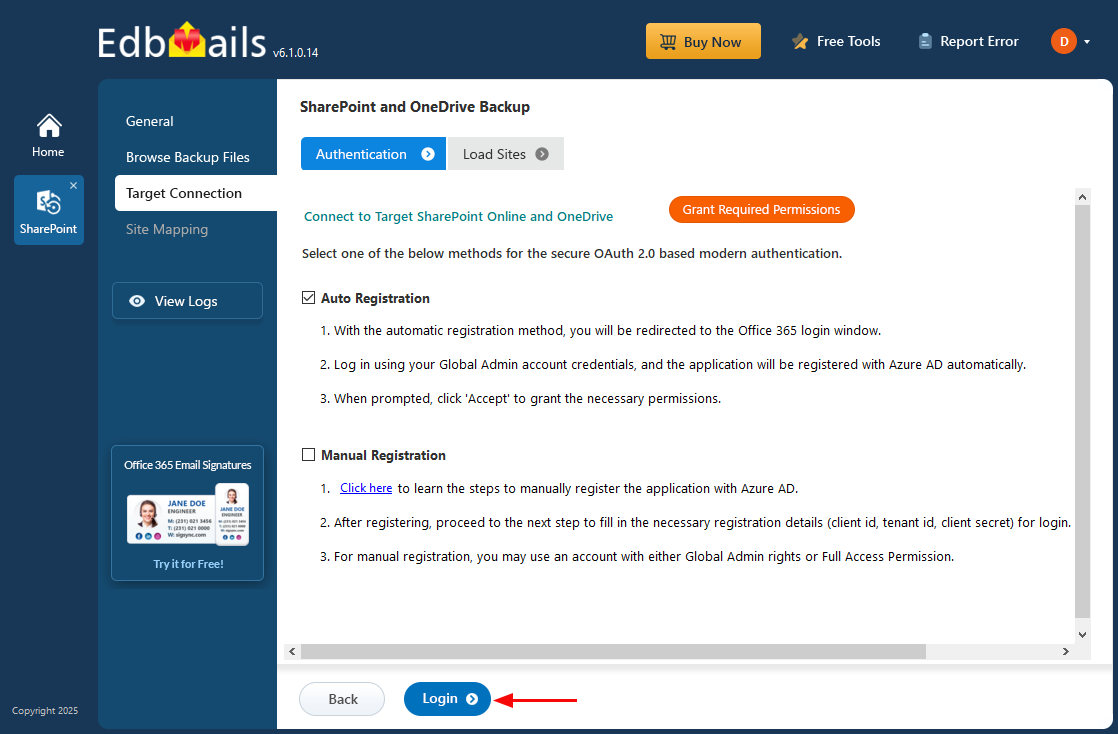
- Select the method for the secure OAuth 2.0 based modern authentication and click on ‘Login’.
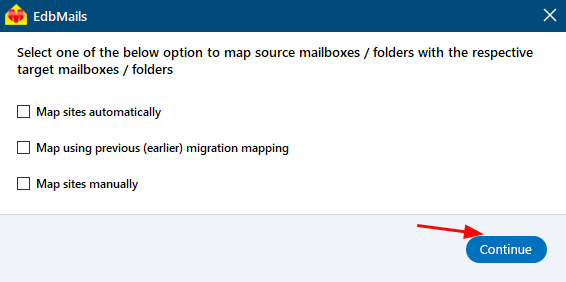
- Select one of the methods to map sites or folders and click ‘Continue’.
Step 3: Site Mapping
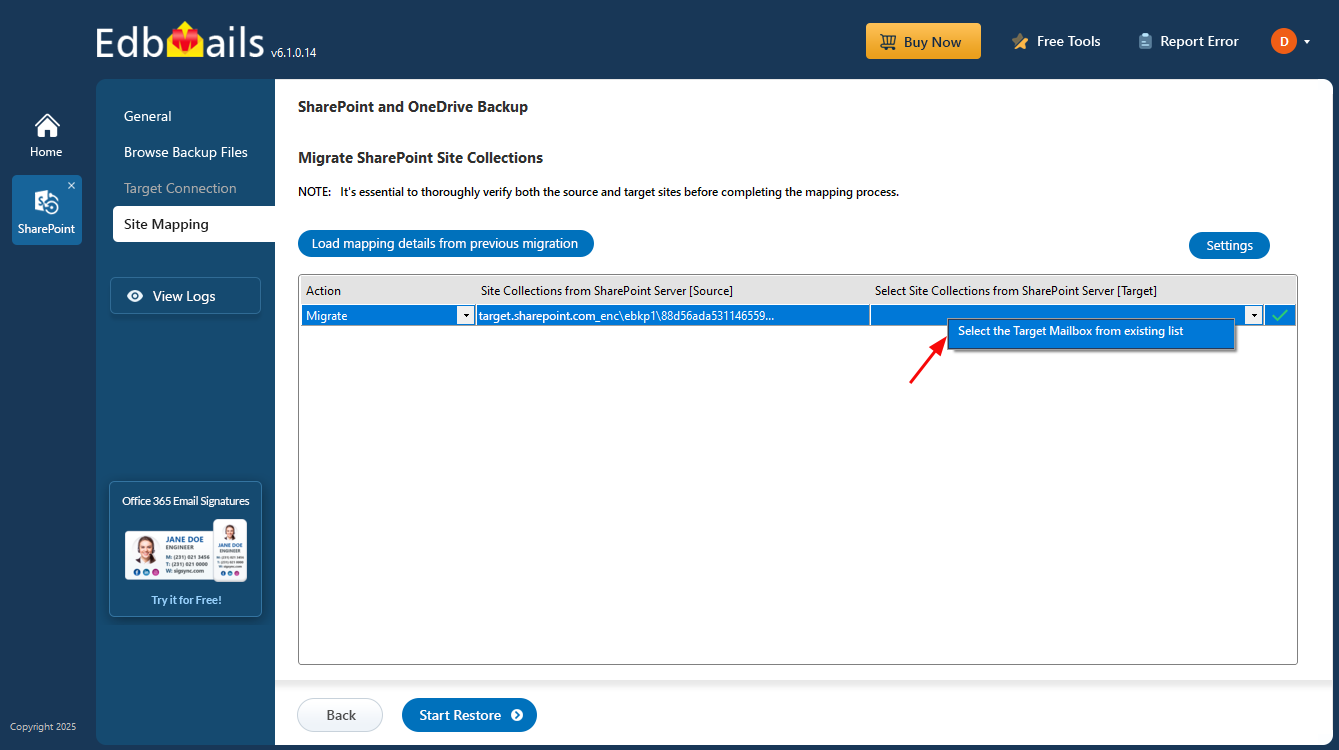
- Click on the target site collection cell and select the desired target sites.
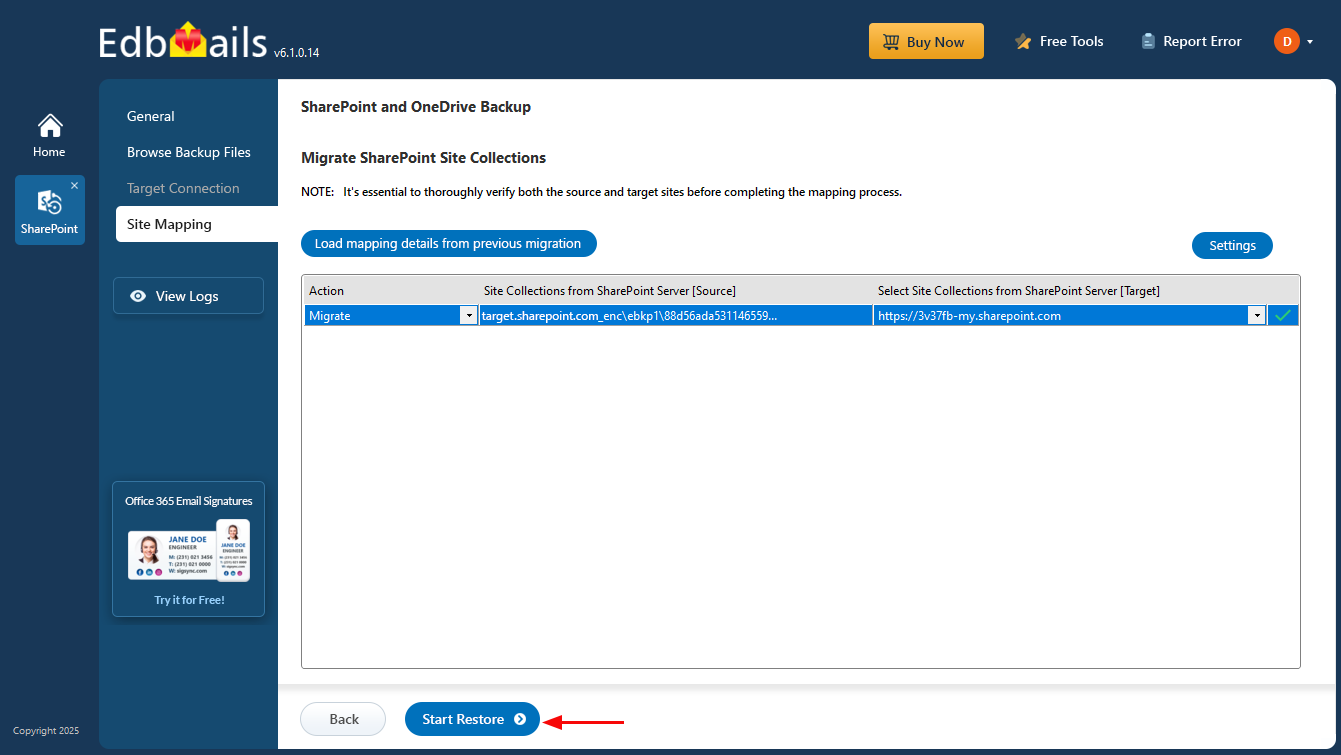
- Click the ‘Start Restore’ to initiate the restore process.
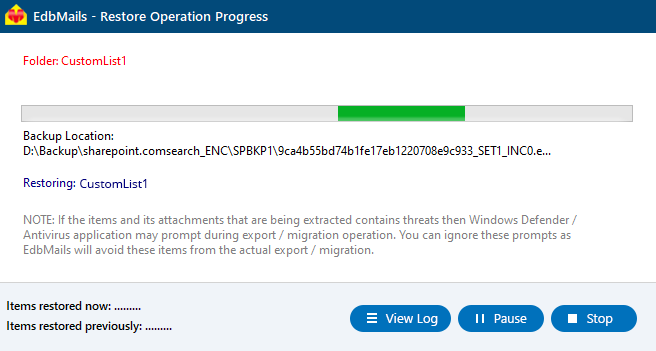
- When the restore is complete, EdbMails will show a confirmation message. Click ‘View Logs’ to see the restore operation report. To make sure everything is in place, sign in to the target sites and check the restored items.


