Office 365 Groups Backup Guide
Office 365 Groups are essential for team collaboration, bringing together emails, calendars, files, and conversations in one unified platform. However, relying solely on Microsoft’s built-in features may not provide full protection for your data. Without a dedicated backup solution, you risk losing important group content due to unexpected events or limitations in data management.
EdbMails Office 365 Groups Backup Tool offers a comprehensive backup solution that allows you to securely back up all aspects of your Office 365 Groups. With features like automated backups, selective item restoration, and the ability to retain group data for long-term access, EdbMails ensures that your team's collaboration resources remain safe and recoverable whenever needed.
In this step-by-step guide, we’ll walk you through the process of using EdbMails to back up your Office 365 Groups. You’ll learn how to easily set up the backup, automate the process, and restore individual items or entire groups when necessary. By the end of this guide, you'll have a complete understanding of how to keep your team's collaboration data secure, organized, and accessible at all times.
Prerequisites to backup Office 365 Groups
- Ensure your computer or external drive has sufficient free storage space to store the Office 365 backup data.
- You must have a global admin account with a mailbox for automatic registration of the EdbMails application in Microsoft Entra ID (Azure Active Directory).
- For manual registration, you can use either a global admin account or any user account with full access permissions to the mailboxes.
- A stable internet connection is required throughout the backup process.
- The Office 365 tenant should be active and accessible.
Step by Step Guide for Office 365 Groups Backup
Step 1: Download and install EdbMails Office 365 backup software
- Download and install the EdbMails application on any computer with Windows OS.
- Enter your email address and password to login or if you haven’t registered an account click on ‘Start Your Free Trial’.
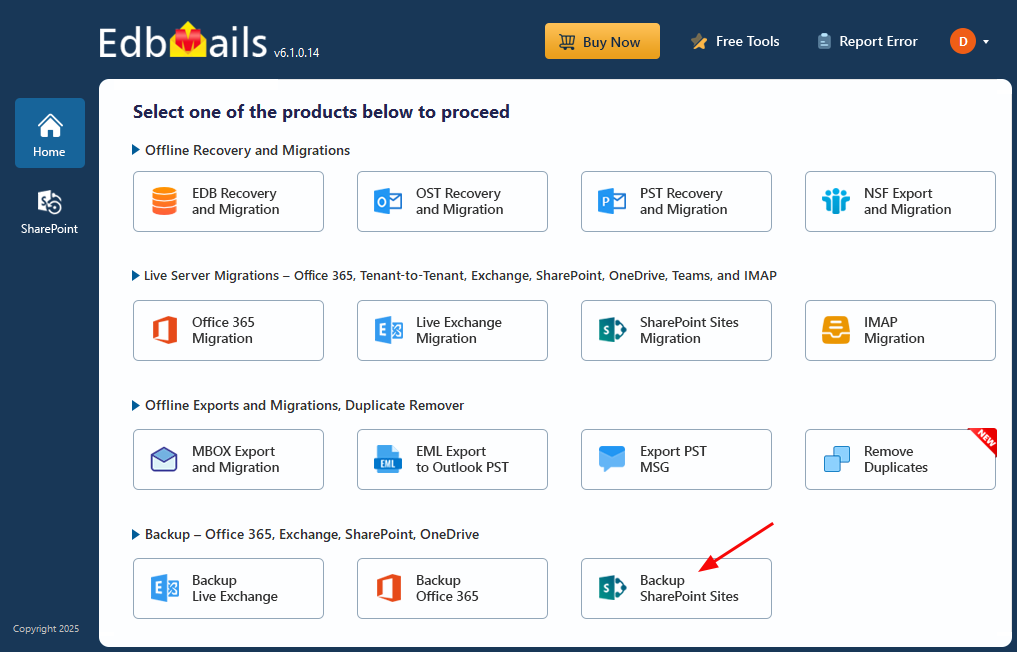
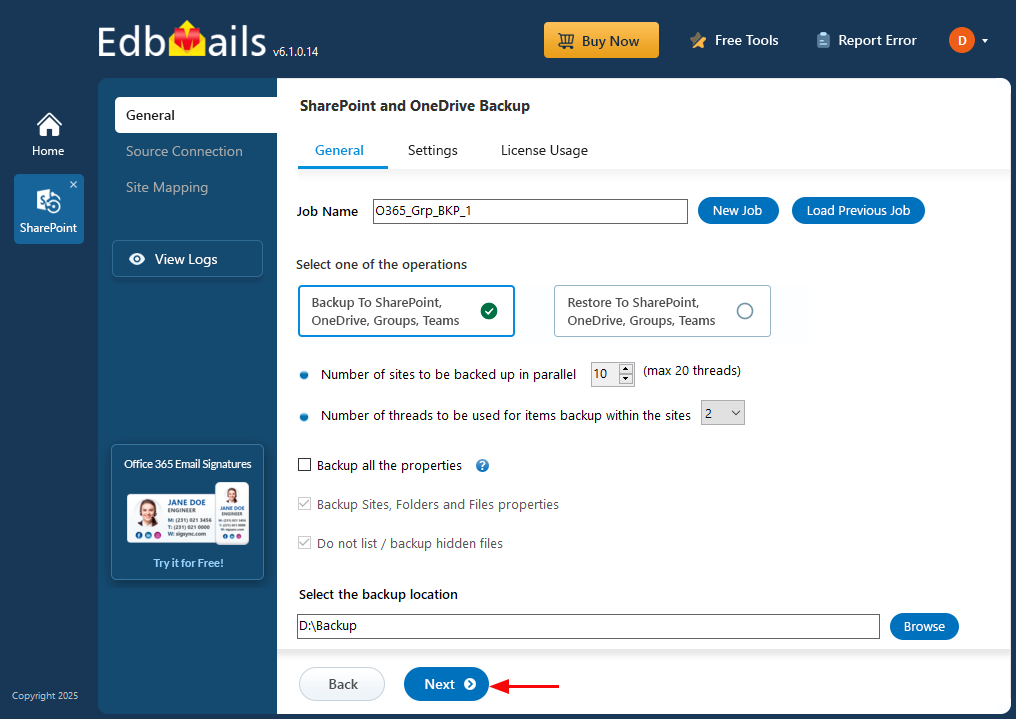
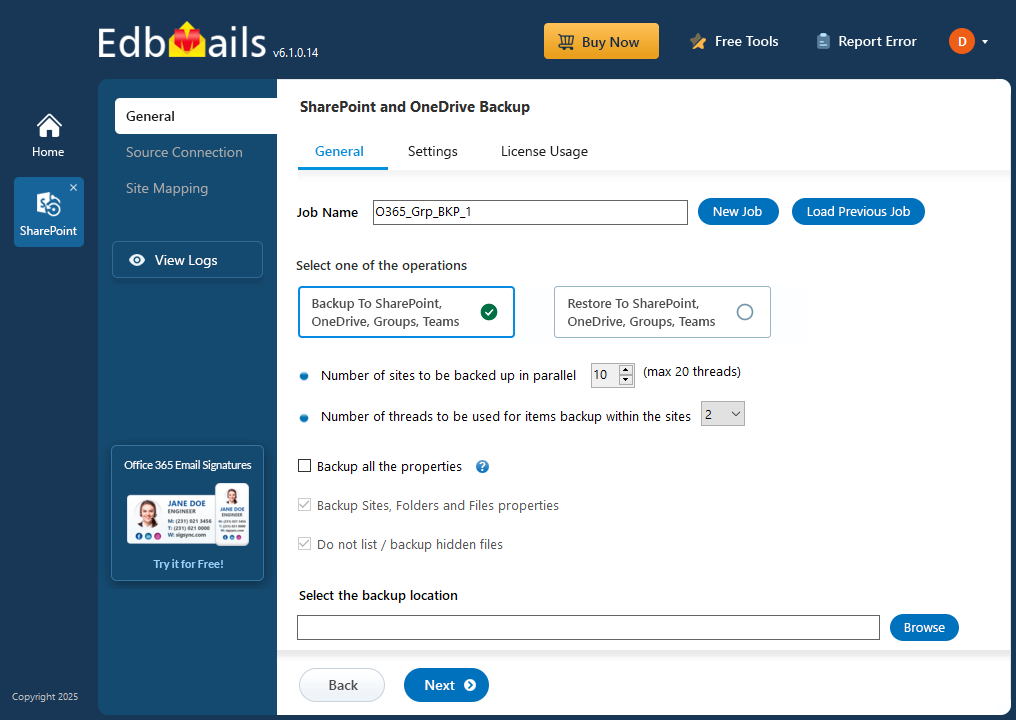
- Select ‘Backup SharePoint Sites’.
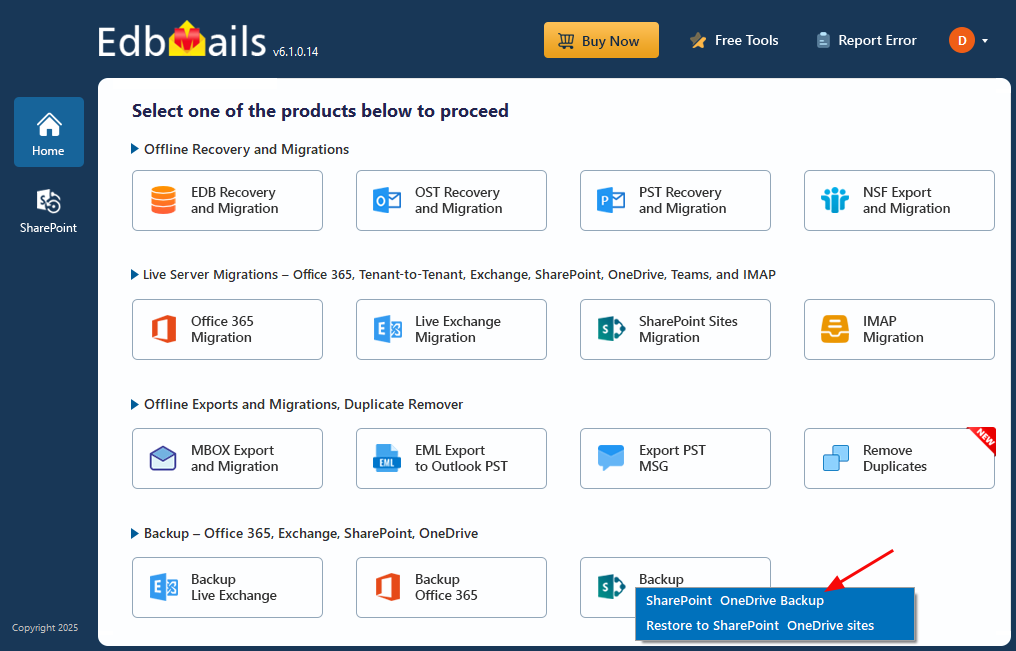
- Select the backup option as ‘SharePoint OneDrive Backup’.
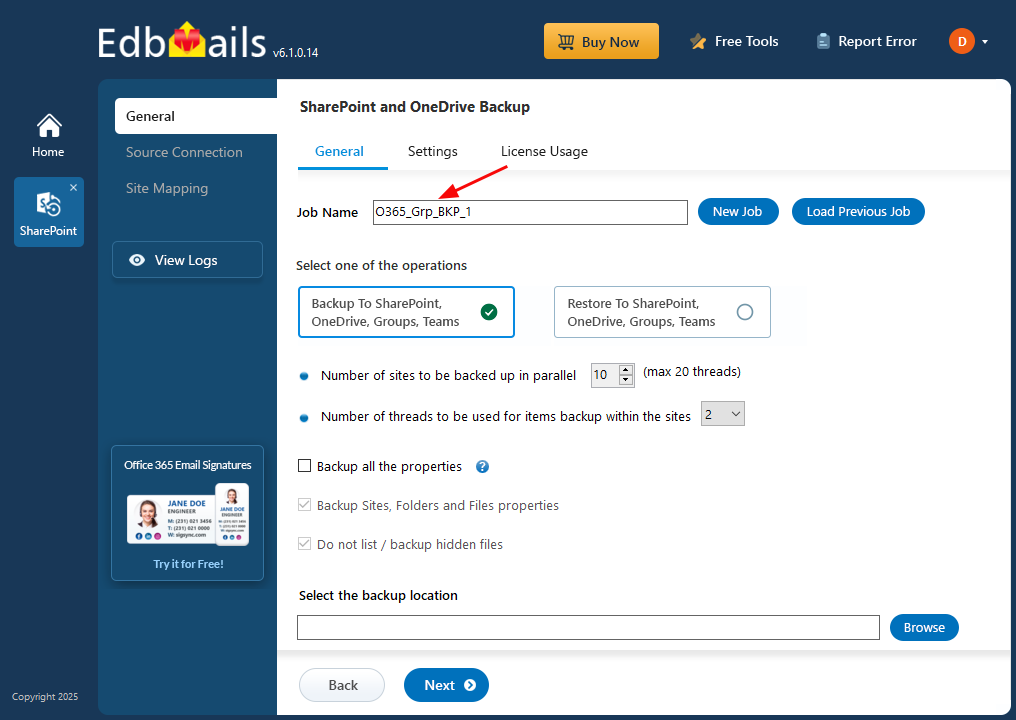
- You can continue with the default job name or click ‘New Job’ to set a custom name for easier tracking and management.
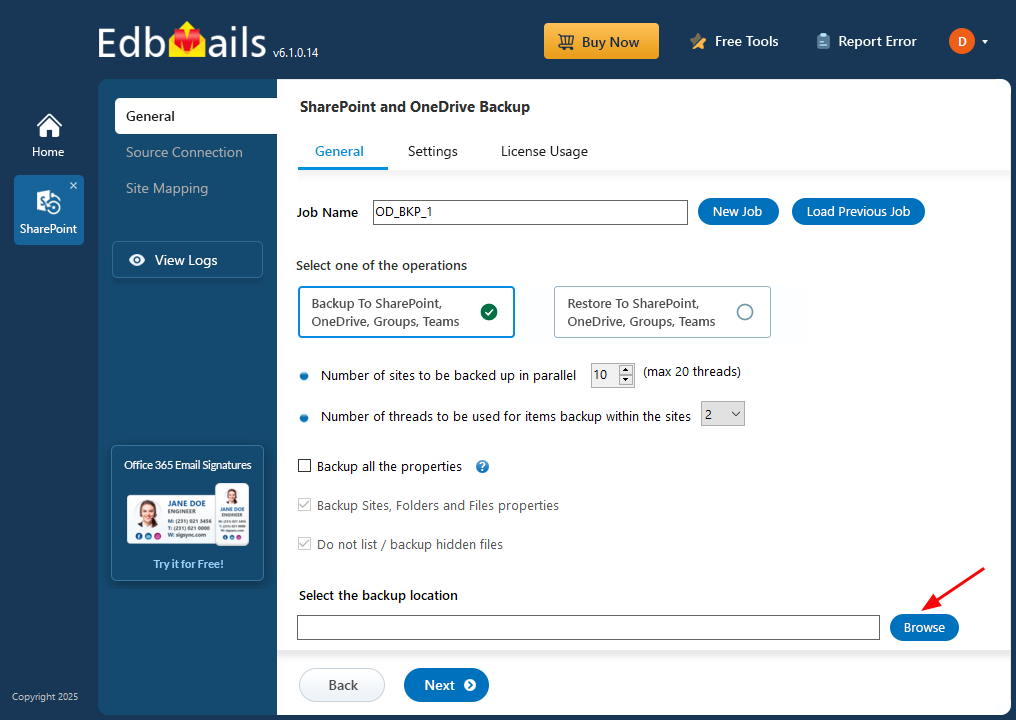
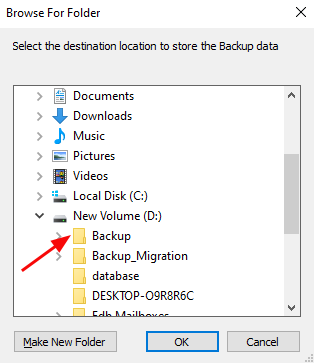
- Click ‘Browse’ to set a location to store backup file
- Select the location to store the backup data
- Click the ‘Next’ button to continue.
Step 2: Connect to SharePoint Online and OneDrive Source server
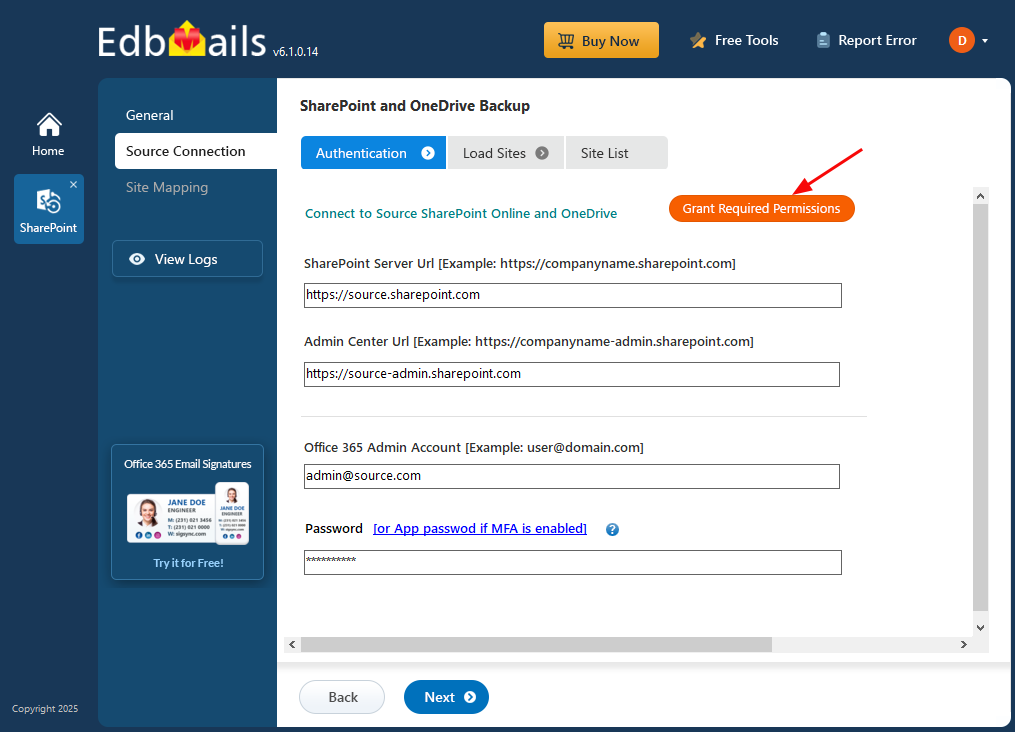
- Enter the source SharePoint server url, admin center url, Office 365 Global admin account email address and password.
- Then, click the ‘Grant Required Permissions’ button.
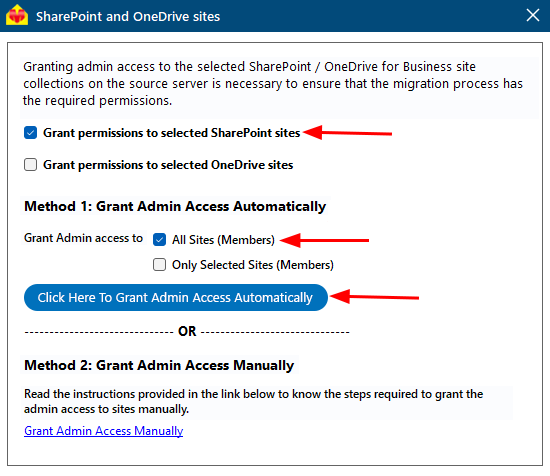
- Click the option ‘Grant permissions to selected SharePoint sites’.
- Choose either ‘All Sites (Members)’ or ‘Only selected Sites (Members)’ based on your preference.
- Click on ‘Click Here To Grant Admin Access Automatically’.
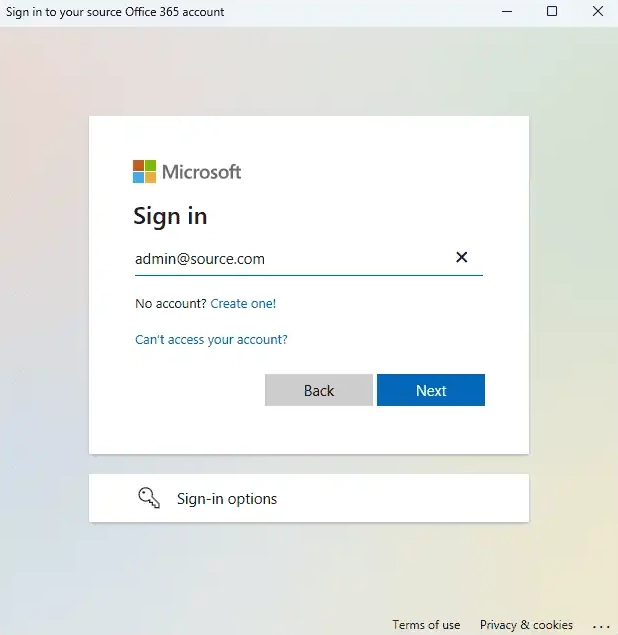
- A PowerShell window will open in the taskbar, directing you to sign in through the Microsoft authentication page using a Global Admin account.
Note: Keep an eye on the taskbar, as you might be prompted to authenticate multiple times during the process.
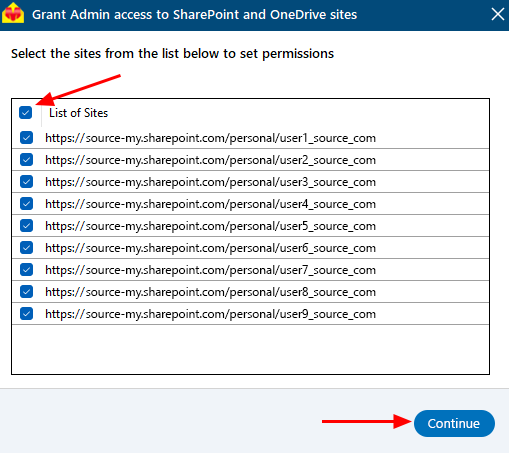
- From the list, select the specific sites where you want to set permissions, then click ‘Continue’ to proceed.
- When the PowerShell window appears in the taskbar, click on it to sign in using a Global Admin account through the Microsoft Sign-In page. This will initiate the migration process.
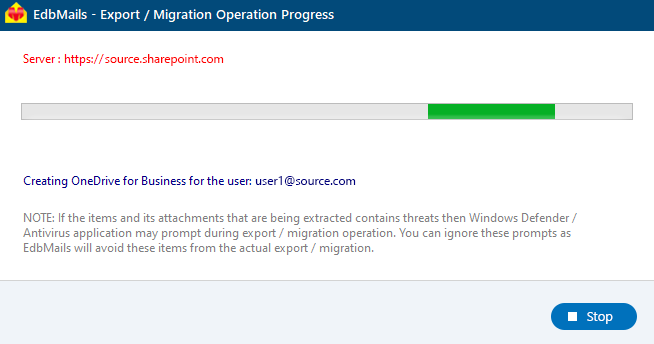
- Once signed in, the progress of admin access being granted to the selected OneDrive sites will be displayed on the screen.
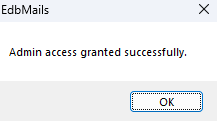
- Once permissions are successfully granted to the selected sites, a confirmation message will appear on the screen.
- If you want to manually grant the admin access, refer to the link below:
Steps to Grant admin access to all OneDrive for business site collections on the source server
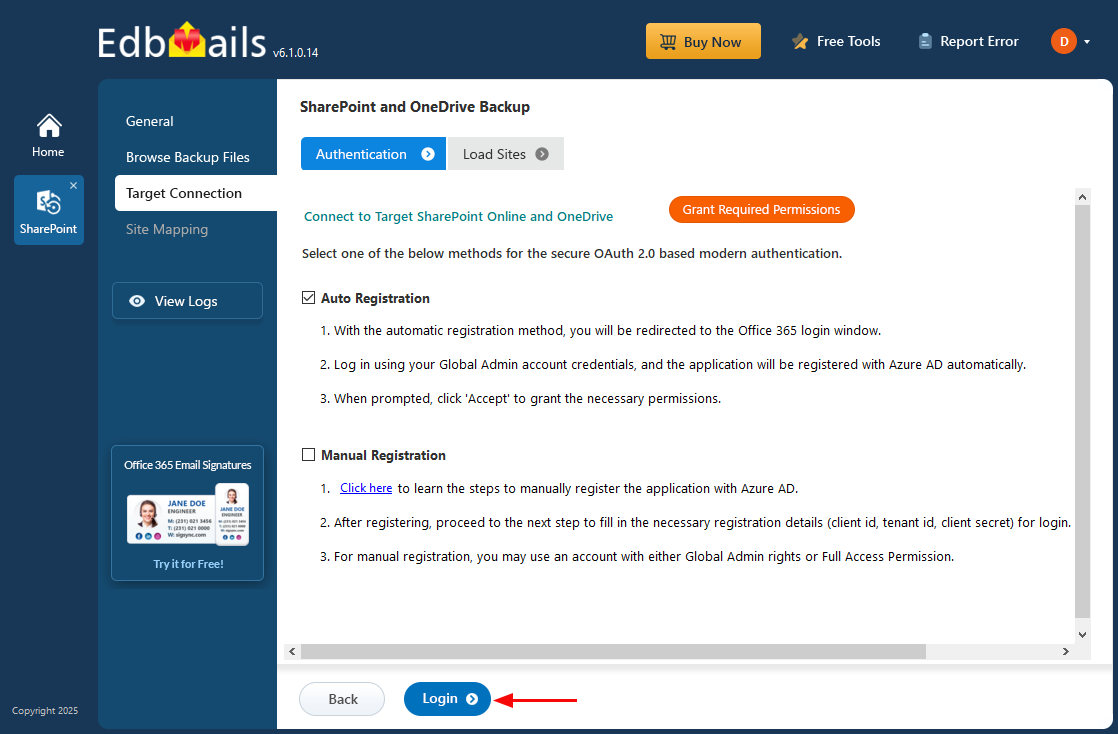
- Select the method for the secure OAuth 2.0 based modern authentication and click on ‘Login’.
- Enter the password to login to your Global admin account.
- Select the required sites to set the permissions from the list, then click ‘Continue’.
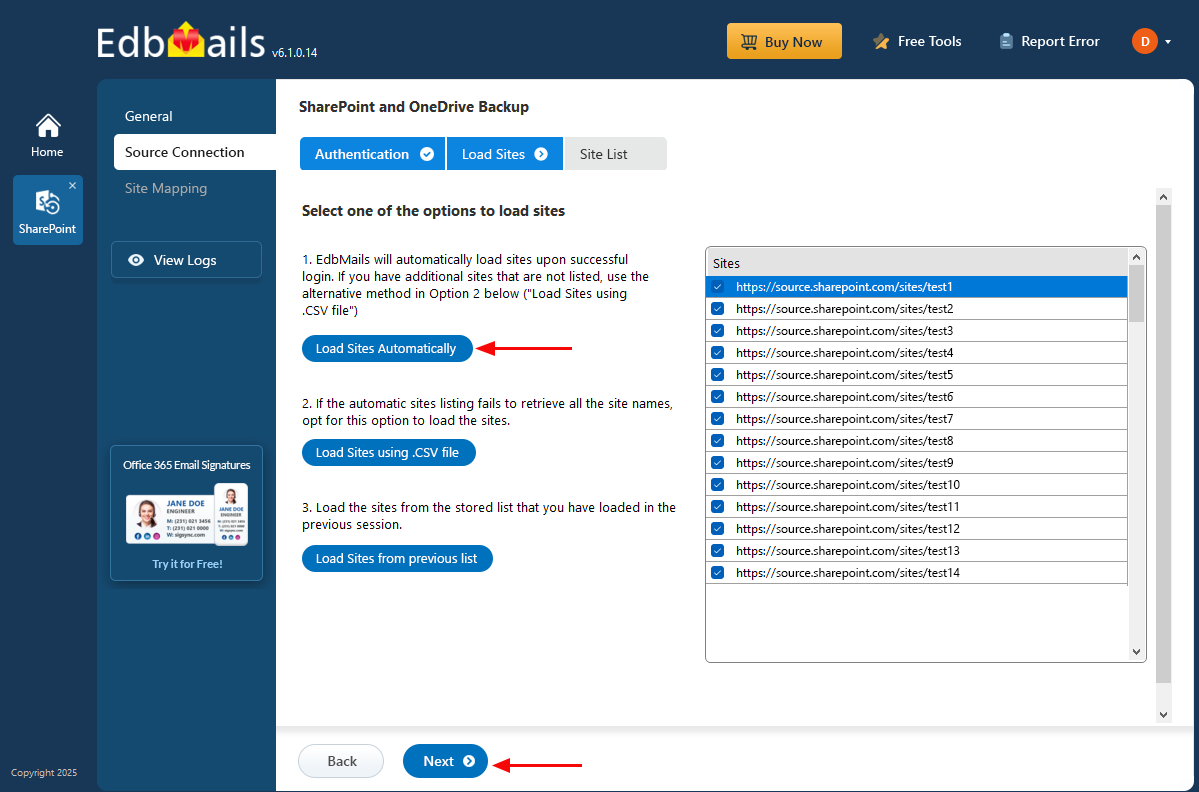
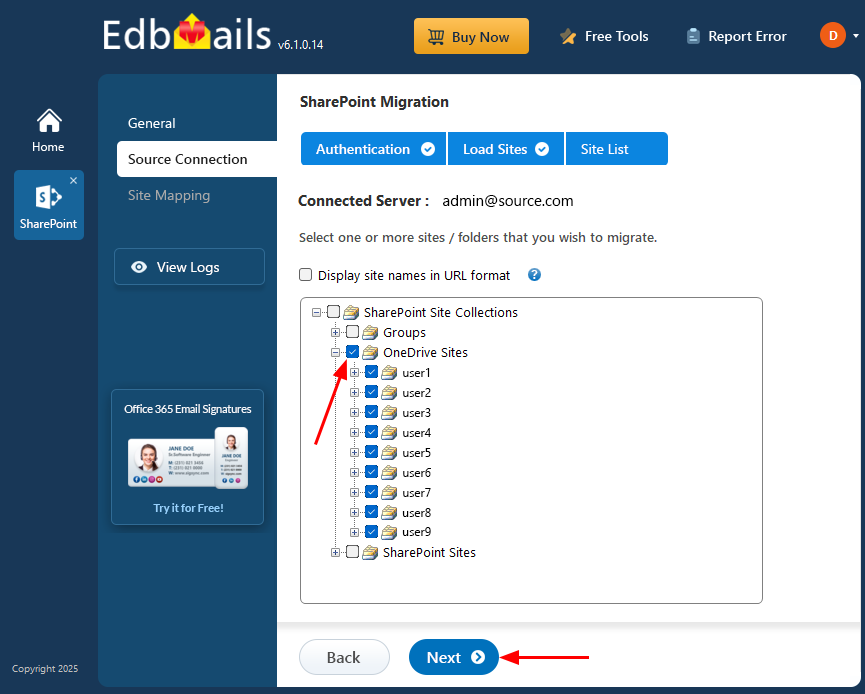
- Select the sites or folders you want to backup and click 'Next'.
- When you click on sub-folders, EdbMails will retrieve the folders automatically.
Step 3: Site Mapping
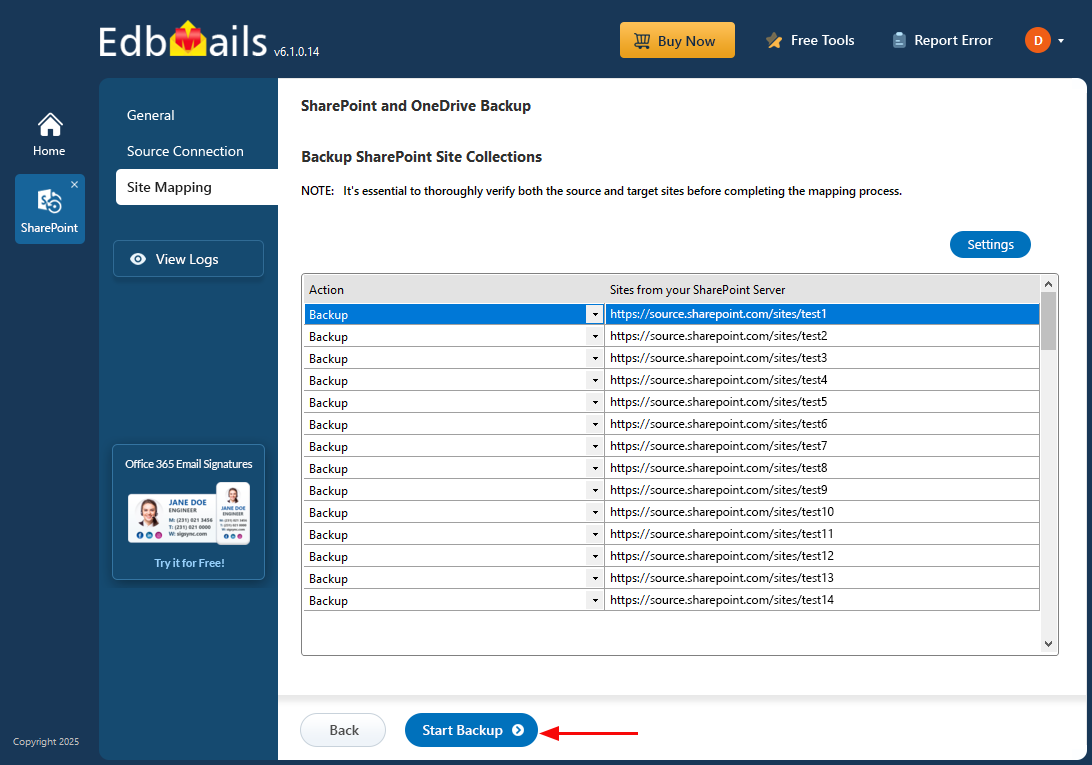
- Review the selected folders and confirm that the ‘Action’ is set to ‘Backup’. Once verified, click ‘Start Backup’ to initiate the process.
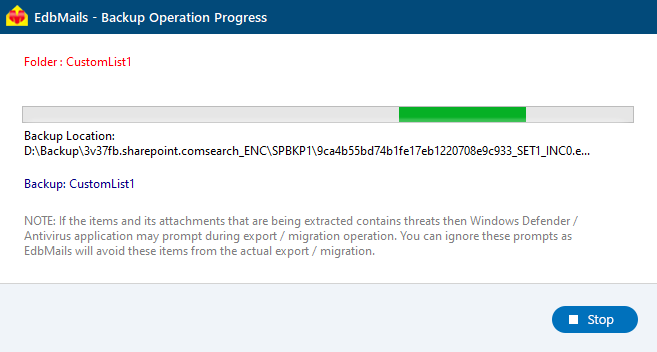
- The backup has started, and you can monitor its progress through the progress bar. Once completed, EdbMails will display a confirmation message. Click ‘View Logs’ to access the detailed backup report.
Additional Resources:


