How to Convert NSF to PST - Step-by-Step Guide
EdbMails NSF to PST Converter provides a guided workflow for exporting supported Lotus Notes, IBM Notes, and HCL Notes offline NSF mailbox data to Outlook PST. Review the current EdbMails system requirements for the supported Notes and Outlook environment before starting the conversion. The software is capable of converting a wide variety of data from NSF files, including emails, contacts, calendars, tasks, notes, journals, and more, preserving the integrity of each item during the conversion process.
In addition to PST conversion, EdbMails provides separate migration workflows for supported Microsoft 365 and Exchange Server targets. If one of those live platforms is the final destination, use the dedicated migration workflow rather than creating an intermediate PST.

EdbMails ensures that the original folder hierarchy is maintained throughout the conversion process. The converter is designed to retain supported folder organization and message properties during export. After conversion, validate representative folders, messages, attachments, contacts, and calendars in the destination PST.
This step-by-step guide covers everything you need to know to successfully convert NSF files to PST. It explains the entire process, from opening the NSF file to previewing the mailboxes and their contents, and finally exporting the required mailboxes to PST format. Whether you’re a beginner or an experienced user, this guide will ensure that you can perform the conversion easily.
Prerequisites to convert NSF to PST
- Install IBM Lotus Notes Application on your computer.
- For NSF to PST conversion, it is mandatory to have the 32-bit version of Microsoft Outlook with a configured profile installed on your computer.
- Ensure that you have enough storage space on your computer to store the PST files.
Steps to convert NSF to PST using EdbMails
Step 1: Download and Install the EdbMails application
- Download and install EdbMails on your computer.
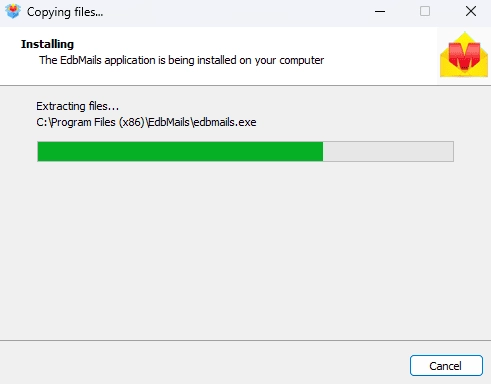
- Double-click the EdbMails setup (EdbMailsSetup.exe) to install the application.
- Follow the instructions that appear to complete the installation.
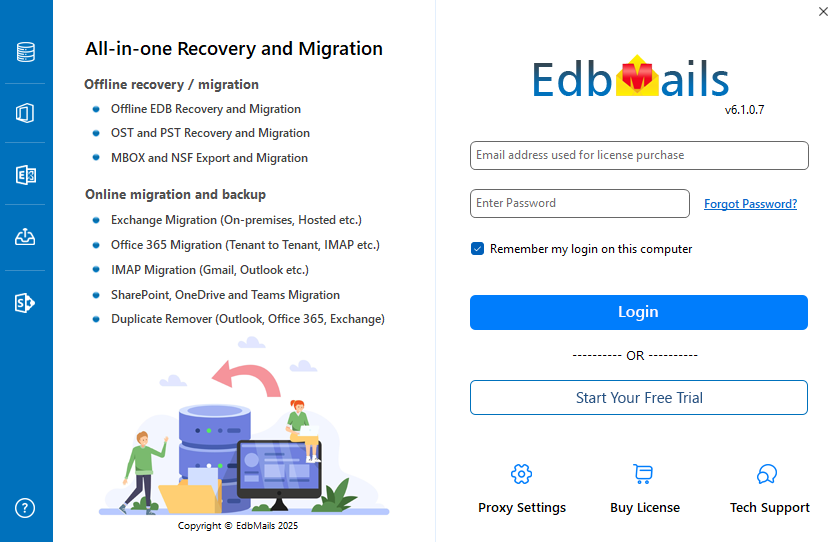
- Launch the EdbMails software and sign in with your email address and password. If you're new to the platform, you can also choose the ‘Start Free Trial’ option to explore its features.
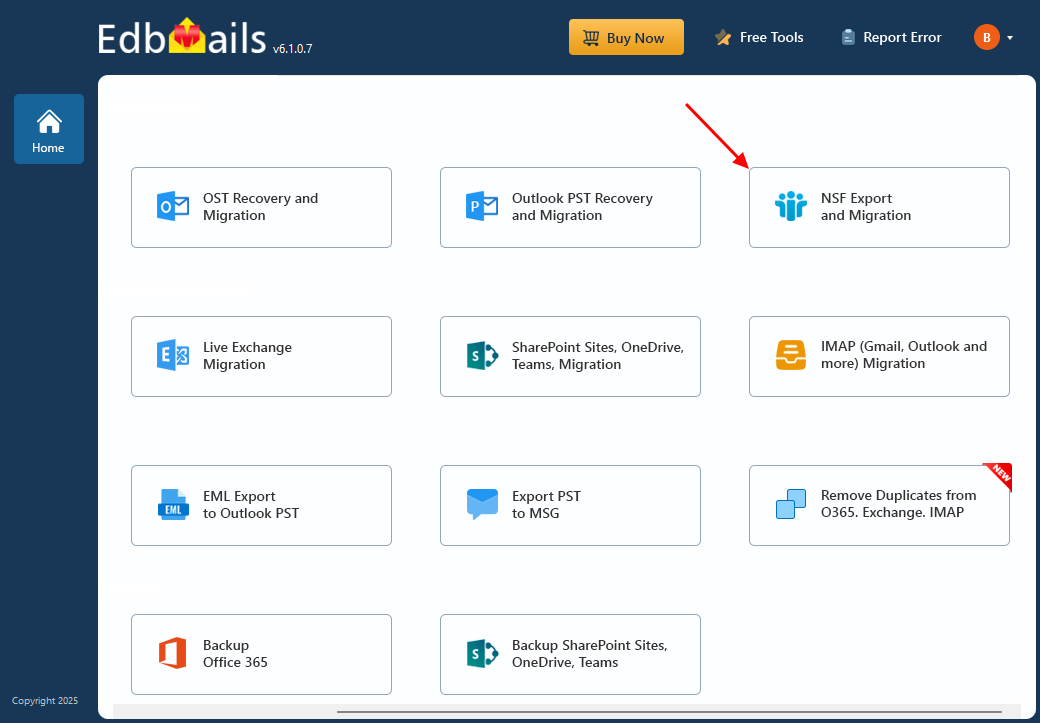
- Choose ‘NSF Export and Migration’.
- Select 'NSF to PST'

- You can either keep the default job name or click the ‘New Job’ button to change the job name.
- Then, click 'Next' to continue.

Step 2: Add NSF files
- Click the ‘Add file(s)’ button.
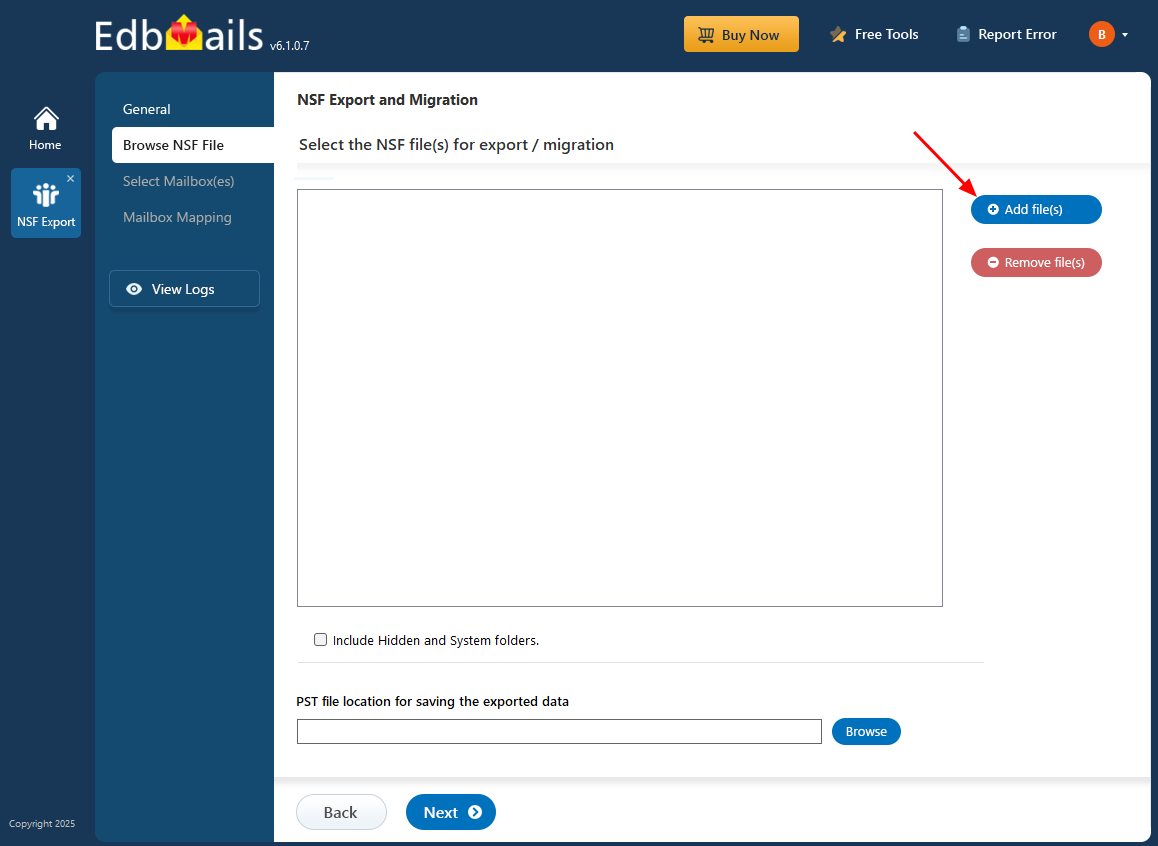
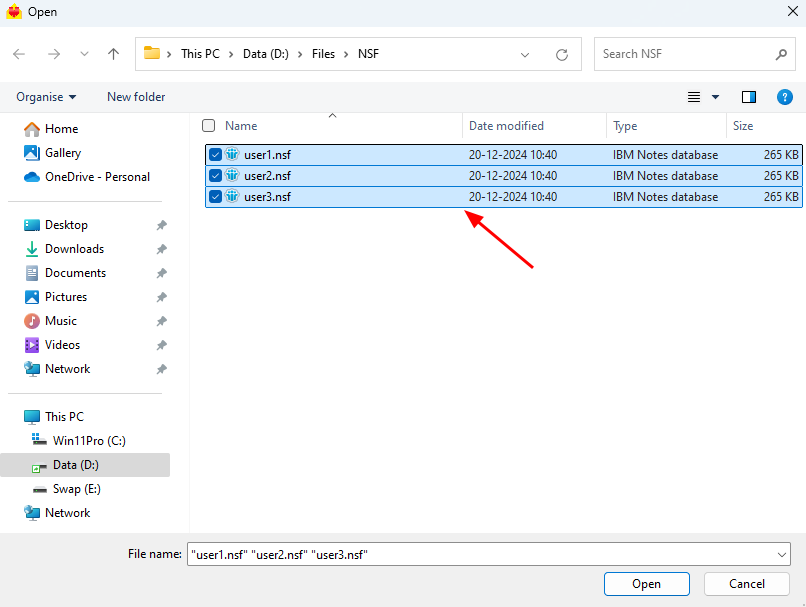
- Select the NSF files from your computer drive, then click ‘Next’ to continue.
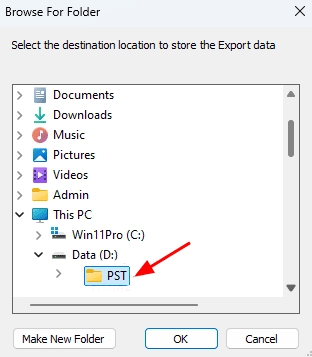
- Click 'Browse'.

- Select the location to save the exported PST files. Ensure you have enough free disk space for storage.
- Click the ‘Add file(s)’ button.
Step 3: Select mailboxes
- Choose the mailboxes you wish to export, then click ‘Next’ to continue.

- Choose the mailboxes you wish to export, then click ‘Next’ to continue.
Step 4: Start NSF to PST export operation
- Verify the selected mailboxes, ensure the 'Action' is set to 'Export.' Next, click 'Start Export' to begin the process.

- Now, you can view the progress bar. Once the export process completes, EdbMails prompts the operation completion message.

- Click the ‘View Logs’ button to view the export operation report.

- Open the exported PST file on your Outlook and verify the items
- Verify the selected mailboxes, ensure the 'Action' is set to 'Export.' Next, click 'Start Export' to begin the process.
Benefits of using EdbMails for NSF to PST conversion
- Preview supported NSF mailbox content before export and select the required mailboxes, folders, or items.
- Preserve supported folder hierarchy, message properties, attachments, and formatting during NSF-to-PST export.
- Process multiple NSF files and large archives according to the storage and workstation resources available for the conversion job.
- Use the free trial to evaluate the workflow and export up to the documented trial limit before purchasing a license.
- Review export progress and logs, then validate representative items in the destination PST.
- Use free 24/7 EdbMails technical support if you need assistance with setup, source selection, export, or validation.
Additional resources: