


Remove Duplicates from Office 365 Public Folders
Office 365 public folders store content that is shared across multiple users, such as departmental emails, group calendars, shared contact lists, and organization-wide announcements. Because several users can post, forward, and copy items into the same public folder, duplicate content builds up more frequently than it does in an individual mailbox. Common triggers include a public folder migration that is restarted after a partial failure, the same item being copied into more than one sub-folder, or a folder hierarchy merge that carries existing content into a new location without removing it from the source.
EdbMails Duplicate Remover Tool applies the same detection and matching engine used for mailbox cleanup to Office 365 public folders. It scans the complete folder hierarchy, including nested sub-folders, and removes duplicate emails, calendar items, contacts, tasks, and notes while preserving the original folder structure and existing permissions. EdbMails also provides a CSV file report that contains detailed information about the duplicate items found in each folder, making it easier for administrators to review and track the cleanup results.
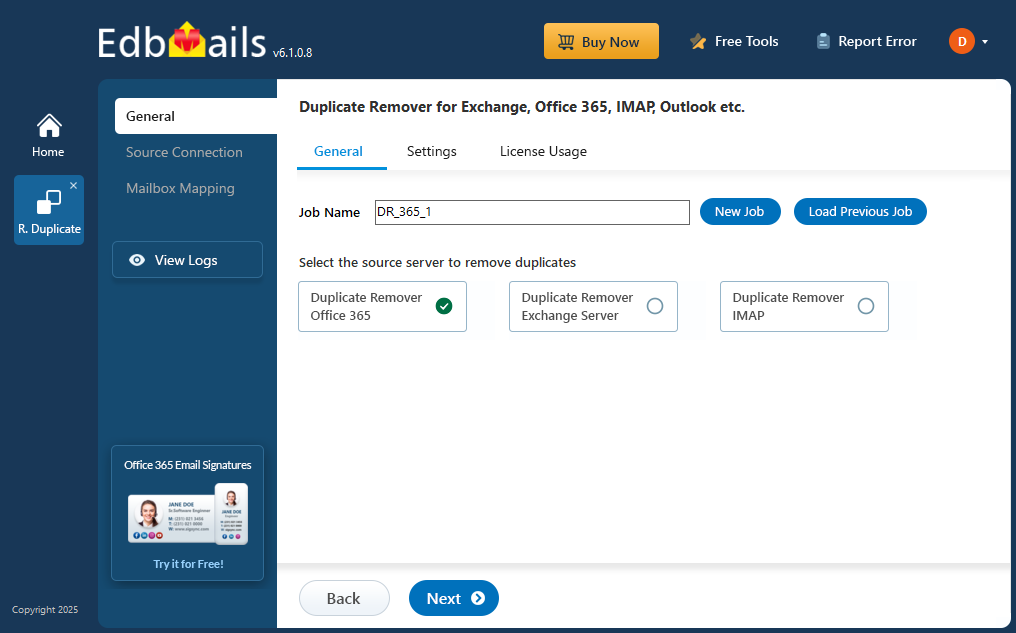
This guide explains why duplicates occur in Office 365 public folders, what to verify before starting a cleanup, and the step-by-step process to remove duplicate items from a public folder hierarchy using EdbMails.
Planning to Remove Office 365 Public Folder Duplicate Emails
Public folders are shared by many users at once, so a mistake during cleanup affects the whole group, not just one person. Planning the job properly before you start helps avoid that.
- Check whether the duplicates came from an interrupted migration, a folder merge, or repeated manual imports.
- Check whether multiple users are still actively posting the same content to the folder, since this could keep creating new duplicates.
- Review the affected public folders to get a sense of how much duplicate content exists and how severe it is.
- Prioritize folders that are used by the most people, since these usually have the highest volume of duplicates.
- Decide whether to scan the entire public folder hierarchy or only specific top-level folders and their subfolders.
- Decide what counts as a duplicate. Matching subject, sender, and timestamp usually works for emails, but calendar items, contacts, and tasks may need different matching rules.
- Choose how duplicates should be handled: Soft Delete keeps the item in a recoverable location, Hard Delete removes it permanently.
- Check who has permission to add content to the folder and whether the same items are being posted from more than one source.
- If the folder was recently migrated, confirm the migration has fully finished before scanning for duplicates.
- Let regular contributors know a cleanup is happening so new content is not added while the job is running.
- Use a dedicated tool such as EdbMails Duplicate Remover instead of checking folders manually, especially for large or deeply nested hierarchies.
- Test the process on one folder first and review the report before running it on the rest of the hierarchy.
- Once the cleanup is complete, review the report and confirm that only duplicates were removed and no important items were lost.
Prerequisites to Remove Public Folder Duplicate Emails
Before starting duplicate removal on a public folder, confirm the following:
- Ensure that you have a global admin account for Auto Registration of the EdbMails application on your Entra ID (Azure Active Directory), or the Manual Registration method with any account that has full access to the public folders.
- Grant the required public folder access permissions to the admin account
See the steps to assign the required permissions to the admin user
- Confirm your network and bandwidth meet the requirements for the job.
- If the public folder was recently migrated or restructured, verify that the job has finished before scanning for duplicates.
- Decide in advance whether duplicates will be permanently deleted or moved to a recoverable location, so the outcome is clear to everyone involved.
Steps to remove duplicates from Office 365 public folders
Step 1: Download and install EdbMails
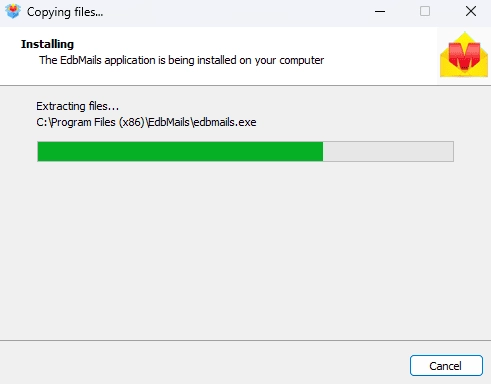
- Download and install the EdbMails application on your computer.
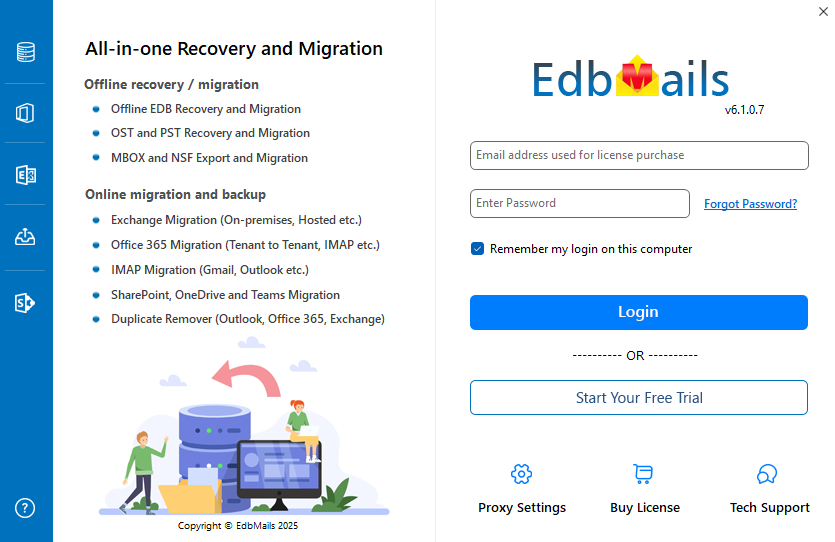
- Login with your registered account credentials, or select 'Start Your Free Trial' to evaluate the tool.
Note: The free trial version of the software scans all public folders and displays the number of duplicate items found. A license is required to remove the duplicates.
Step 2: Select the Duplicate Remover product
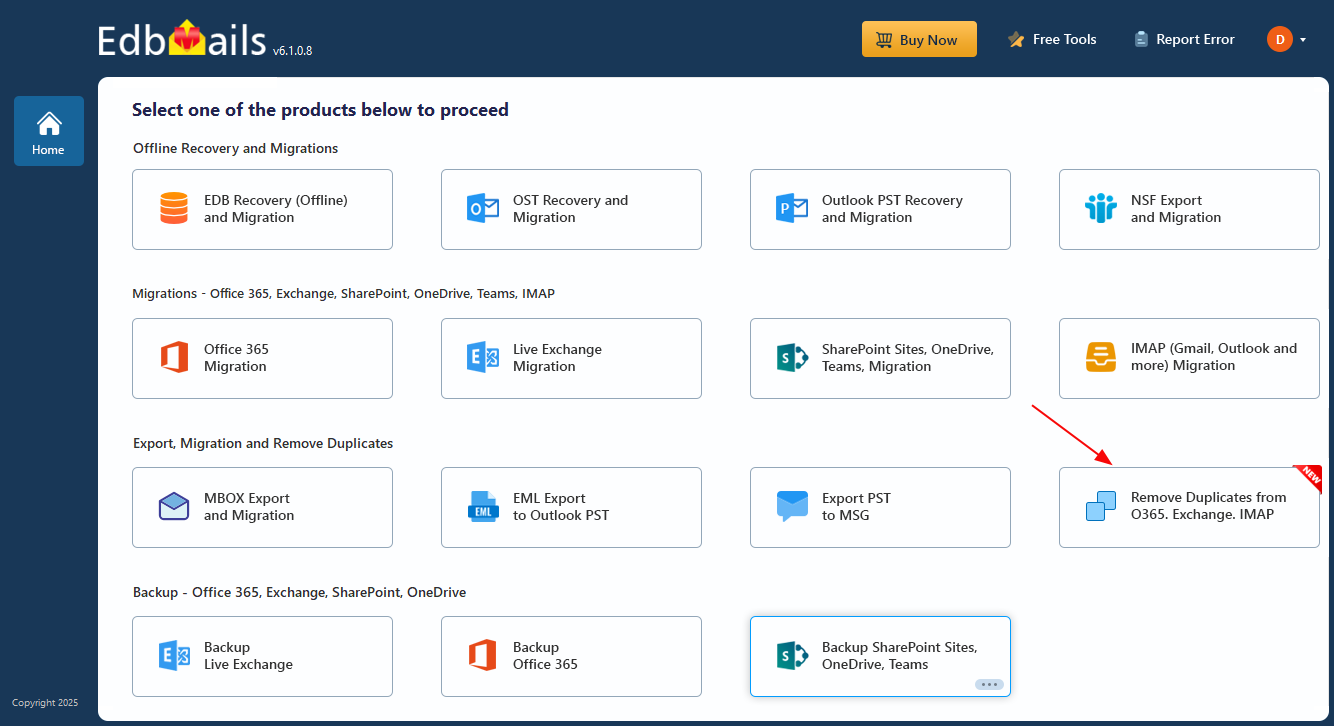
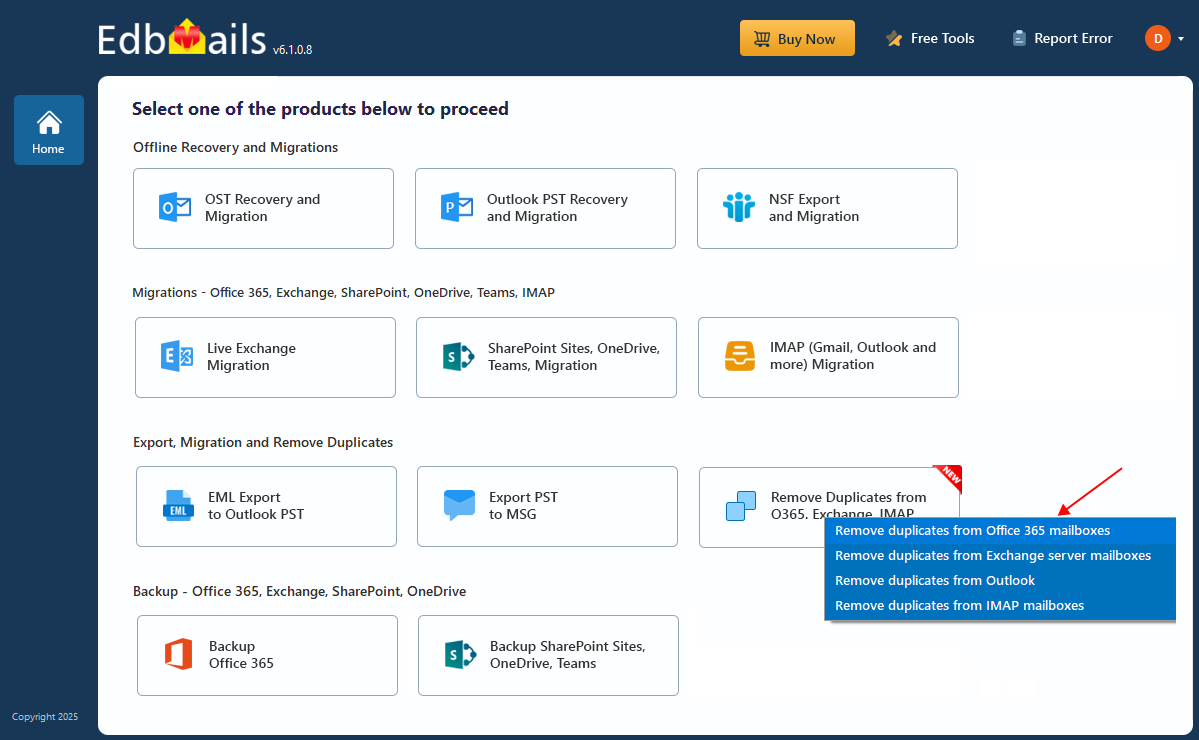
- Click the 'Duplicate Remover (Outlook, Exchange, Microsoft 365, IMAP)' tab, then select 'Remove Duplicates from O365, Exchange, IMAP'.
- Select 'Remove duplicates from Office 365 mailboxes'.
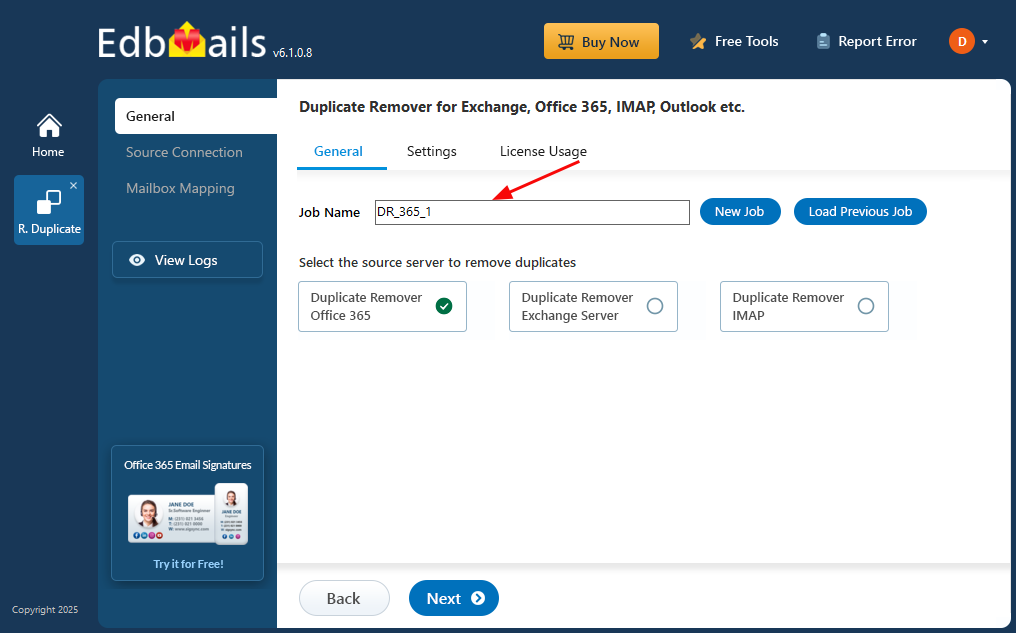
- Retain the default job name, or select 'New Job' to assign a custom name.
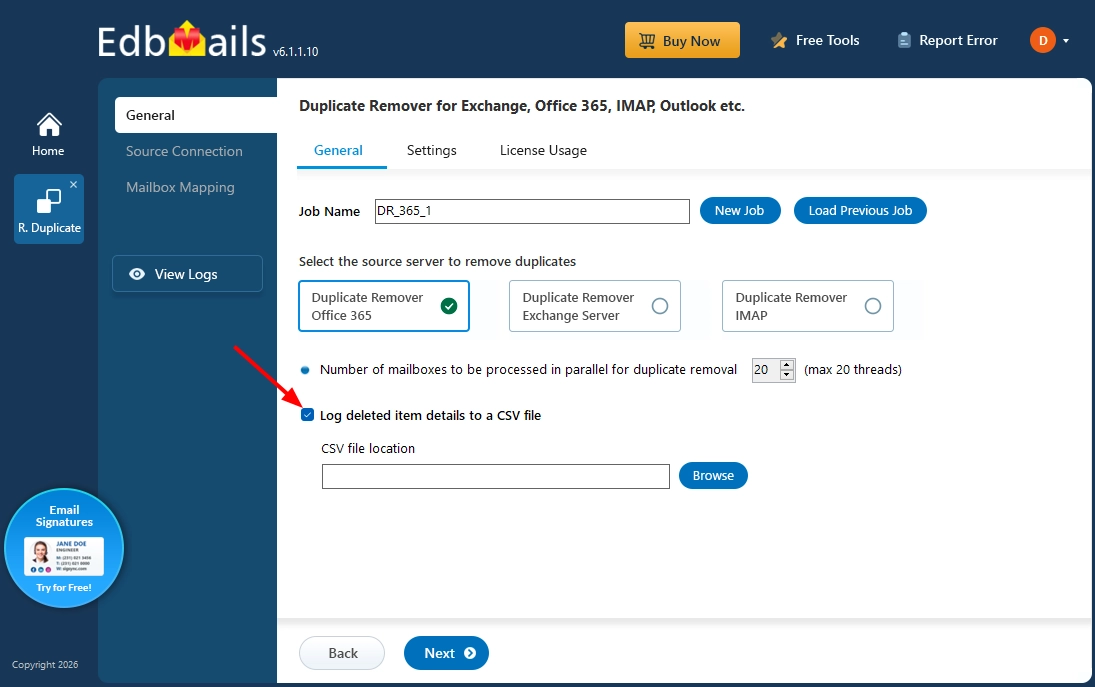
- Enable ‘Log deleted items details to a CSV file’ to get complete and detailed information about the duplicate items found during the cleanup process.
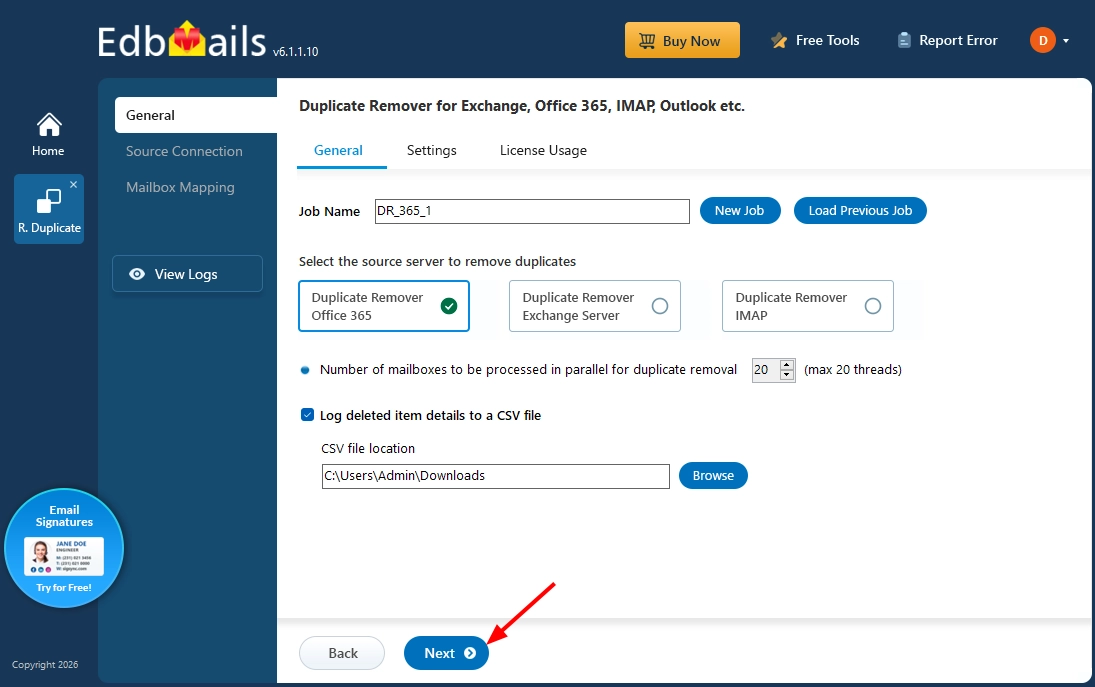
- Click ‘Browse’ and select the location where you want to save the CSV file, then click ‘Next’.
Step 3: Settings to remove duplicates
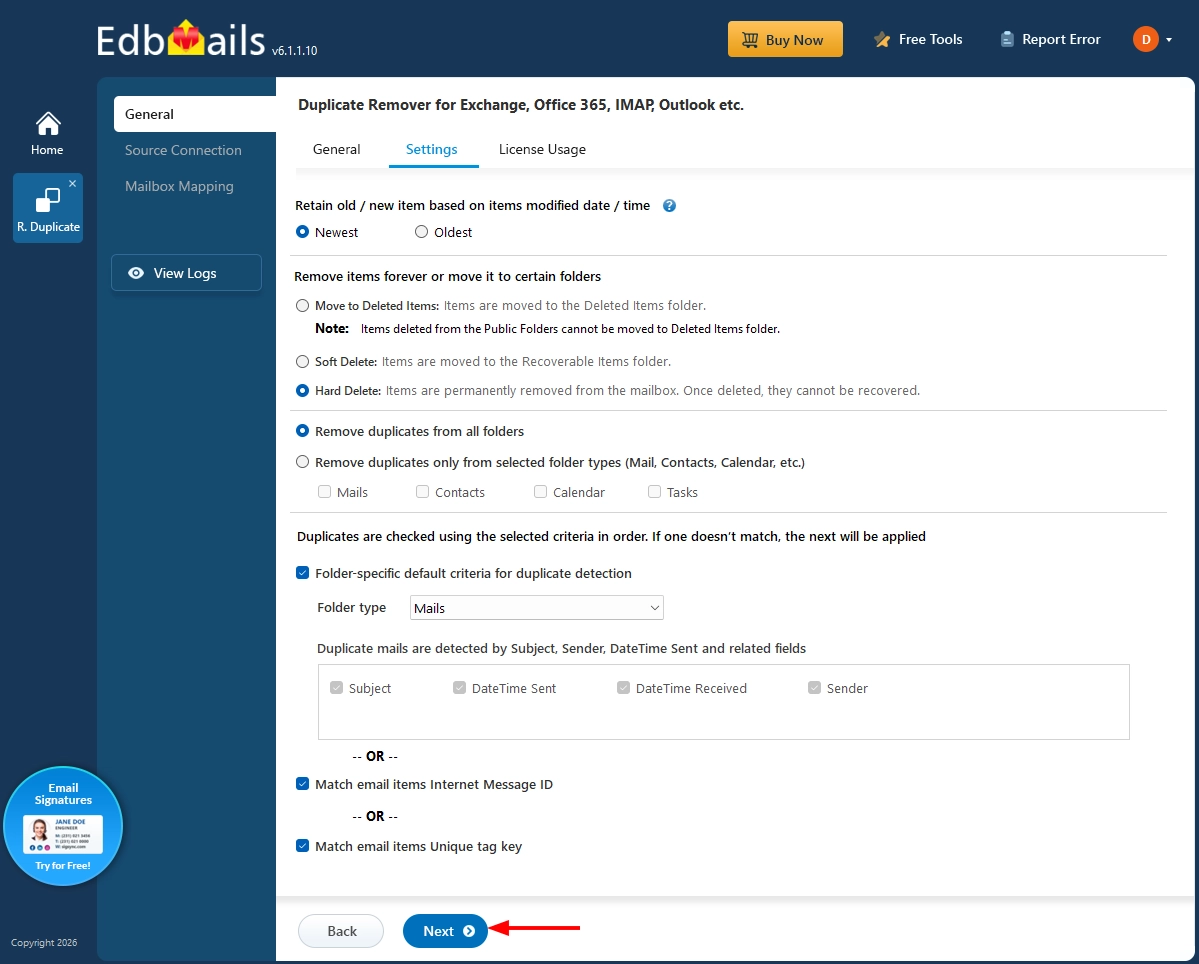
- Under Retain old/new item, choose Newest or Oldest based on the item's modified date and time.
- Under Remove items forever or move it to certain folders, choose either Soft Delete or Hard Delete. Do not select Move to Deleted Items, since this option does not apply to public folders.
Note:- Public folders don't have a Deleted Items or Recoverable Items folder, so only Soft Delete or Hard Delete can be used, not Move to Deleted Items.
- With Soft Delete, items are removed but handled internally by Exchange Online. They can't be viewed or restored through the Outlook Recover Deleted Items option.
- If you may need to review or restore the data later, back it up first, for example by exporting the public folder to a PST file.
- Choose whether to Remove duplicates from all folders, or Remove duplicates only from selected folder types such as Mails, Contacts, Calendar, or Tasks.
- Under duplicate detection criteria, EdbMails checks items using the selected criteria in order, applying the next one if the previous doesn't match. You can use the folder-specific default criteria (Subject, DateTime Sent, DateTime Received, Sender), match using the Internet Message ID, or match using a Unique Tag Key.
- Select 'Next' to continue.
Step 4: Connect to Office 365 tenant
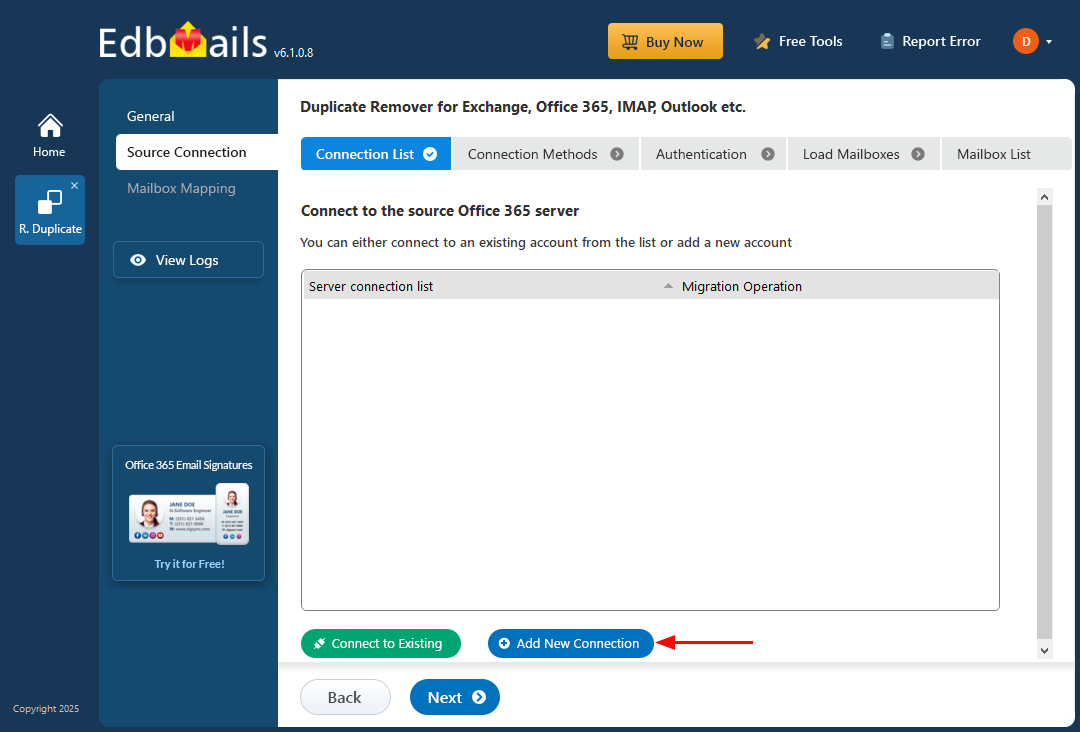
- Select 'Add New Connection' to establish a new connection with the Office 365 tenant, or select an existing connection from the list and click 'Connect to Existing'.
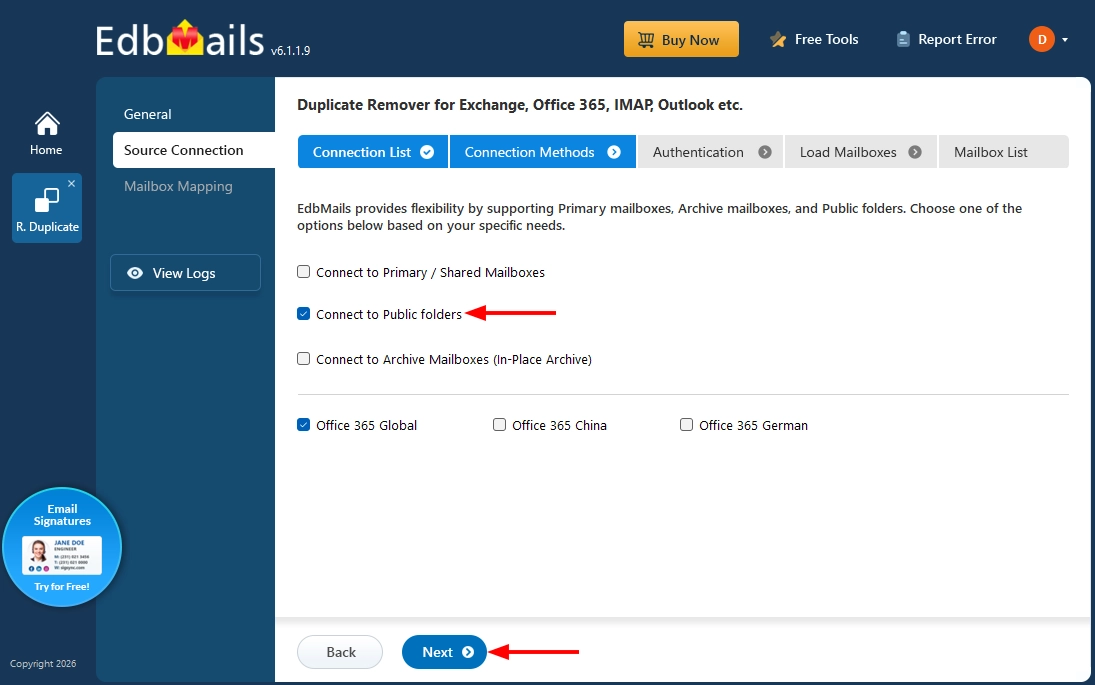
- Select the 'Connect to Public Folders' option, then click 'Next'.
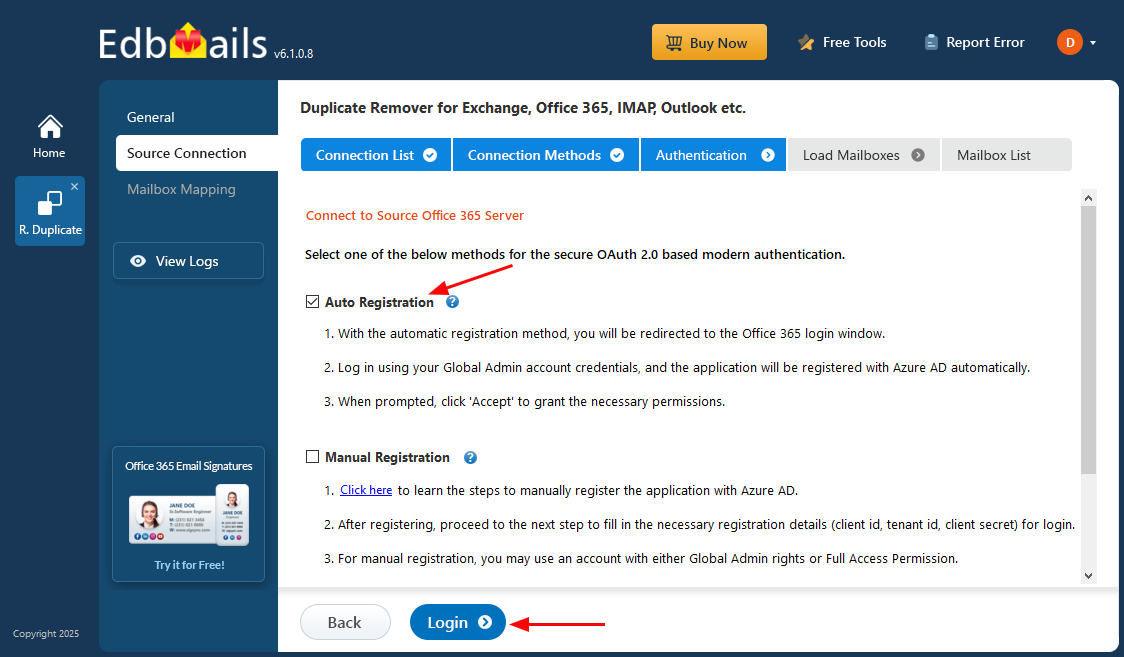
- Select one of the authentication methods and click the ‘Login’ button to continue.
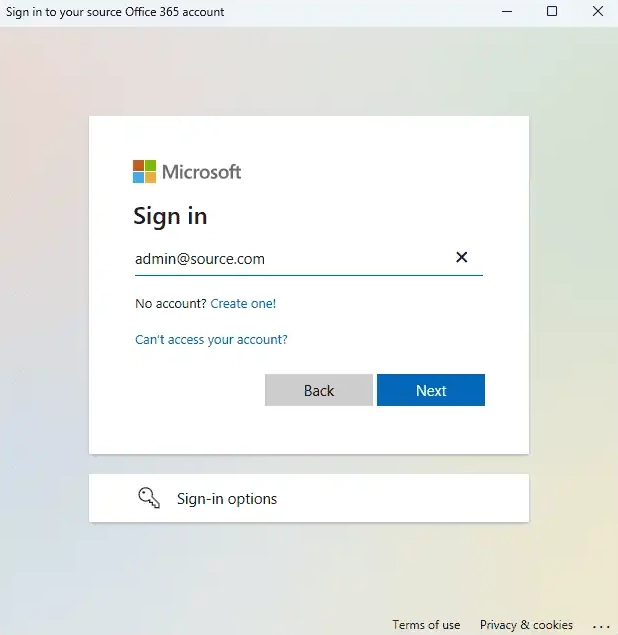
- Authenticate through the Microsoft sign-in page.
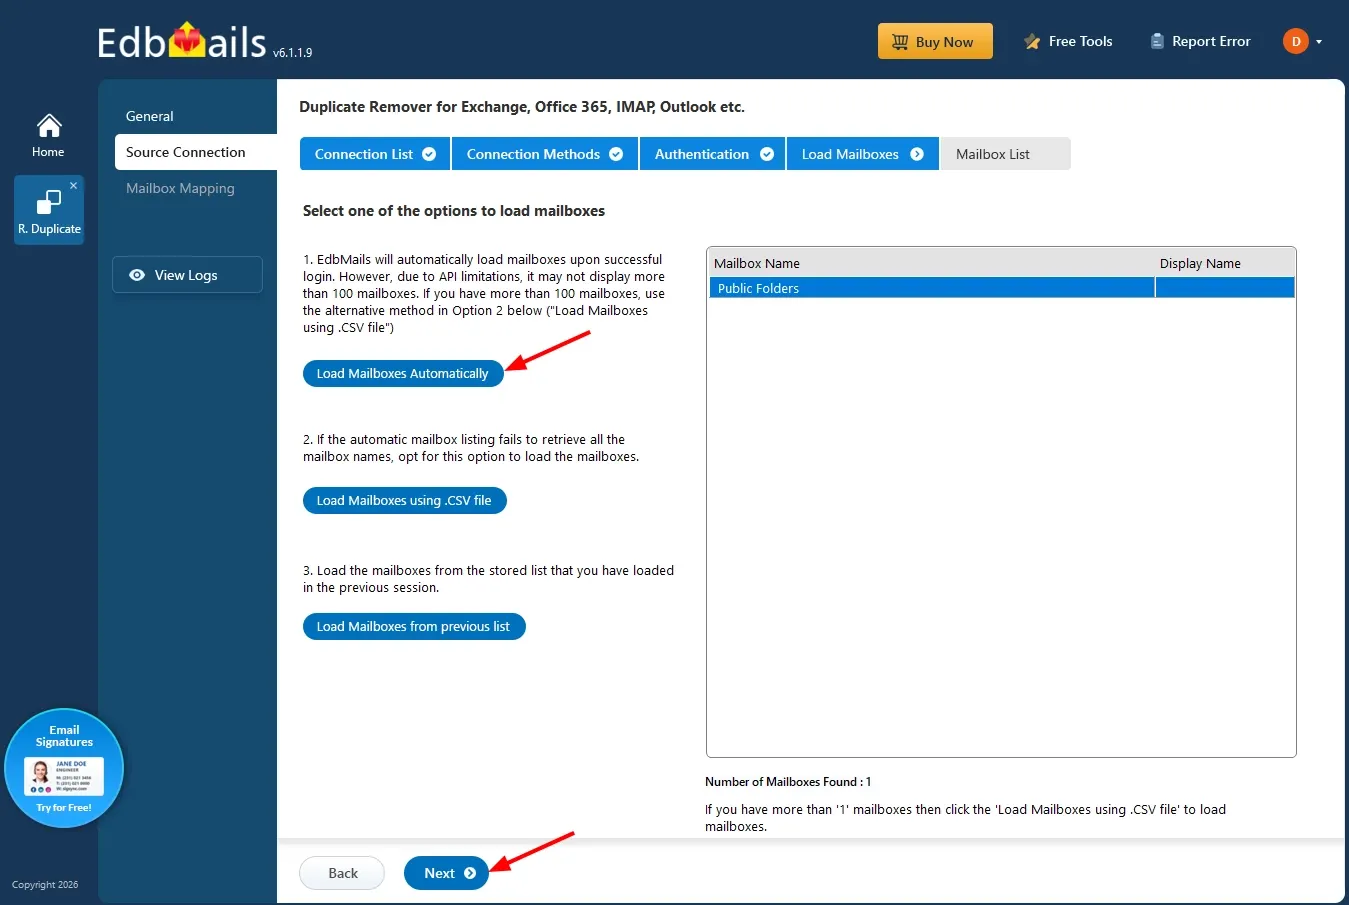
- Select the ‘Load Mailboxes Automatically’ option to load the public folders.
Step 5: Select the public folders
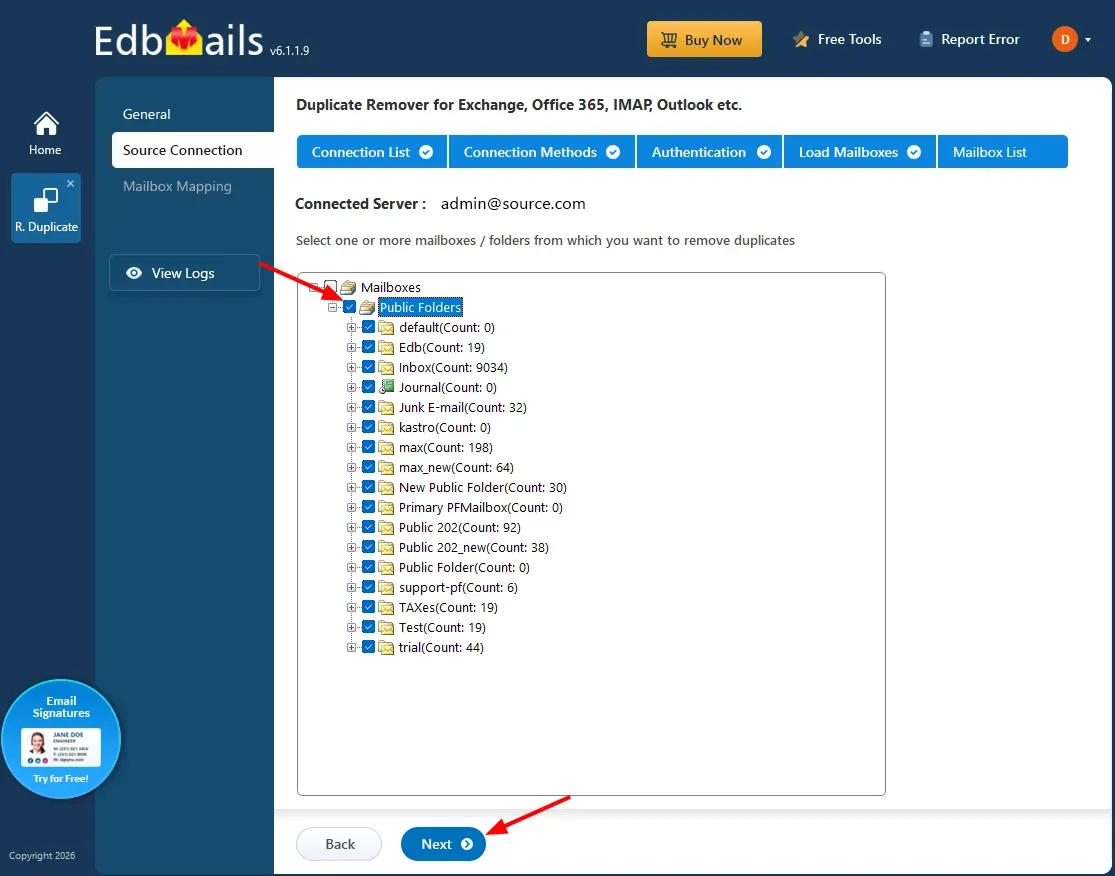
- Expand the folder tree and select the specific public folders, or the entire hierarchy, to be scanned for duplicates, then click 'Next'.
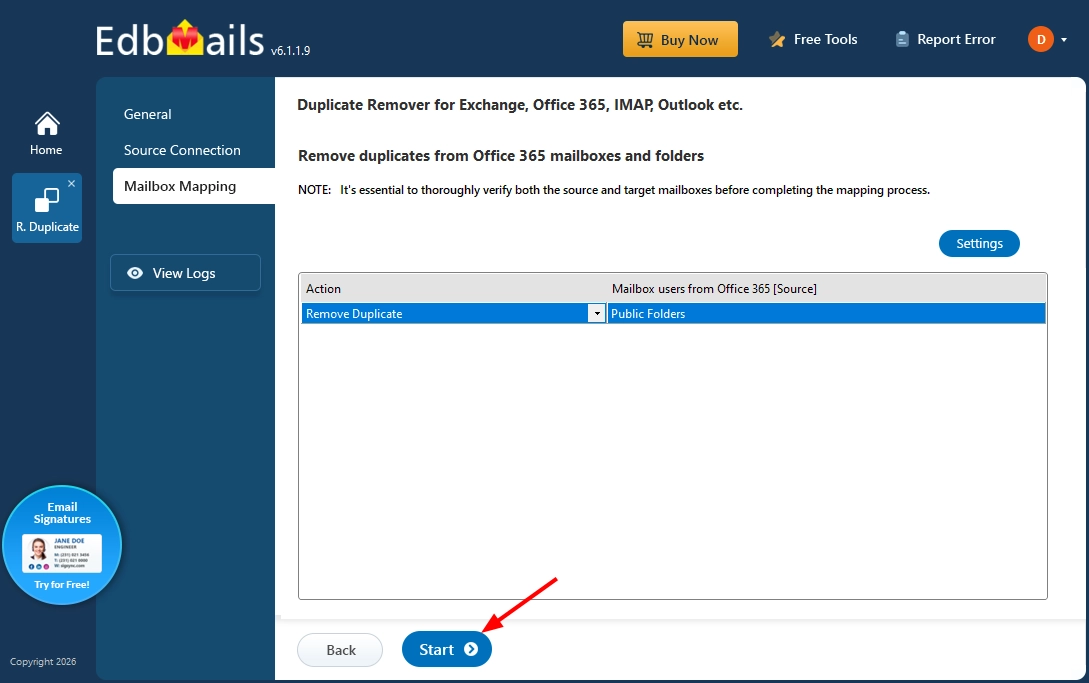
- Confirm that the 'Action' column is set to 'Remove Duplicate' for each selected folder.
- Click 'Start' to begin the duplicate removal process.
- Monitor progress in real time. EdbMails displays a confirmation message once the job is complete, along with a summary of the items found and removed.
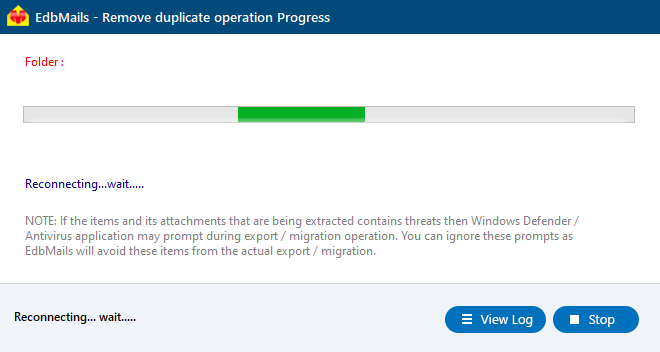
- Click 'View Logs' to review the detailed report generated by EdbMails and confirm the number of items removed from each public folder.
- Navigate to the location where the CSV file was saved and open it to review detailed information about the duplicate items found during the cleanup process.
Benefits of Using EdbMails to Remove Duplicates from Office 365 Public Folders
- Removes duplicate emails, contacts, calendar items, and tasks from public folders without altering the folder hierarchy.
- EdbMails provides a complete CSV report of duplicate items found in each folder, making it easier to review, track, and manage duplicate data during mailbox cleanup.
- Scans nested sub-folders automatically, eliminating the need to process each branch individually.
- Frees up shared storage that would otherwise be consumed by repeated content.
- Improves search performance and usability of public folders for all users.
- Operates safely on live public folders, modifying only the duplicate items identified for removal.
- Includes a detailed report and 24/7 technical support throughout the process.
Frequently Asked Questions
Does removing duplicates change the public folder structure or permissions?
Can specific public folders be cleaned instead of the entire hierarchy?
What account permissions are required to run a public folder duplicate removal job?
Is there a size limit on the public folders EdbMails can process?
Can I restore Soft Deleted items from Office 365 public folders?
What is the difference between Soft Delete and Hard Delete for Office 365 public folders?